Can You Use Small Plastic Produce Bags to Make Plarn for Crochet, Knitting or Weaving? Let’s Find Out!
If you’re interested in knitting or crochet with plastic bags, perhaps you’re wondering how to make plarn. Here’s a free tutorial showing you one possible method of plarn making. Most of the plarn instructions I’ve seen have utilized plastic grocery shopping bags. This one’s slightly different; it’s actually something of an experiment. The idea is to make “yarn” that you can knit, crochet or weave with, using plastic produce bags as the starting point. In theory, this should be workable, but in reality I have no idea how it will turn out. I thought I’d invite you along so you can be part of the adventure. Perhaps we’ll all learn something along the way, and have some fun too.
See More About: How to Crochet Without Yarn | How to Save Money on Crochet and Knitting
Usually, when I post knitting and crochet tutorials on the Internet, I do so knowing how the finished project turns out. I’ve typically tested the pattern and taken bunches of pictures while doing so.
This time, there isn’t actually a pattern yet. I haven’t designed any completed projects, and I’m not certain whether I’ll be able to. I’m giving you advance notice that this experiment might not work out. Everything will probably turn out fine, but there’s always the chance that it won’t. We’ll see how it goes!
Materials Used for Making Plarn:
- Plastic produce bags — the thin, almost clear, rectangular bags you obtain from the farmer’s market or grocery store, typically used for holding tomatoes, cucumbers and assorted other produce until you use it.
- Ruler
- Pen
- Scissors
- I’ll eventually also need knitting needles and / or a crochet hook, and probably some assorted other craft supplies, but I haven’t got that far yet.
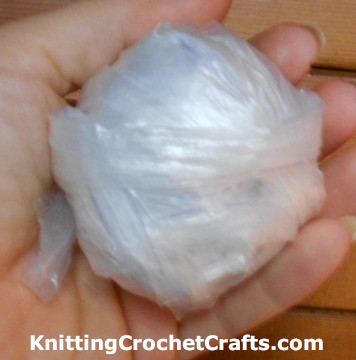
At this point, I’ve made a few balls of this “plarn.” What will they become? I’m not sure yet.
In theory, it should be possible to either knit or crochet with this plarn. If you want to try weaving with it, I’m not so sure it would be a good idea to use it for warping, as it would lack the necessary strength for a warp “yarn”, but I think it could maybe work OK as a substitute for yarn in the weft. I invite you to make some of these plarn balls and experiment with it for whichever crafts appeal to you — crochet, knitting or weaving.
Step-By-Step Instructions for How to Make Plarn
Step #1: Lay your produce bag out flat and mark your strips for cutting. I used a pen to do this. The problem with the pen: obviously, you can see the marks it makes. Which is helpful for doing the cutting, but afterwards there’s no easy way to get rid of the pen marks. Will this be an issue in my finished projects? I have no idea. Maybe it will; maybe it won’t. Let’s try it and see what happens.
I used a ruler as a guideline for making my marks. Not for measuring, mind you. I just used the width of the ruler as the width I’d make my strips for crocheting. Easy! In this stage of the process, I can’t be bothered with measuring. It’s likely that I’ll have to give in and measure at some point in the future, like if I decide I want thinner or thicker strips of plarn to work with. For now I’m happy to take a shortcut!
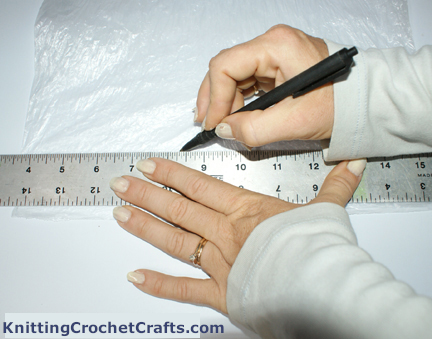
In case anyone is wondering, my ruler is 1 1/2 inches wide. Therefore, my strips will each turn out being roughly 1 1/2 inch wide, give or take. They’re always a wee bit off, just because I don’t always cut with total precision. When you’re doing this, it’s fine to be just a little bit off.
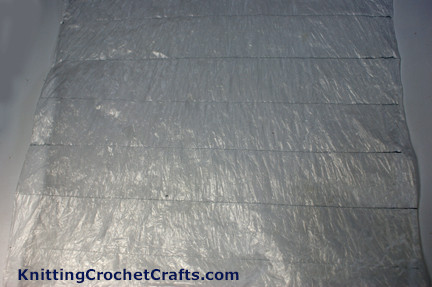
Here’s how my produce bag looks with all the lines marked on it. It’s ready to be cut.
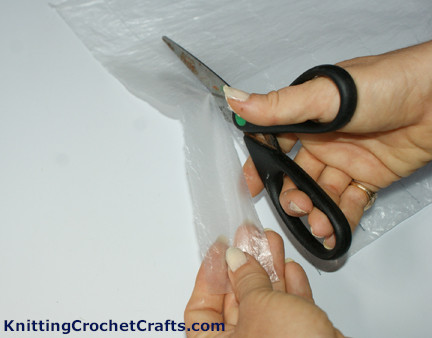
I just cut straight across each line to form the strips. Note that I’m cutting through both layers of the produce bag, so actually what I’m creating is flexible plastic rings, not just strips.
Here’s a pile of plastic strips I cut. These strips all came from one small produce bag. That’s a pretty good yield, don’t you think?
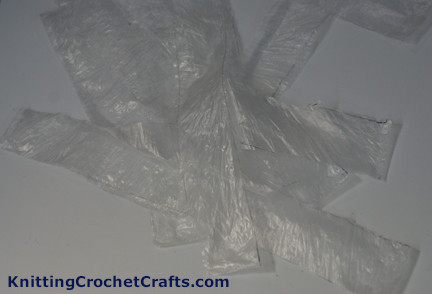
See what I mean about “rings”? Here’s how they look when you open them up.
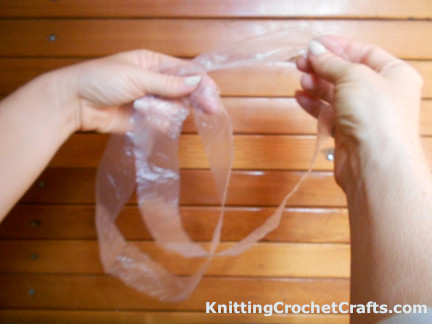
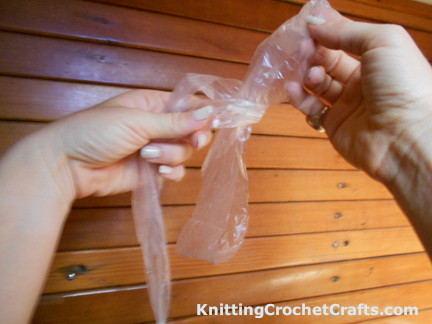
OK, next I’m going to be joining these little rings together to form one long continuous piece.
Here you can see how I joined the rings together.
Pull ’em tight, but not too tight. Be careful, or the plastic will tear, or at least stretch a little.
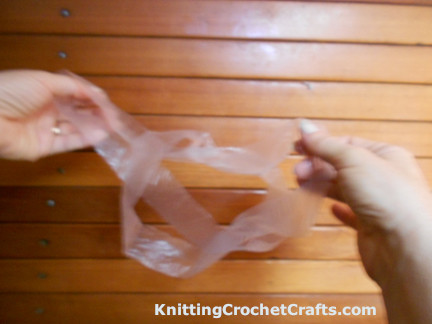
Next, you’re going to join another strip. I did this by inserting the new strip through an end of the piece that’s already started…
…then feeding one end through the other end as pictured.
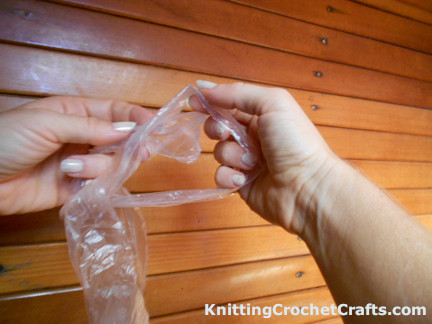
You want to pull on that end that’s coming through, to tighten it up. Again, you’re going to pull it tight, but not too tight.
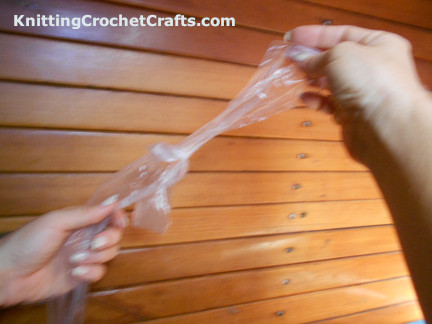
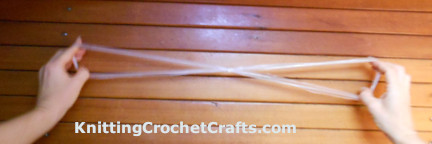
Here’s how it looks.
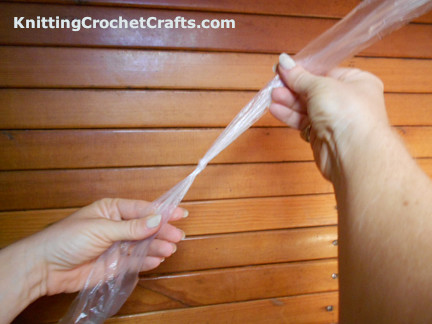
Note: Before you pull each strip tight, make sure that it’s reasonably straight, and that the piece is going to lie flat and not be all lopsided.
You just keep adding more and more strips until you think you have enough to make something.
And then…you (hopefully!) crochet, knit or weave a project with the plarn!
I can’t wait to see what you’ll make with this! If you come up with anything interesting, I hope you’ll come back to share it.
Thanks for playing along, and thanks for your interest in my plarn making experiment. Happy crafting!
Free Plarn Crochet Patterns
This plarn pouch pattern is a fantastic starter project for anyone who’s never crocheted with plarn before. I made my original project sample using the other kind of “plarn,” that is, the kind made from cut up plastic grocery bags (instead of produce bags.) I haven’t yet had a chance to see if produce bag plarn can be used interchangeably with the other kind, but I don’t see why not. Either way, you can check out the plarn pouch pattern and see if you want to give it a try.
More Knitting and Crochet Supplies
- Knitting Needles
- Crochet Hooks
- Yarn for Crochet and Knitting
- Crochet Books
- Knitting Books
- How to Make a Rag Ball Using Fabric Strips
- How to Organize Your Yarn and Craft Supplies
Great Crochet Books You’ll Want to Know About:
- The Best Crochet Stitch Dictionaries
- The Best Crochet Books for Beginners
- The Best Crochet Baby Pattern Books
- The Best Crochet Blanket Pattern Books
- The Best Crochet Edging Pattern Books
- The Best Books on Crochet Flowers
Learn More About Crochet:
- Click Here to Learn How to Crochet; This Link Takes You to a Total Beginner’s Guide to Crochet.
- Click here to find crochet stitch tutorials and instructions.
- Click here to learn more crochet techniques.
- Click HERE to Find Fabulous Yarn for Crochet and Knitting
- Click here to learn about crochet hooks.
- Click here to find my favorite crochet project bag.
Learn About Other Crafts: Knitting, Sewing, Quilting, Paper Crafts and More
- Click here to get updated on the latest craft supplies.
- Click here to learn about knitting.
- Click here to find our beginner’s guide to knitting needles.
- Click here to find outstanding craft project ideas.
Posted By: Amy Solovay
Page last updated on 6-27-2021. Thanks for visiting!