Find a Free Heart Tie Dye Pattern and Instructions Below; Learn How to Tie Dye a Heart T-Shirt With These Free Instructions

TLDR Summary of Topics Covered on This Page: heart tie-dye project; how to tie dye a heart t-shirt using fiber reactive dyes; heart shape; heart design; heart motif; free tie dye instructions; free step-by-step tie dye tutorial
Heart tie dye patterns are some of the most popular tie dye pattern designs, and they’re easy to do. Want to learn how to tie dye a heart pattern on a t-shirt, length of fabric, or other piece of clothing? Use these free step-by-step instructions to create your own heart tie dye project.
Craft Supplies You’ll Need for This Heart Tie-Dye Pattern:
- A white or light-colored cotton t-shirt
- Pencil
- Heart Template (or heavy paper which you can use to make your own template, plus scissors)
- Dental floss or sewing thread
- A hand sewing needle
- Latex gloves
- Dyes (I recommend fiber reactive dyes, but you could also use Rit dye or a similar product. You could also purchase a tie dye kit.)
- Squirt Bottles
- A plastic bucket
- A Drop Cloth to protect your work area
- Rubber Bands
- Dust mask or respirator to wear while mixing dye powders
If You Decide to Use Fiber Reactive Dyes, You Will Also Need the Following Supplies:
- Soda ash. (Mix up soda ash solution according to the instructions included with your dyes, and soak your shirt in the solution ahead of time, before following the rest of the instructions in this guide.)
- Synthropol detergent for washing your dyed shirt
How To Tie Dye the Heart Shape
Before you start, get dressed in old clothes that can get stained. If you have long hair, tie it back out of the way. Spread out your drop cloth to protect your work area.
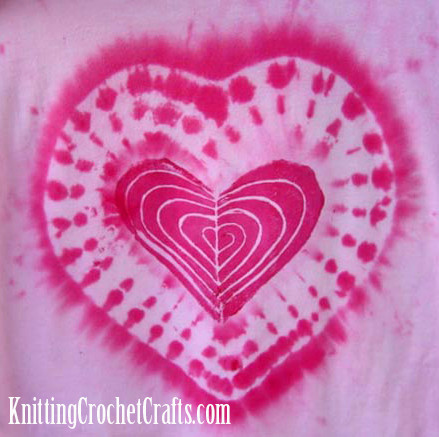
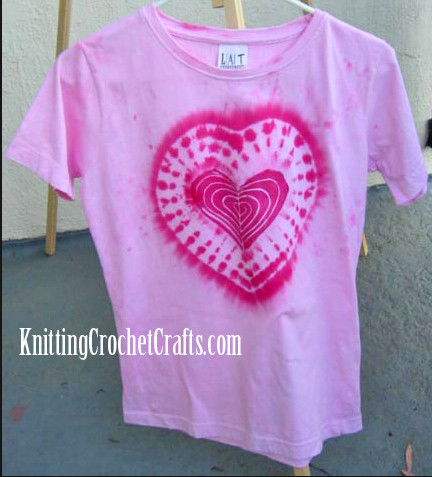
In the example shown, I started with a plain white t-shirt and I dyed it a light pink color before I began creating my heart shape. I wanted the background of the shirt to be light pink and the heart shape to be a brighter pink. So, decide on your color scheme at this point, and prepare your dyes and shirt accordingly. Dyes can be mixed up inside your squirt bottles and set aside ready to use. Make sure to wear your gloves when handling dyes.
Determine what size you want the heart shape to be, and where you want it to be positioned on your finished shirt. Either find or create a heart template that is the right size.
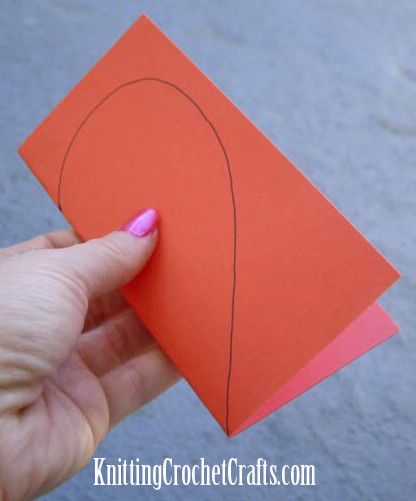
If you are going to create your template, fold your paper in half and draw half the heart shape. Then cut through both layers when you cut it out, and unfold it to reveal the heart.
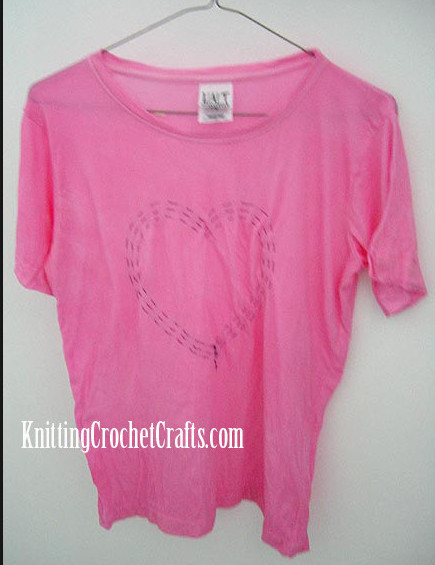
Place the shirt on a flat surface, and position the heart template on top of the shirt. Trace lightly around the heart with your pencil, so that the marks are barely visible.
Thread the needle with either dental floss or thread. Tie a knot at the end of the floss or thread. Use your needle and thread to sew basting stitches around the heart shape. If you want a heart on both the front and back of the shirt, sew through both layers of fabric. If you only want the heart on one side of the shirt, sew through only the fabric on that side. Make your stitches as even as possible.
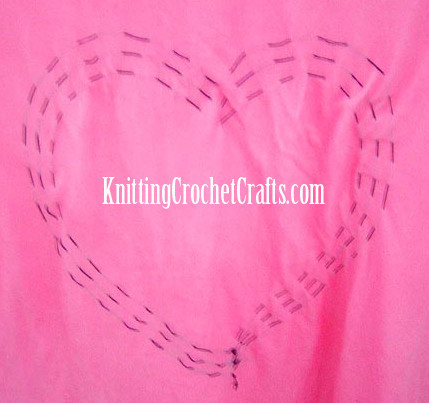
In the example shown here, I sewed several heart outlines embedded inside each other. You can do this too if you wish.
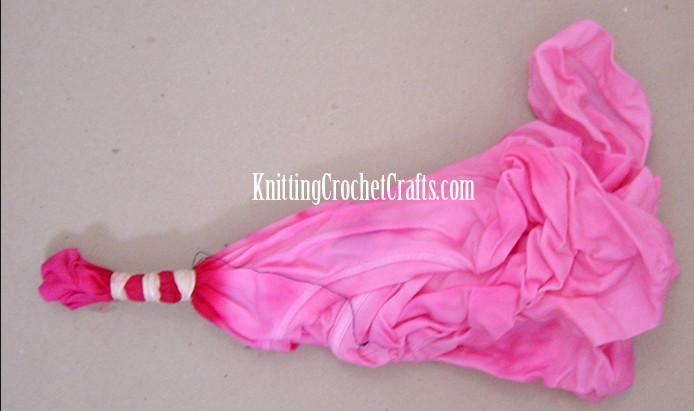
Then, grab the knot at the end of the thread and pull on it very gently in order to gather up the fabric tightly. Proceed slowly to avoid breaking the thread. If you sewed more than one heart shape, repeat this step for each of your shapes.
After the fabric is gathered as tight as you can get it, secure the gathered portion with a rubber band. Wrap the rubber band tightly around the gathered fabric. The rubber bands will help to keep dye from penetrating the fabric, so your goal is to secure it tightly in order to maintain your heart shape while dyeing the rest of the fabric. If you made more than one heart outline, repeat this step for each heart that you created. In the example shown, I ended up with three rubber bands; a rubber band is securing each of my heart outlines.
Using other colors of dye mixed up in your squirt bottles, squirt dyes in the areas that are not protected by the rubber band(s). The area inside the innermost rubber band will be the inside of your heart shape. The subsequent areas in between rubber bands will form outlines that radiate out from around the central heart. All the areas of the shirt outside the outermost rubber band will be the background of the shirt. So, keep that in mind and work according to your planned color scheme.
Be careful when you move the shirt at this point, because it will be saturated with dyes. You don’t want the colors to contaminate each other. From this point on you will want to refer to the manufacturer’s instructions in order to know how long to let the dyes penetrate, and how to properly care for it.
If you are using fiber reactive dyes, you will want to carefully place the shirt inside a plastic bag and set it aside out of the way for approx. 24 hours. Then you can unwrap it, remove the rubber bands and the thread, rinse it and wash it with synthropol. Experienced dyers often rinse 3 times in order to make sure the excess dye is fully removed. You can then dry it.
After the shirt is dry, you can embellish it further if you wish. I thought the inside of my heart looked a little bare, so I embellished it by block printing a heart and spiral design with fabric paints.
You can also use this same method to create other simple shapes as well: birds, clouds, mushrooms, diamonds, triangles, etc. Have fun experimenting!
I hope you will enjoy creating your own new tie-dyed shirts. Happy tie-dyeing!
More Free Tie-Dye Tutorials
- How to Tie-Dye Spiral Shirts