You’re invited to use these free card making ideas and instructions for learning how to make your own greeting cards, including seasonal cards, wedding cards,
Mother’s Day cards, thank you cards and all-occasion greeting cards.
Winter Card Making Ideas
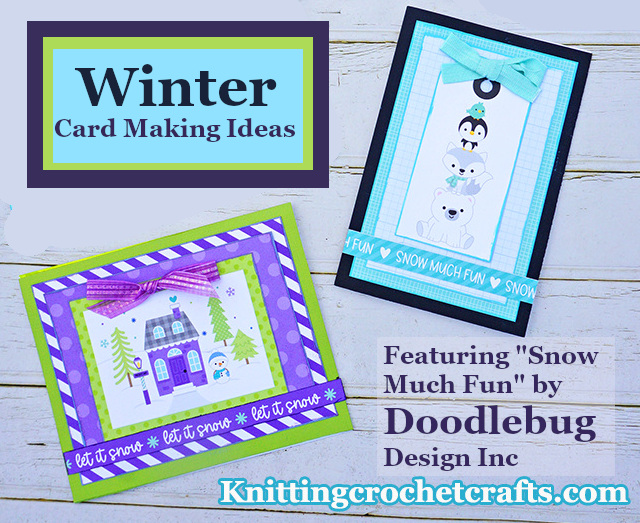
Ideas for Making All-Occasion Greeting Cards
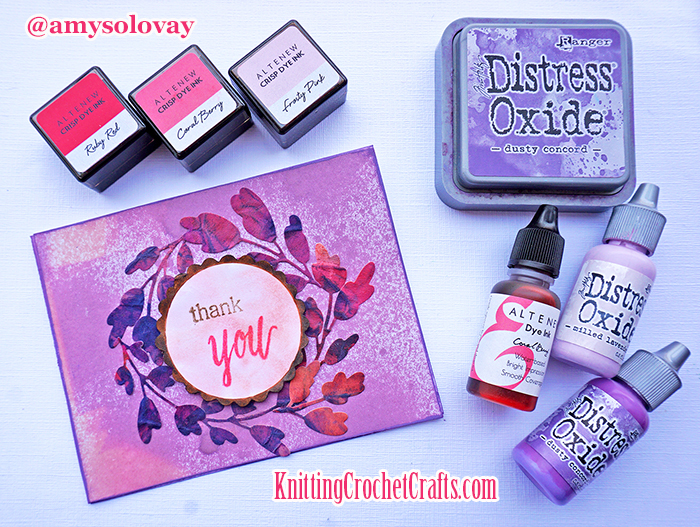
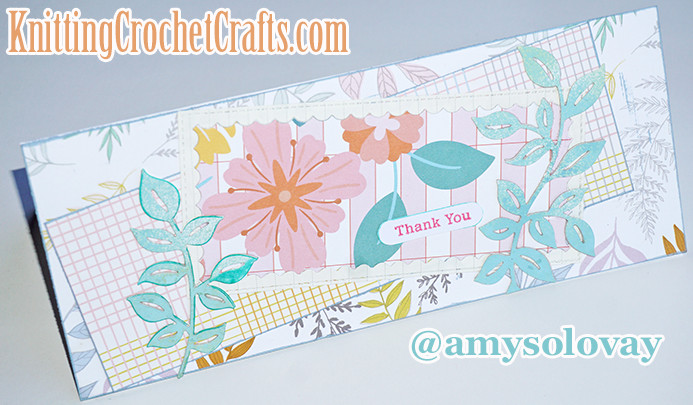
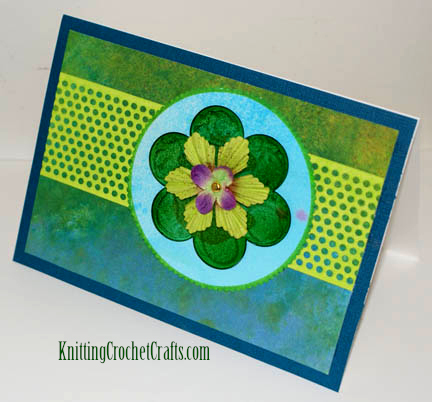
Blank, All-Occasion Hand-Painted Floral Greeting Card With Mesh Border

Pictured above is a brand new slimline card that you could use for nearly occasion, depending on the sentiment you choose to stamp on the card’s front.
Find the supply list and instructions for making this card HERE.
DIY Sunflower Card Making Idea: Hello, Sunshine!

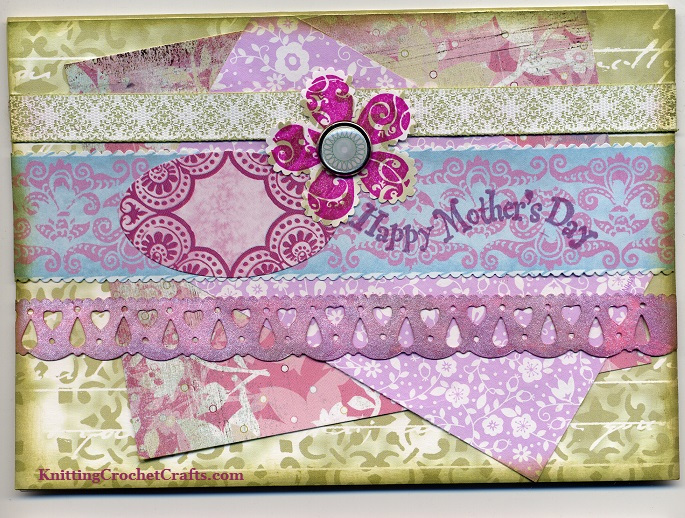
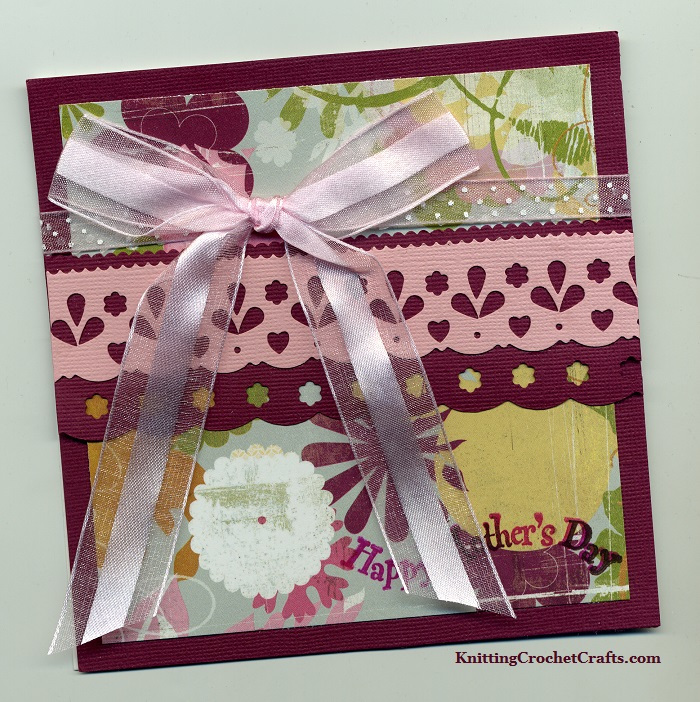
Mother’s Day Cards to Make

How to Make Thank You Cards
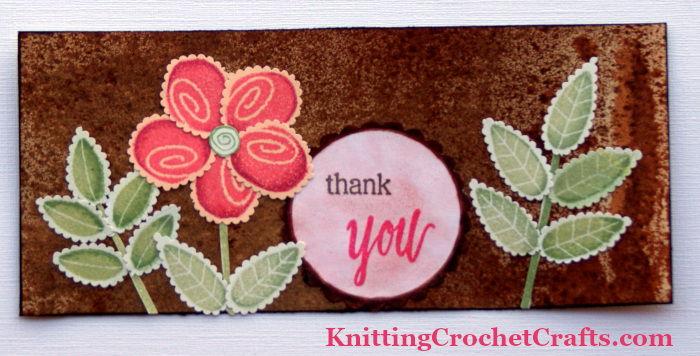
Thank You Card Making Idea Inspired by Sunset Colors
Slimline Thank You Card Making Idea Featuring Floral and Botanical Motifs
Floral Slimline Thank You Card Making Idea
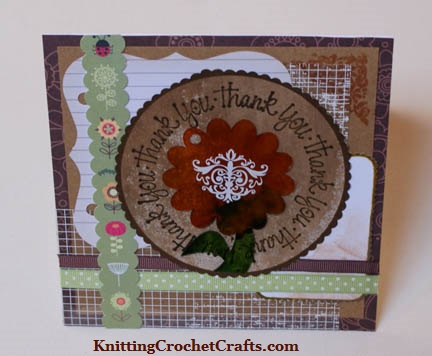
How to Make a Thank You Card With a Flower
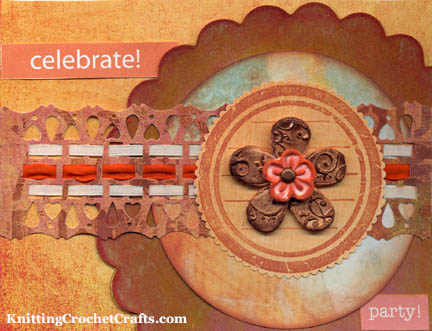
How to Make a Party Invitation
Blank Greeting Cards and Other Miscellaneous Card Making Ideas
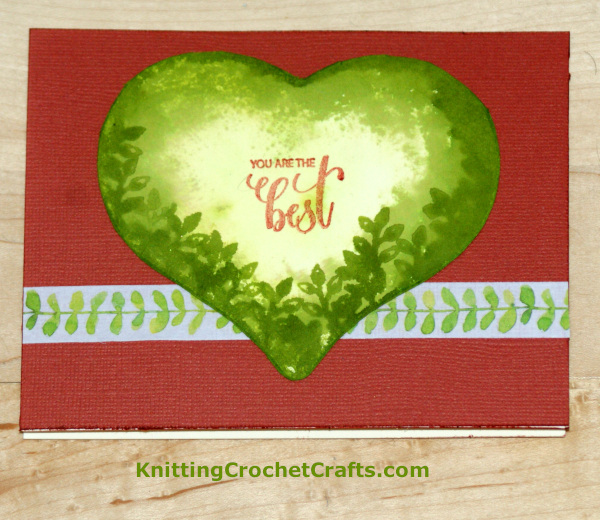
You Are the Best Card Making Idea Featuring Gina K Designs Stamp and Inks
“I Miss You” Greeting Card
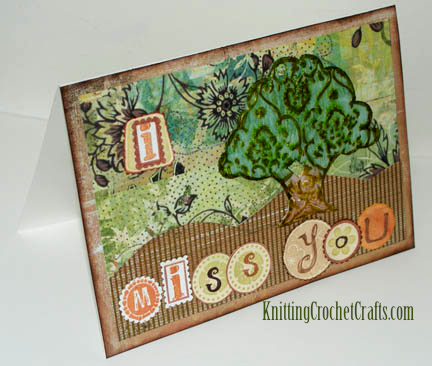
Click here to get the supply list for making this card plus more info about it.
Embossed Cupcake Card Making Project for Wedding, Anniversary or Other Celebrations
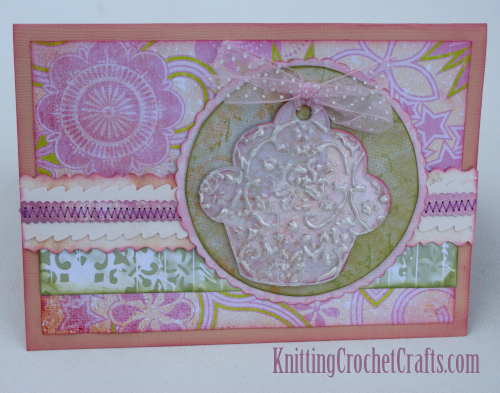
Click HERE to check out the supply list for making this card plus find more information about it.
CLICK HERE to find the best craft supplies:
By Amy Solovay
About the Author: Amy Solovay is a freelance writer with a background in textile design. She holds a bachelor’s degree with a studio art minor; and she has also obtained another degree in textile design.
This page was last updated on 12-1-2025.
This is just a note to say thanks for all the great project ideas you have posted on this website. I’m a beginner to paper crafts like scrapbooking and card making, and I have found it discouraging that most of the projects being posted by the manufacturers each require a huge investment in supplies like dies and a die cutter. I got started with this because I thought it would be a good way to save money on making my own cards. LOL! That was naive of me, wasn’t it?
I’m glad I found your blog / website, and I appreciate the ideas you’ve shared that actually will save me money. I love how you’ve used inexpensive decorative scissors to make so many of your fancy embellishments. If I do that instead of buying border stickers the way I have been doing, I will save a small fortune. A thousand thanks for all the great ideas.
Hi Kirsten,
Thanks for dropping by! I appreciate your thoughtful comment.
You really can save money by making your own cards, but it definitely takes some focus to actually realize a savings. If you get distracted by all the lovely supplies available, and buy everything that looks like it could be useful, it is all too easy to spend more than you save. You also have to actually, proactively sit down and make bunches of cards, or you don’t get your money’s worth out of all the supplies. But if you can manage to work through those two issues, then it is definitely possible to make truly stunning cards that are much more cost effective than store-bought greeting cards.
I definitely do recommend getting a few pairs of decorative scissors. I got mine in around 2006 or 2007. Since then, they have paid for themselves many times over in cost savings over buying die-cuts, stickers and other embellishments. They’re the first thing I reach for when I want to make an impressive looking card or other paper craft project.