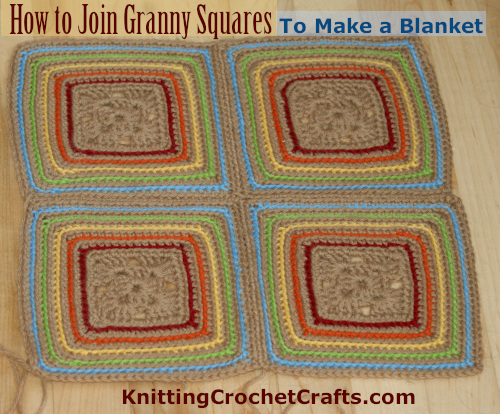
So you crocheted a pile of granny squares, and now you want to join them together to create a project — perhaps a blanket, pillow, table runner or other useful object. Wondering how, exactly, you go about the joining process? Check out this free tutorial.
What I’m about to show you is simply one possible way you could approach the task of joining granny squares to make a blanket. There are bunches of possible ways you could do it. The following is a tutorial on how to use whip stitch for joining granny squares.
Whip stitch is a method of joining you’d want to use if you’re hoping for relatively flat seams joining your squares. Whip stitch isn’t totally invisible; it actually has an interesting, decorative look that’s quite appealing. But if you’re hoping for totally invisible seams, this isn’t the joining method you want to use. In that case, you might want to consider holding the right sides of your squares together and joining them with slip stitch.
If a whip stitch join is what you want, here’s how to do it:
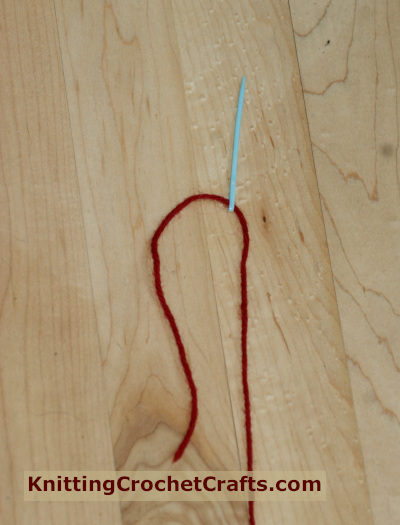
Decide What Color to Use for Joining Your Granny Squares. Then Thread a Tapestry Needle With Yarn in the Same Weight As Your Squares.
Arrange Your Squares for Joining:
Arrange the squares you want to join on your table or working surface. This is relatively quick and easy if your squares are all the same; if they’re all different, you’ll have to figure out how you want them to be arranged before you do the joining.
I have two different projects I’m going to use for demonstrating this process to you. The first project involves multiple granny squares that are all identical. The second project involves squares that have to be alternated, so it’s important to pay more attention when laying them out. I’ll start by demonstrating the joining process using the identical granny squares.
To start, choose the first 2 squares to be joined and align them so that one is positioned over the other with the lower edge of the top square and the upper edge of the bottom square touching each other. If you’re right-handed, you’ll want to start on the right-hand side and work from right to left. If you’re left-handed, you’ll probably find it more comfortable to start on the left-hand side and work from left to right.
The next step: Figure out which loops you want to work through. You could work through all 4 loops, which would result in a sturdy join but a thicker seam. Or you could work through 2 loops. If you work through the back loop of the lower square and the front loop of the upper square, the free loops you don’t work through will leave attractive, decorative looking ridges on either side of the join.
Another alternative is to work through the front loops of the lower square and the back loops of the upper square, which would result in a different look without those ridges.
In the following tutorial, I’m working through the back loops on the lower square and the front loops on the upper square. I’m working in a contrasting color (dark red) so you can see the join clearly.
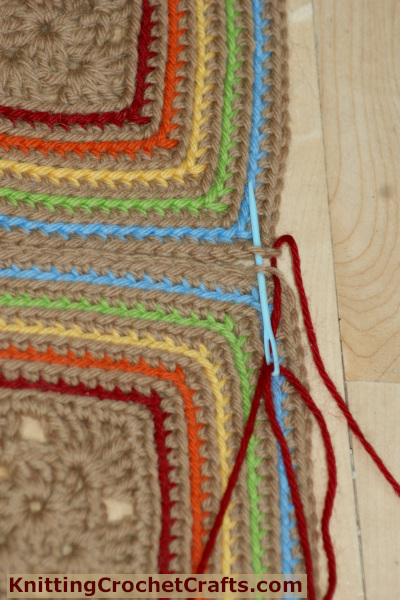
With your granny squares aligned, insert your tapestry needle into the loops you want to work through:
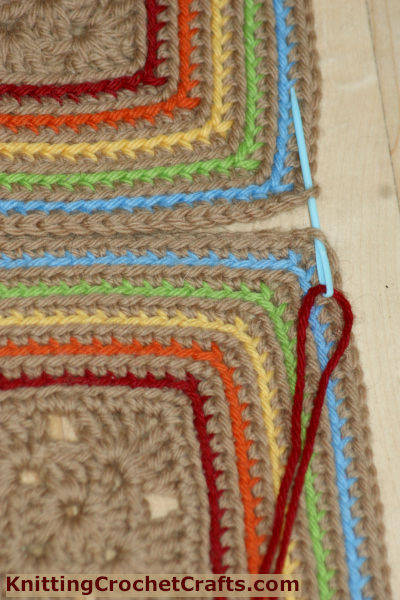
Pull your needle through the loops. Don’t pull it all the way through; leave a tail of at least 6 inches at the end to be woven in later.
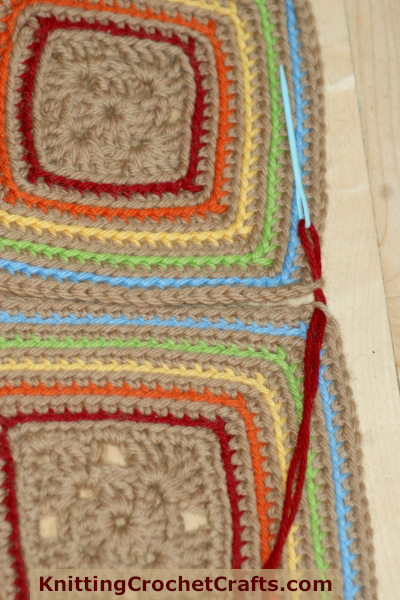
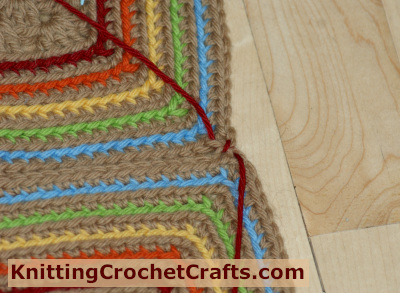
Insert your needle into the next set of loops to be stitched.
Pull the needle and thread all the way through to complete the stitch. You’ll want to pull your yarn tight, but not too tight.
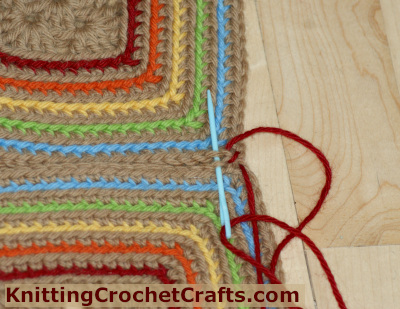
From here on, you keep repeating the same steps over and over — inserting your needle into the next set of loops to be worked, then pulling your needle and thread through to complete each stitch.

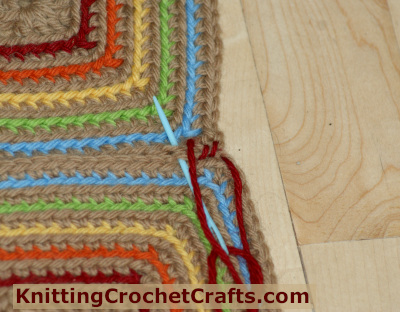


When you’ve stitched through all the loops on the two squares you’re joining, don’t end off, because you will continue joining additional squares.
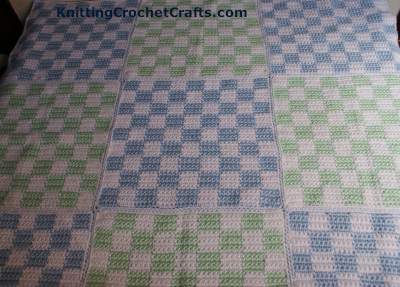
I will demonstrate that process shortly. First let’s take a look at how multiple squares look if you whipstitch them using the main color of yarn, rather than a contrasting color as I just demonstrated:
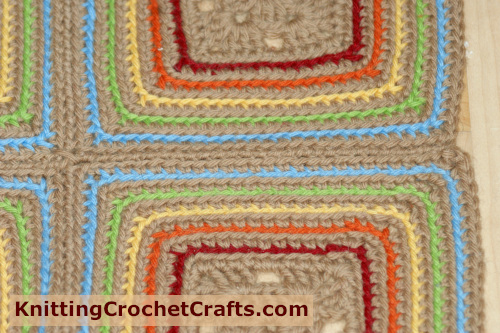
OK, so that’s how you do the whip stitch to join crochet granny squares. Whipstitch makes a lovely join for granny squares, don’t you think?
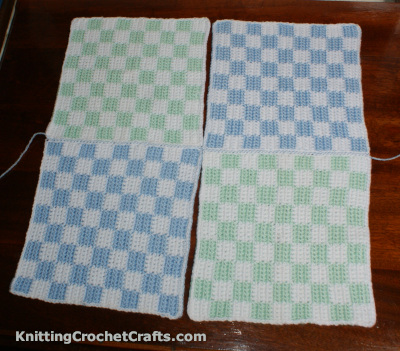
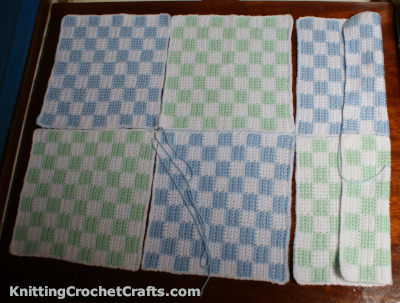
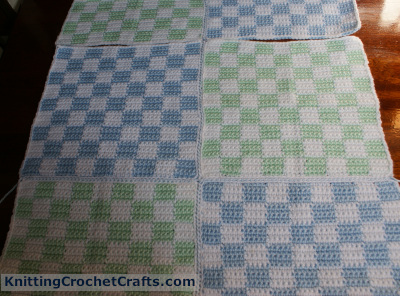
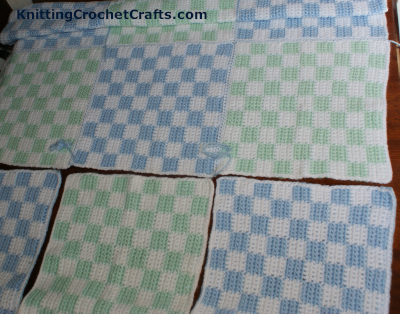
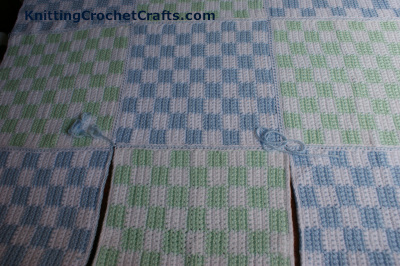
Next, let’s take a look at the process for laying out a whole bunch of crocheted squares to make a blanket. I’ll be demonstrating this using squares from the gingham check baby blanket pattern. These technically aren’t granny squares, because they’re crocheted in rows rather than rounds, but no matter. The process of joining them is exactly the same as the process of joining granny squares. Check it out:
You can start by laying out 4 or more squares to be joined. Start on the right-hand side (if you’re right-handed) and work from right to left; start on the left-hand side (if you’re left-handed) and work from left to right. Don’t end off in between squares; just make one long, horizontal join.
I started by laying out only 4 squares because I have an extremely small work space. If you have a large table to work on, you could lay out more squares than this.

Add the Edging of Your Choice to Complete Your Blanket
The next step in this process is to add an edging to finish off your crocheted blanket. If you don’t already have an edging picked out, you are welcome to see if any of our blanket edgings would work for the project you have in mind. You can click here to see our crochet blanket edging patterns.
So there you have it: That’s How to Join Granny Squares With Whip Stitch to Make a Blanket. You can also use the same method for making other granny square projects like table runners, curtains, etc.
I hope you found the tutorial helpful, and that you’ll be able to use this information to finish your crocheted blankets like a pro. Happy crafting!
Want to make sure this site stays on your radar? You’re invited to subscribe to my newsletter!
Subscribers are the first to be notified when I make new crochet patterns and tutorials available. I hope you’ll join me!
If you’d like to support my work, I invite you to visit my Ko-Fi Shop!

At Ko-Fi, you can…
- Shop for my loveliest premium crochet patterns, OR
- Shop my destash sale and sample sale (sometimes!), OR
- Donate a few bucks to help me keep this site up and running
Thank you for your support! I am grateful for any and all purchases and donations.
More About Crochet Granny Squares:
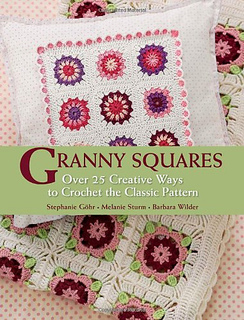
- Check out our picks for the best crochet granny square pattern books.
- Find fantastic granny square patterns.
- Check out a step-by-step tutorial for crocheting an easy, basic granny square (for beginners).
- Get a Free Crochet Pattern for a Three-Dimensional Sunflower Granny Square
- Make a Pretty Granny Square Pillow
More Crochet:
- How to Crochet
- Find the Best Yarn for Crochet and Knitting
- Learn Different Crochet Stitches
- Discover Interesting Crochet Techniques.
Try Other Crafts: Knitting, Embroidery Sewing and More
- Knitting
- Kids’ Crafts
- Quilting
- Sewing
- Collage Art
- Coloring
- Painting
- Check out our main directory of craft techniques and ideas
- Click here to get updated on the latest craft supplies.
Posted By: Amy Solovay
Page last updated on 10-16-2024. Thanks for visiting!