Disappointed With Washi Tape’s Performance? Me, too! These are the washi tape alternatives I’ve been using lately.
Washi tape has its uses, and I really love using it; it’s quick and easy to use, unlike my favorite washi tape alternatives, which are all more cumbersome to use than washi tape is. However, the major downside I’ve discovered with washi is that it tends to be fragile; most washi tape I’ve used does not hold up well (or at all!) in the long term. It often comes unpeeled from the project where I’ve placed it, or it tears / breaks in places.
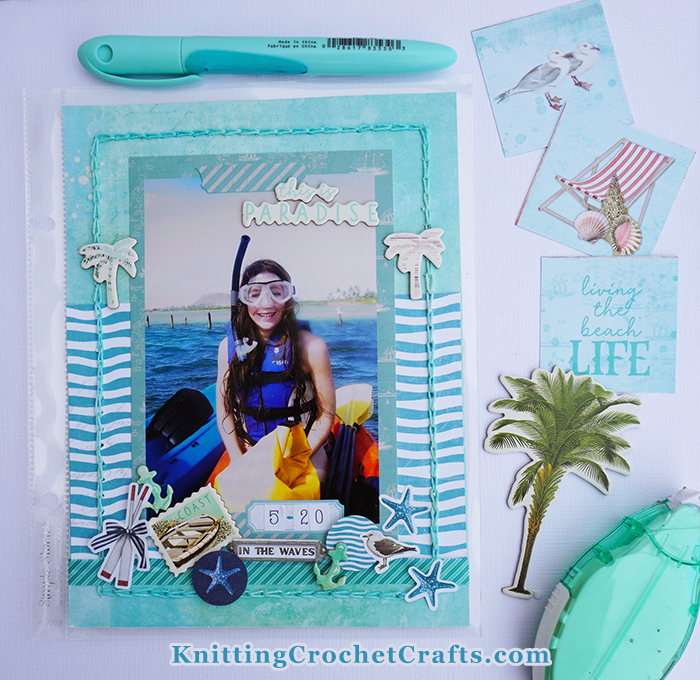
If you take a close look at the teal-colored washi tape strips on this layout, you can see that they’re already coming off the page:

I have re-taped those strips since I originally made the page, adding an extra layer of glue to the washi tape in hopes that it will stay stuck down this time.
In the future, on projects that I want to last for YEARS, like my scrapbooking layouts, I’ve decided that I would prefer to stick with using more durable craft supplies. So if you’ve been similarly disappointed with washi tape’s performance, and you’re wondering, “What can I use instead of washi tape?” Here’s a list of the things I plan to use instead of washi tape; you could use the same things, or perhaps this list will spark ideas in your brain for other washi tape alternatives.
1. Digital Washi Tape
2. Ribbon
3. Die-Cut Borders
4. Border Stickers
Digital Washi Tape

If you’re using washi tape in a purely decorative manner, digital washi tape can perform the same function. Digital washi tape also offers advantages: You can reprint it as often as you like, and it if your digital skills are sufficiently advanced, you can recolor it in any colorway you happen to need.
I like using digital washi to “tape” my photos to their backgrounds. This is a trick you can use whether you craft with physical, digital or hybrid supplies.
I have been editing some of my 4×6 photos to include either digital frames or digital washi tape (or both). This makes pocket page scrapbooking soooooooooo much quicker — and less expensive, too, if you go through a lot of washi tape, because you can reuse / recolor the digital washi and print it out as often as you want to. If you print your 4×6 photos to include the digital washi tape, it doesn’t cost any more than it would have cost you to just print a 4×6 photo. It also makes it super easy to complete a page, because a few of your “layers” are already finished when you sit down to scrap your pics.
One more tip: If you don’t want to pay for expensive digital scrapbooking software, you can download Gimp for free. Gimp is open source. It is similar to Photoshop — a little less powerful in some ways but, surprisingly, in some areas has more features than Photoshop. I use it for photo editing and for “sticking” the digital washi tape onto my pics.
Ribbon

Before washi tape got so trendy for paper crafts, ribbon was a top craft trend. There was a time when many manufacturers of scrapbooking supplies released ribbon packs to coordinate with their scrapbooking paper collections.
Ribbon isn’t as widely available now as it was in those days, but you can still find plenty if it around if you look for it. Ribbon is trickier to use than washi tape is, because there’s an extra step in applying it to the page; you have to find an adhesive that works well for applying it. I like Cherry Tape for adhering ribbon to paper – so if you don’t already have a preferred solution in mind for that, I recommend trying Cherry Tape. (You can shop for that HERE, or learn more about it in my detailed product review of Cherry Tape.
I haven’t yet ever had ribbon on my scrapbooking layouts unpeel or get torn; it has held up well for me so far – and most of the pages I made with it were created in the years between 2006 – 2009. However, I do recommend placing your ribbon-embellished pages in page protectors, because most ribbon is vulnerable to getting dusty and dirty. Page protectors will help you to avoid that particular pitfall with ribbon.
Die-Cut Borders

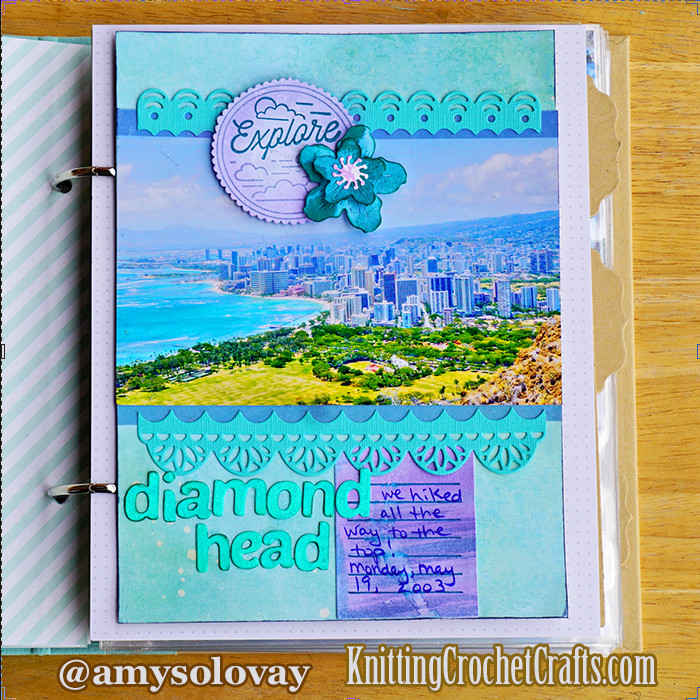
Die-cut border designs typically come in more elaborate shapes than washi tape does, but you can use die-cuts in the same decorative ways you use washi tape. My favorite border dies for this purpose include Pinkfresh Studio’s Lacey Edgers, which I used in the scrapbooking layout above (on this page, I actually layered the die-cut borders overtop of washi tape; I have a lot of washi tape left to use up, so I am hoping that having some other things layered overtop of it will help to avoid having it come off or break. I guess we’ll see how that goes…) You have many other options for border dies and border embellishments; you can also make your own borders using border punches, decorative scissors or other “old school” innovations like those.
Border Stickers
There are many manufacturers making stickers you can use in place of washi tape. Stickers have the same advantages as washi; they’re super easy to apply to your project. Assuming you choose stickers that are reasonably sticky, they’re likelier to stay adhered to your page than washi tape is.
So there you have it: Those are my favorite washi tape alternatives. I hope these ideas are helpful to you as you decide what other materials you’d like to use on your paper craft projects instead of washi tape.
Posted By: Amy Solovay
This page was last updated on 4-7-2024.