Check Out These Free Step-By-Step Instructions for Making a Wedding Card With a Gift Card Holder Inside!
Hello, creative friends!
Today I’m guest designing for my super talented friend, Emily Moore. It’s possible that perhaps y’all already “know” Emily, too; her work is outstanding, and you’ve likely seen it posted around the internet at places like A Cherry on Top Crafts, where Emily is a design team member.
Another interesting fact about Emily: She recently decided to launch the Emily Moore Designs collection of paper craft supplies. So far, the collection includes dies, papers and stamps. If you’d like to try all of the above, you’ll want to check out her Card Maker’s Essential Bundle which enables you to get a “Happy Mail” package delivery of all Emily’s most popular items.
As part of my commitment to be a guest designer at Emily Moore’s website, I made three new wedding cards using her dies. Today, I’m sharing step-by-step instructions for the A2-sized, love-themed wedding card pictured below, but I hope you’ll check out the others, too (I’ve shared a pic of the others at the end of this post plus links to where you can find them on the internet).
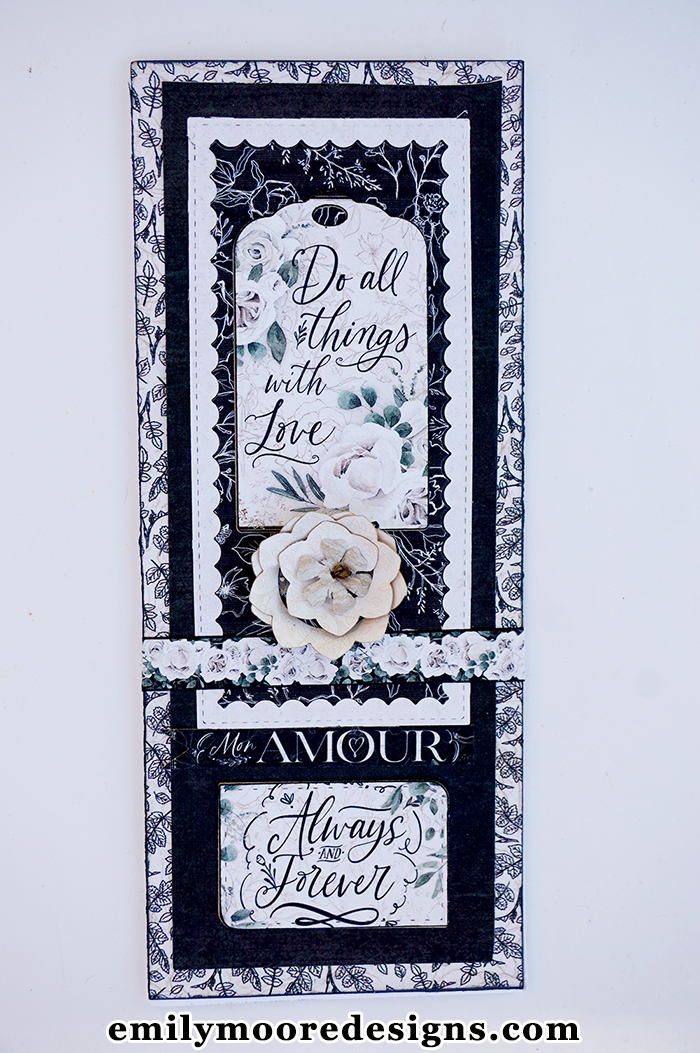
Love Themed, A2-Sized Wedding Card With a Gift Card Holder Inside
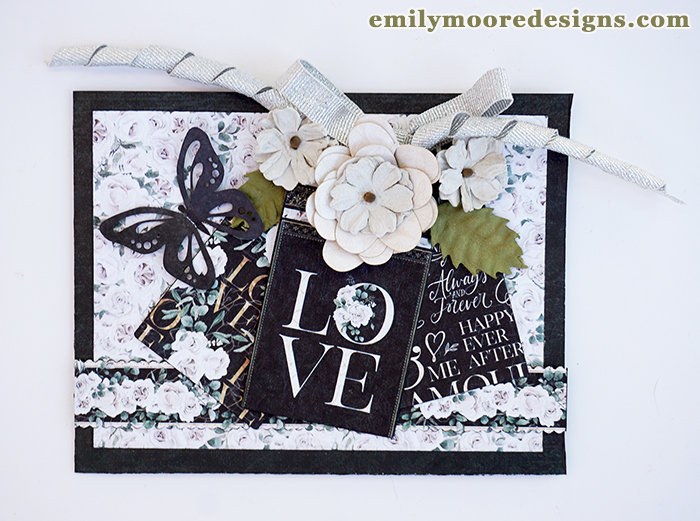
Love-Themed Wedding Card Making Idea; This Wedding Card Features a Gift Card Holder Inside. You Can Make the Gift Card Holder Using a Die by Emily Moore Designs.
The Wedding Card Interior Featuring a Gift Card Holder:

Handmade Wedding Card With Gift Card Holder and Gift Card Inside
Supplies Needed for Crafting a Wedding Card Like This One
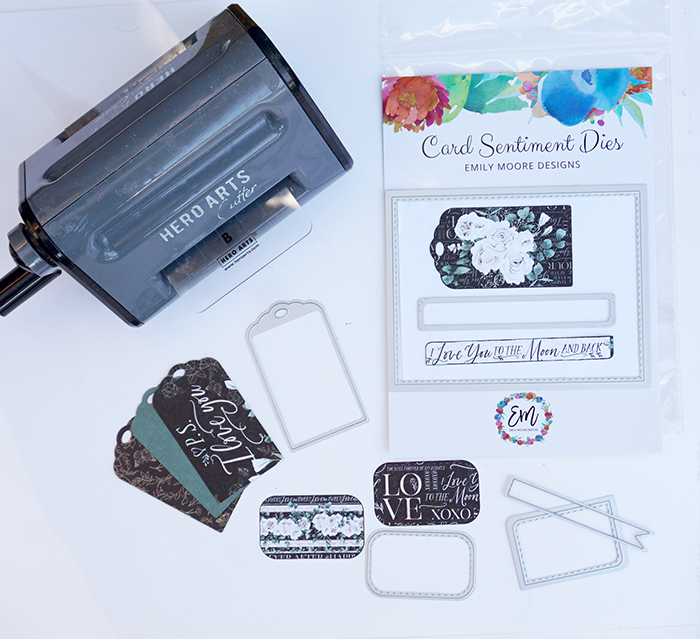
Die Cut Images Made Using the Card Sentiments Die Set by Emily Moore Designs
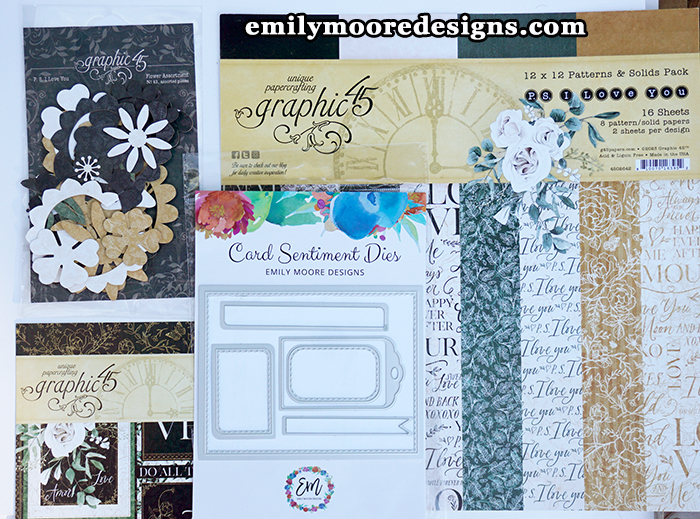
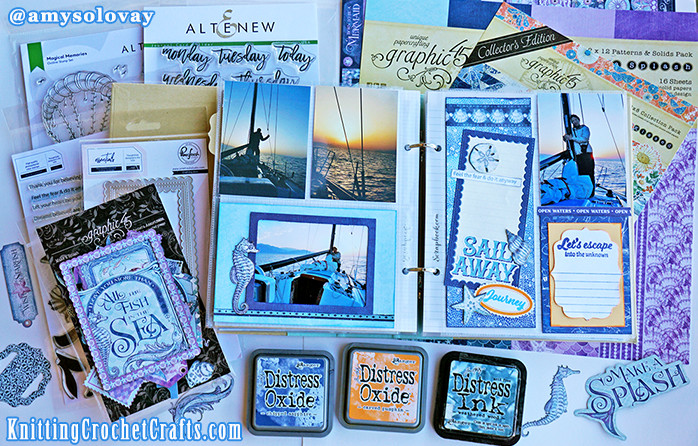
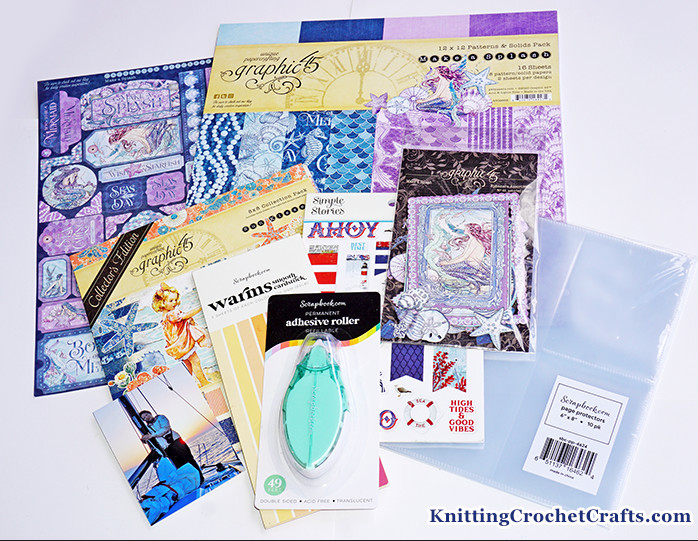
Craft Supplies You’ll Need for This Card Making Project Include a Die Cutter, Dies, Patterned Papers, Paper Flowers, and Adhesive. I’ve Used Patterned Papers From Graphic 45’s PS I Love You Collection.
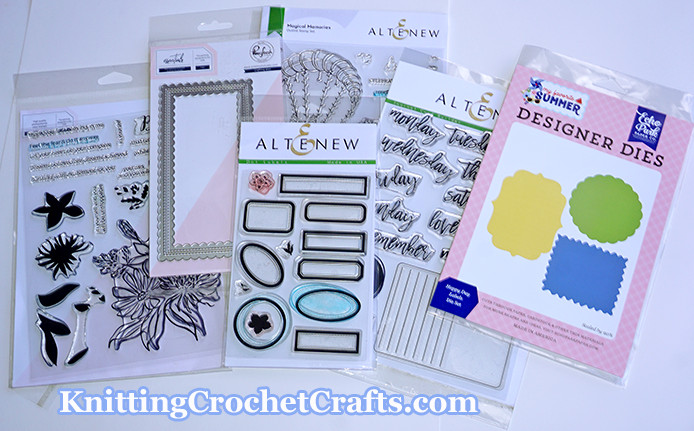
I recommend the following craft supplies for making these cards:
- Patterned Papers: To get the look pictured here, use patterned papers from Graphic 45’s “PS I Love You” paper collection; however, be aware that there are many other paper collections available that could also give you amazing results.
- Dies: To make the card front, you’ll need the Card Sentiment Die Set by Emily Moore Designs; for the card interior, you’ll need Emily Moore’s Gift Card Holder Die.
- Korker Ribbon: I bought the curly ribbon, known as “Korker ribbon,” from a vendor that sells supplies for making little girls’ hair accessories. I don’t think that particular supplier is still in business, but you can find plenty of similar korker ribbons for sale on Etsy. Also, you do not specifically need the curly ribbon for this card design; if you already have ordinary ribbon stashed, you can use what you have.
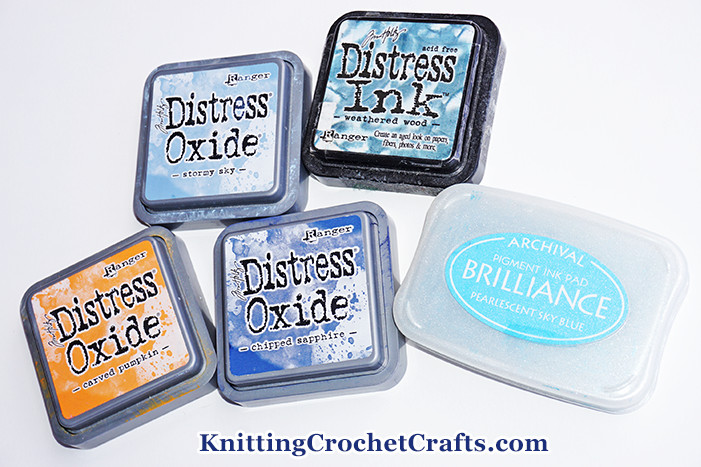
- Black Ink Pad and / or Black Marker: I used black marker and / or Tim Holtz’s Distress Oxide in the Black Soot color for inking and drawing around most of the edges of my die-cut shapes and cut-out paper pieces on this card.
- Flower and Butterfly Embellishments: You’ll need some flower embellishments and a butterfly embellishment to emulate the card design pictured here. There are many ways to achieve this look; you can stamp and die cut your butterfly, or you can buy a ready-made butterfly. For your flowers, you can die cut and assemble three-dimensional flowers, or you can buy pre-made flowers. If you want to go with the exact butterfly and flowers I used, check out Graphic 45’s PS I Love You flower assortment and paper flowers by 49 and Market.
- Adhesive: I used Cherry Tape and Nuvo Deluxe Adhesive to make this card, but you can use any adhesive intended for paper.
- White or Solid-Colored Cardstock: To make the gift card holder, you could use either patterned paper from your paper collection, or you could use white or light-colored cardstock that matches your patterned paper.
- A border die, OR decorative scissors with a scalloped edge
How to Make This Wedding Card:
- Using the tag die from Emily Moore’s Card Sentiment Die set, cut out 3 different tags, positioning the dies so that you get an appealing pattern from each.
- Using the decorative scissors or a border die, cut out a border design to use along the lower edge of the card. Ink around the edges of the die cut shape with contrasting but matching ink.
- Ink around the edges of your tags with an ink color that complements the colors of your patterned papers. Let the inky embellishments dry before using them.
- To make your card front, cut one rectangle of patterned paper measuring 5 1/2″ by 4 1/4″, and a second, smaller rectangle in a contrasting color measuring 5″ x 3 3/4″. Ink around the edges of all these rectangles with a coordinating ink color to add visual interest. Then set the pieces aside in a spot where they will be undisturbed while the ink is drying, and move on to the next step: creating the card bases.
- For each card base, cut a piece of patterned paper measuring 11″ x 4 1/ 1/2″. Score and fold down the middle so you end up with a card base measuring 5 1/2″ by 4 1/4″.
- When the inked edges are dry, layer your patterned paper rectangles on top of each other and attach them to the card front with adhesive.
- Attach your gift card holder shape inside the card.
- Arrange your tags, flowers, butterfly, ribbon and other elements on your card front. When you’re happy with the placement, attach them to the card front with adhesive.
- If you know who the card recipient is, personalize the card and place the gift card inside it. It is ready for giving.
Where to Buy Emily Moore Designs Dies and Other Craft Supplies:
There are two places I know of where you can buy Emily’s craft supplies:
- You can buy the gift card holder die and the card sentiment dies directly from Emily’s website. This is the absolute BEST way to support her work and her small business!
- If you need one-stop shopping for these dies plus other types of craft supplies, I recommend shopping at A Cherry on Top Crafts. At a Cherry on Top, they stock a broad range of supplies for paper crafts, fine art, needlecrafts and other crafts. You can grab the gift card holder die HERE, and the card sentiment dies HERE. I am a regular customer at A Cherry on Top and highly recommend them!
So that’s one possible wedding card making idea you can try. I’ll leave you with a picture showing this one plus a couple of other similar wedding card making ideas.
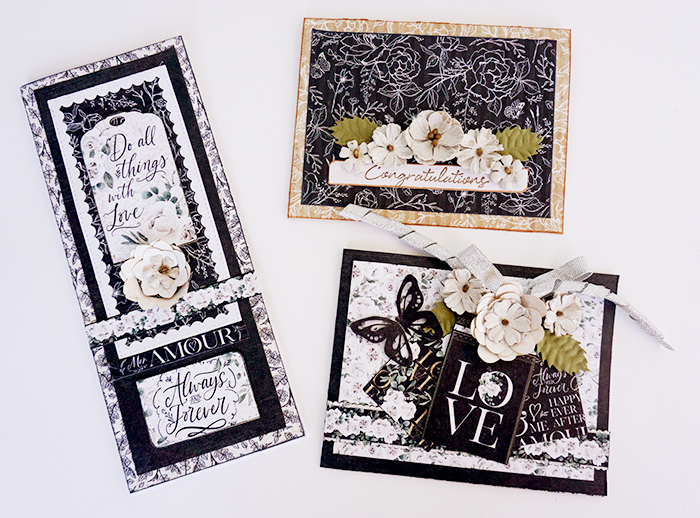
Handmade DIY Wedding Cards
Find More Wedding Card Making Ideas From This Series:
You’ll find the free step-by-step instructions for making the “Congratulations” A2-sized wedding card posted at Emily’s blog:
Wedding card making idea with “Congratulations” sentiment and gift card holder inside, plus ideas for maximizing your craft supplies stash
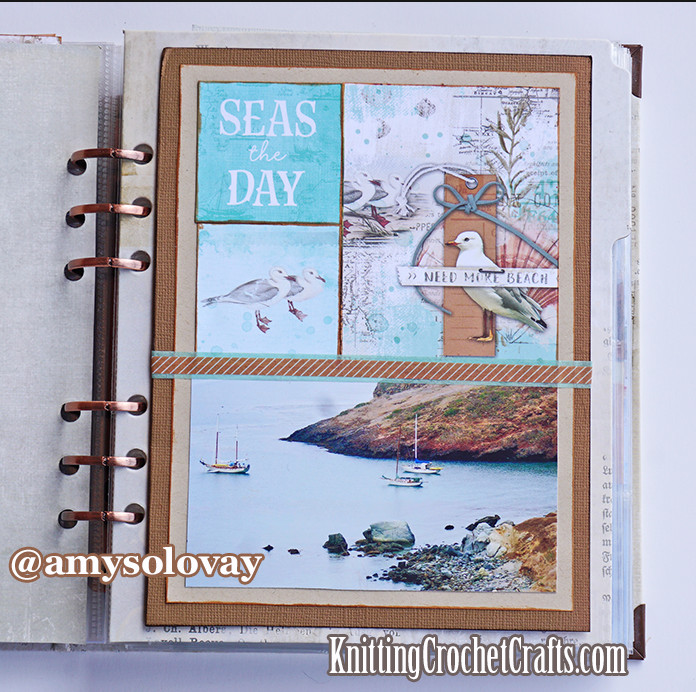
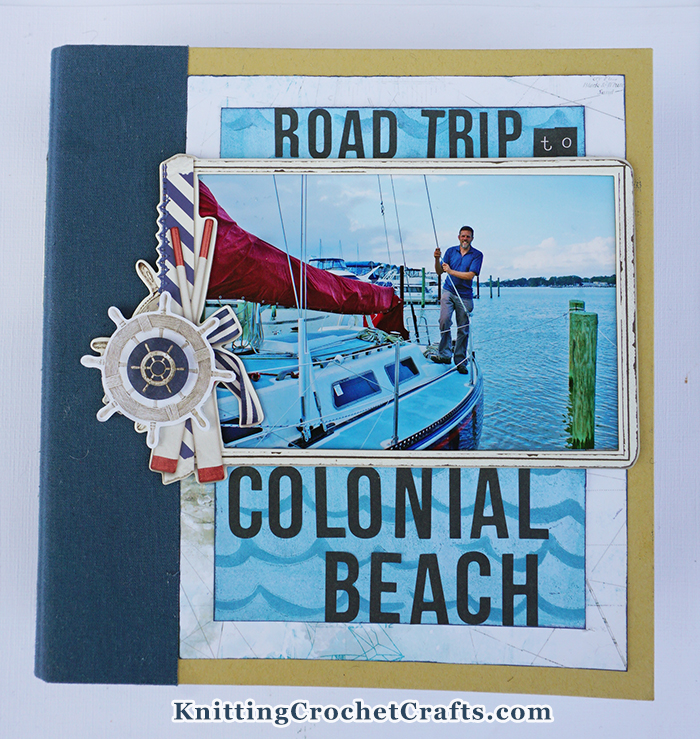
Please check back here tomorrow morning (Thursday, 12-21-2023) if you’d like to read the free tutorial on how to make the slimline wedding card pictured above.
For an overview of these projects, and more details on why you might want to select a gift card as a wedding gift instead of selecting a gift from the happy couple’s gift registry suggestions, you’re invited to check out the following post at my other website:
The floor is open for comments! So if you have questions or insights to share, you’re invited to drop us a comment and let us know what’s on your mind.
Thanks so much for your presence here, and for your interest in these projects.
More Paper Craft Projects Featuring Craft Supplies by Graphic 45:
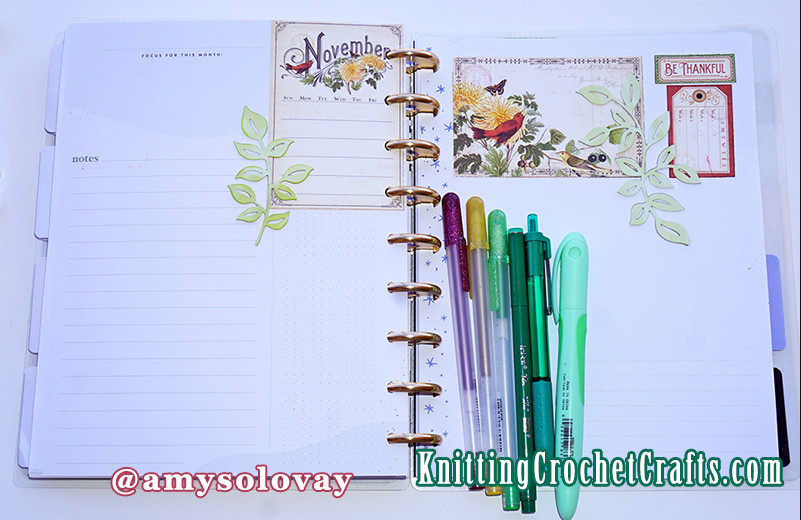
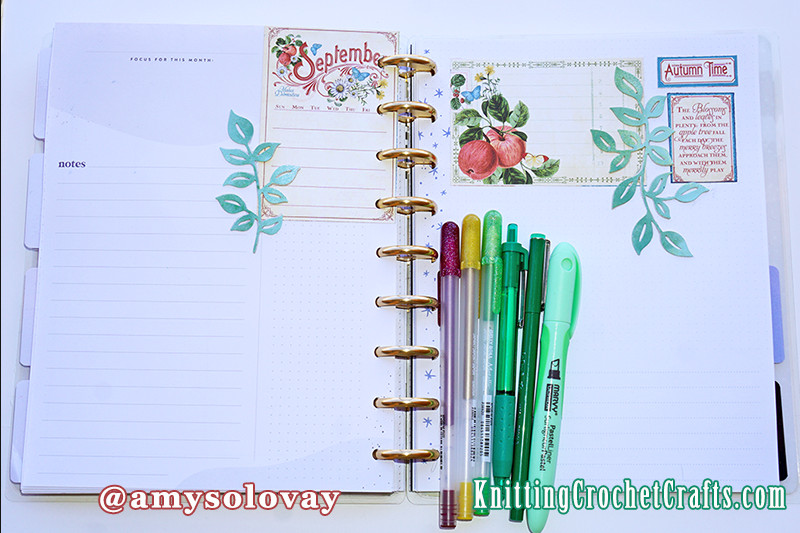
- Garden Journal Pages for the Happy Planner or Other Discbound Planners
- Valentine’s Day Card Making Idea Featuring Cupids, Roses and Hearts
- Happy Holidays Christmas Card Making Idea With Graphic 45 Patterned Papers
Posted By: Amy Solovay
This page was last updated on 12-31-2023.