Road Trip to Colonial Beach: A 6″x8″ Travel Scrapbook Mini Album
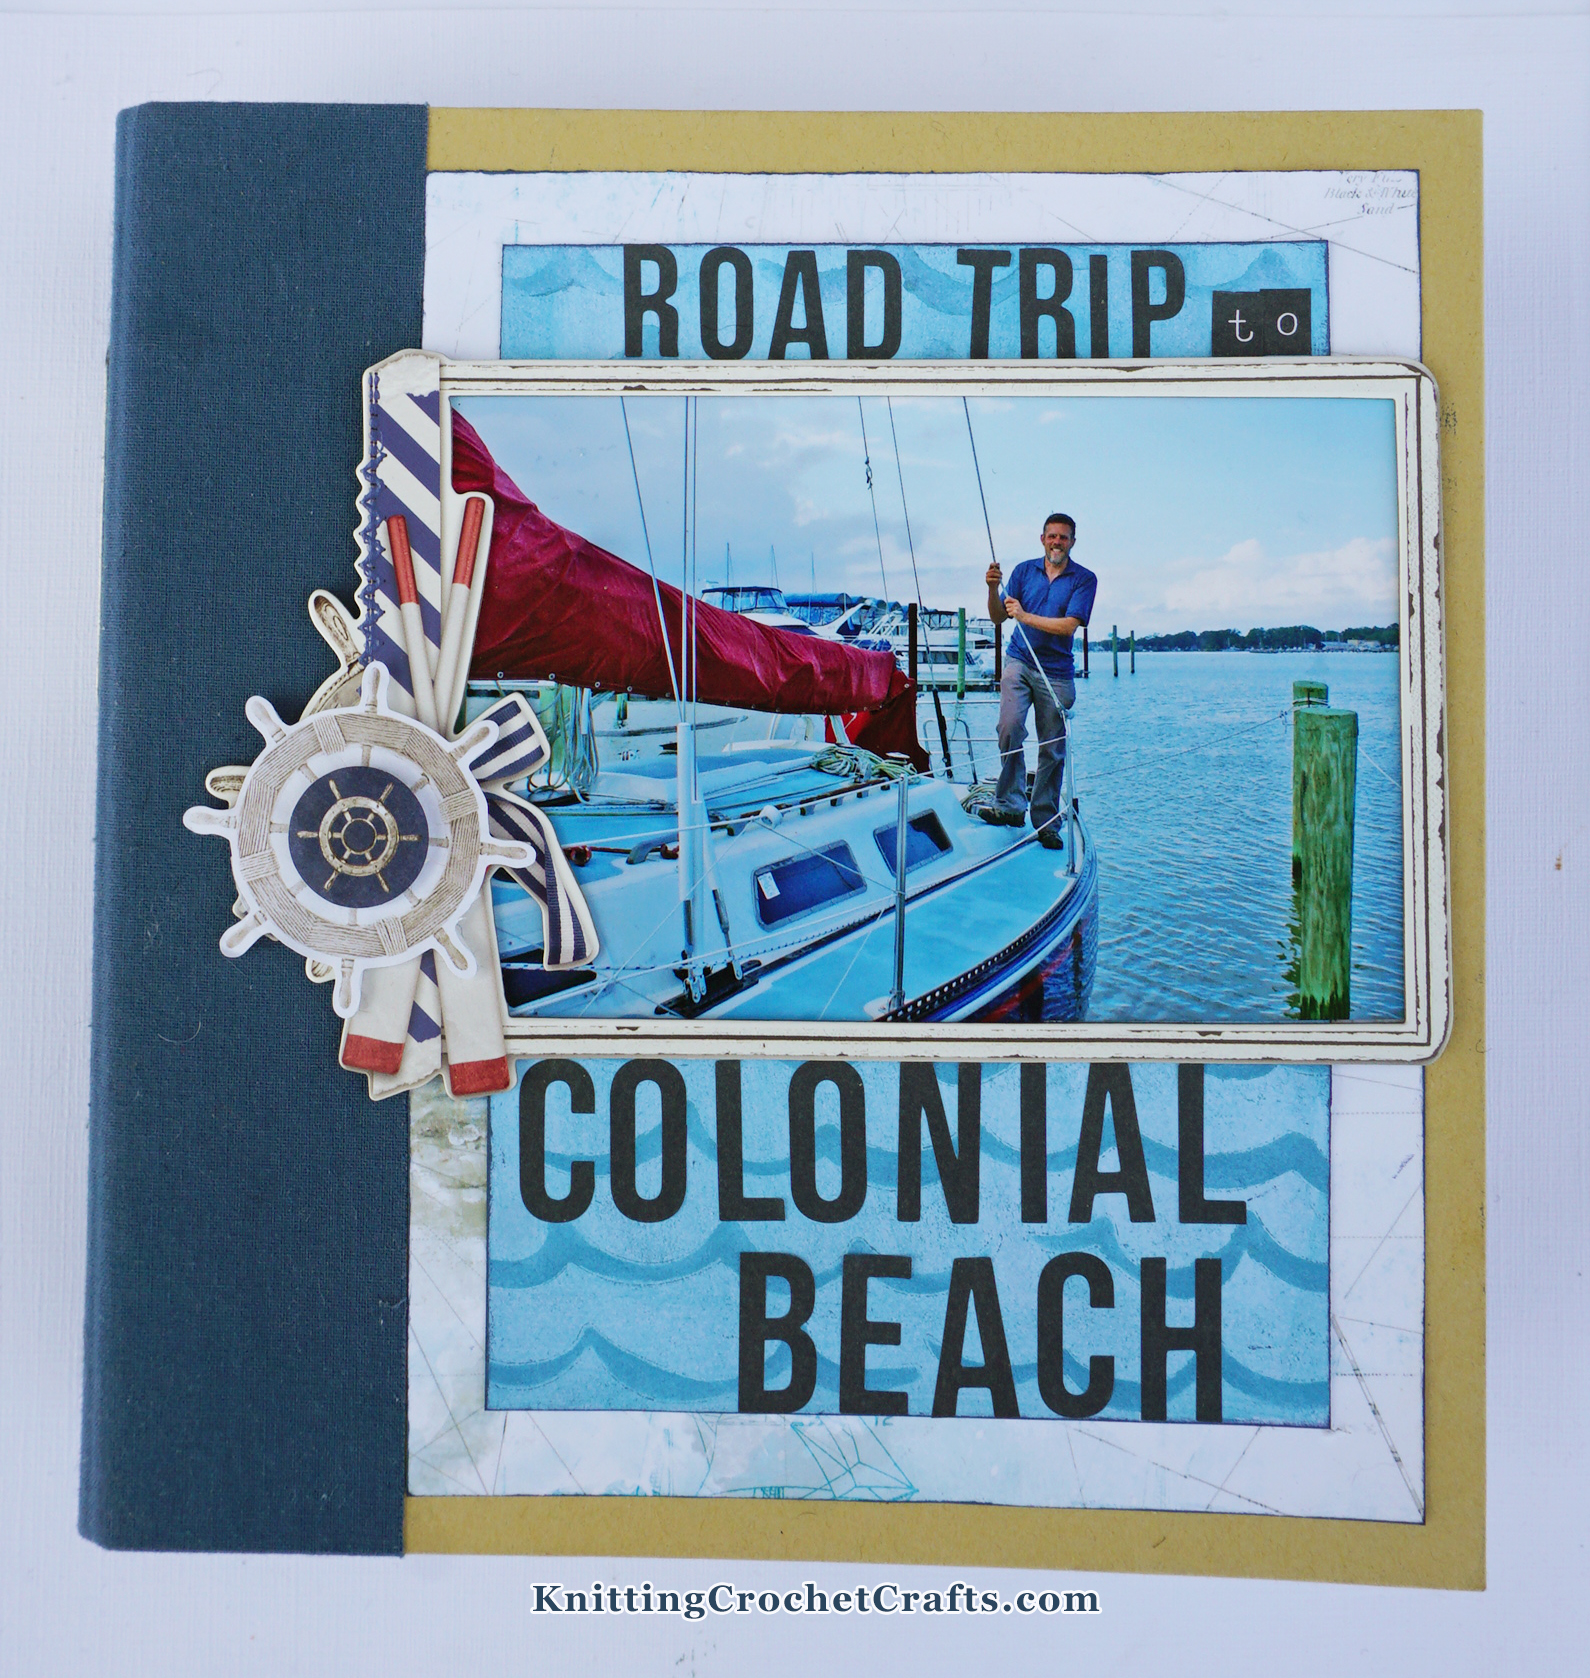
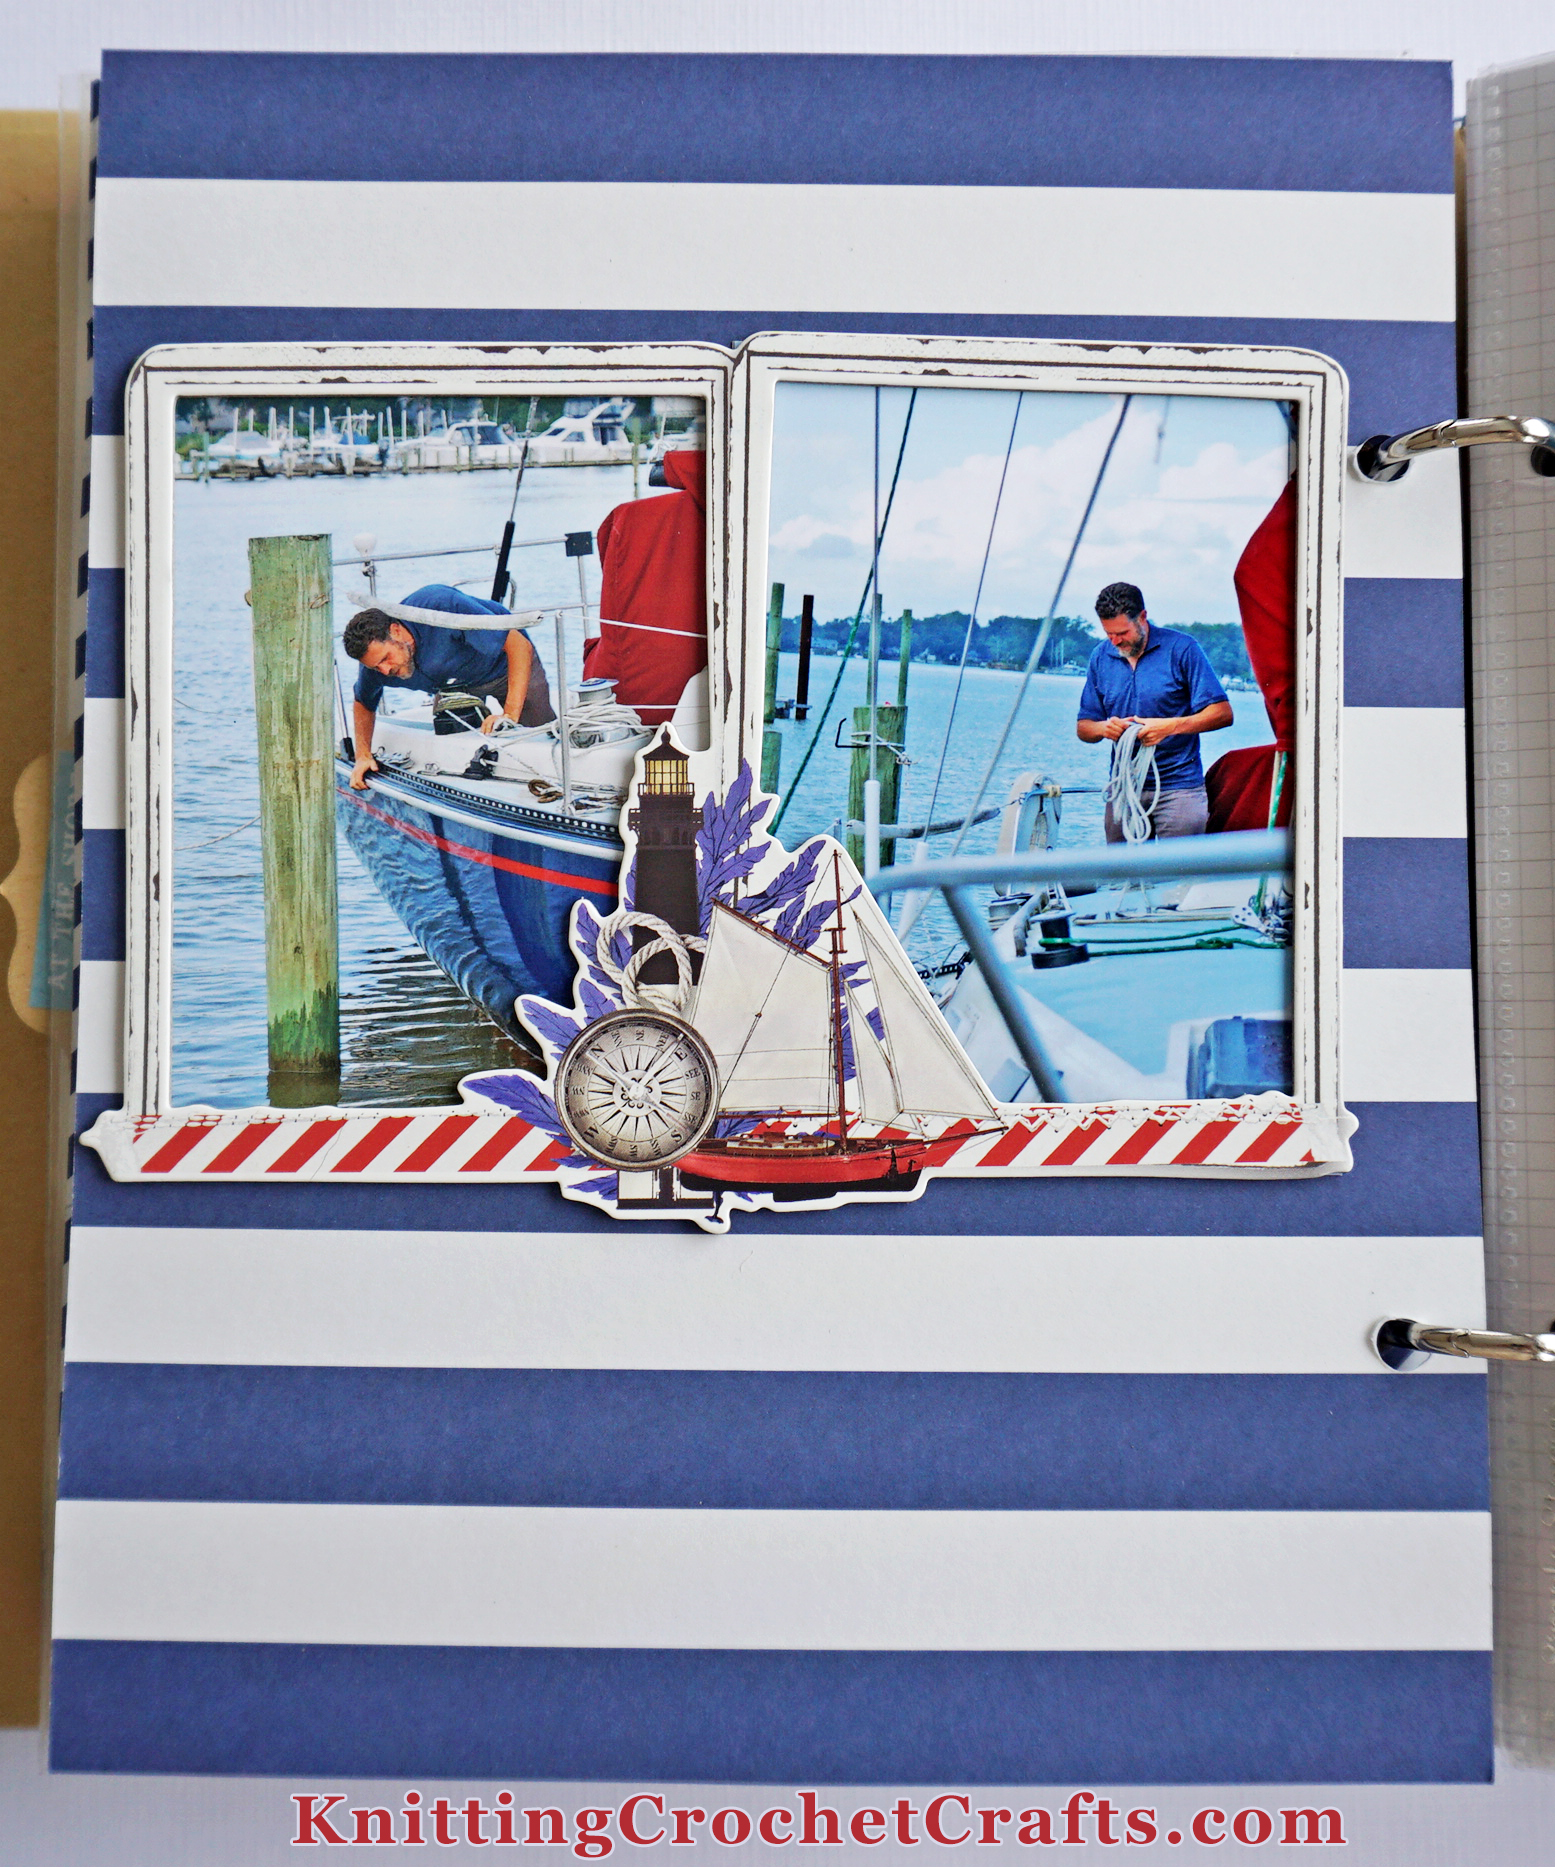
My husband, Mike, and I spent 5+ years living aboard sailboats, cruising the world’s oceans and exploring this amazing planet we call home. The first 2 years of that time we spent cruising the California Coast in a vintage wooden sailboat called “Typhoon”. Then we decided to cross the Atlantic Ocean and the Mediterranean Sea — so we bought a different sailboat that was better suited for making the crossing. This scrapbook album documents our experiences with “meeting” our new boat, Viva, for the first time.
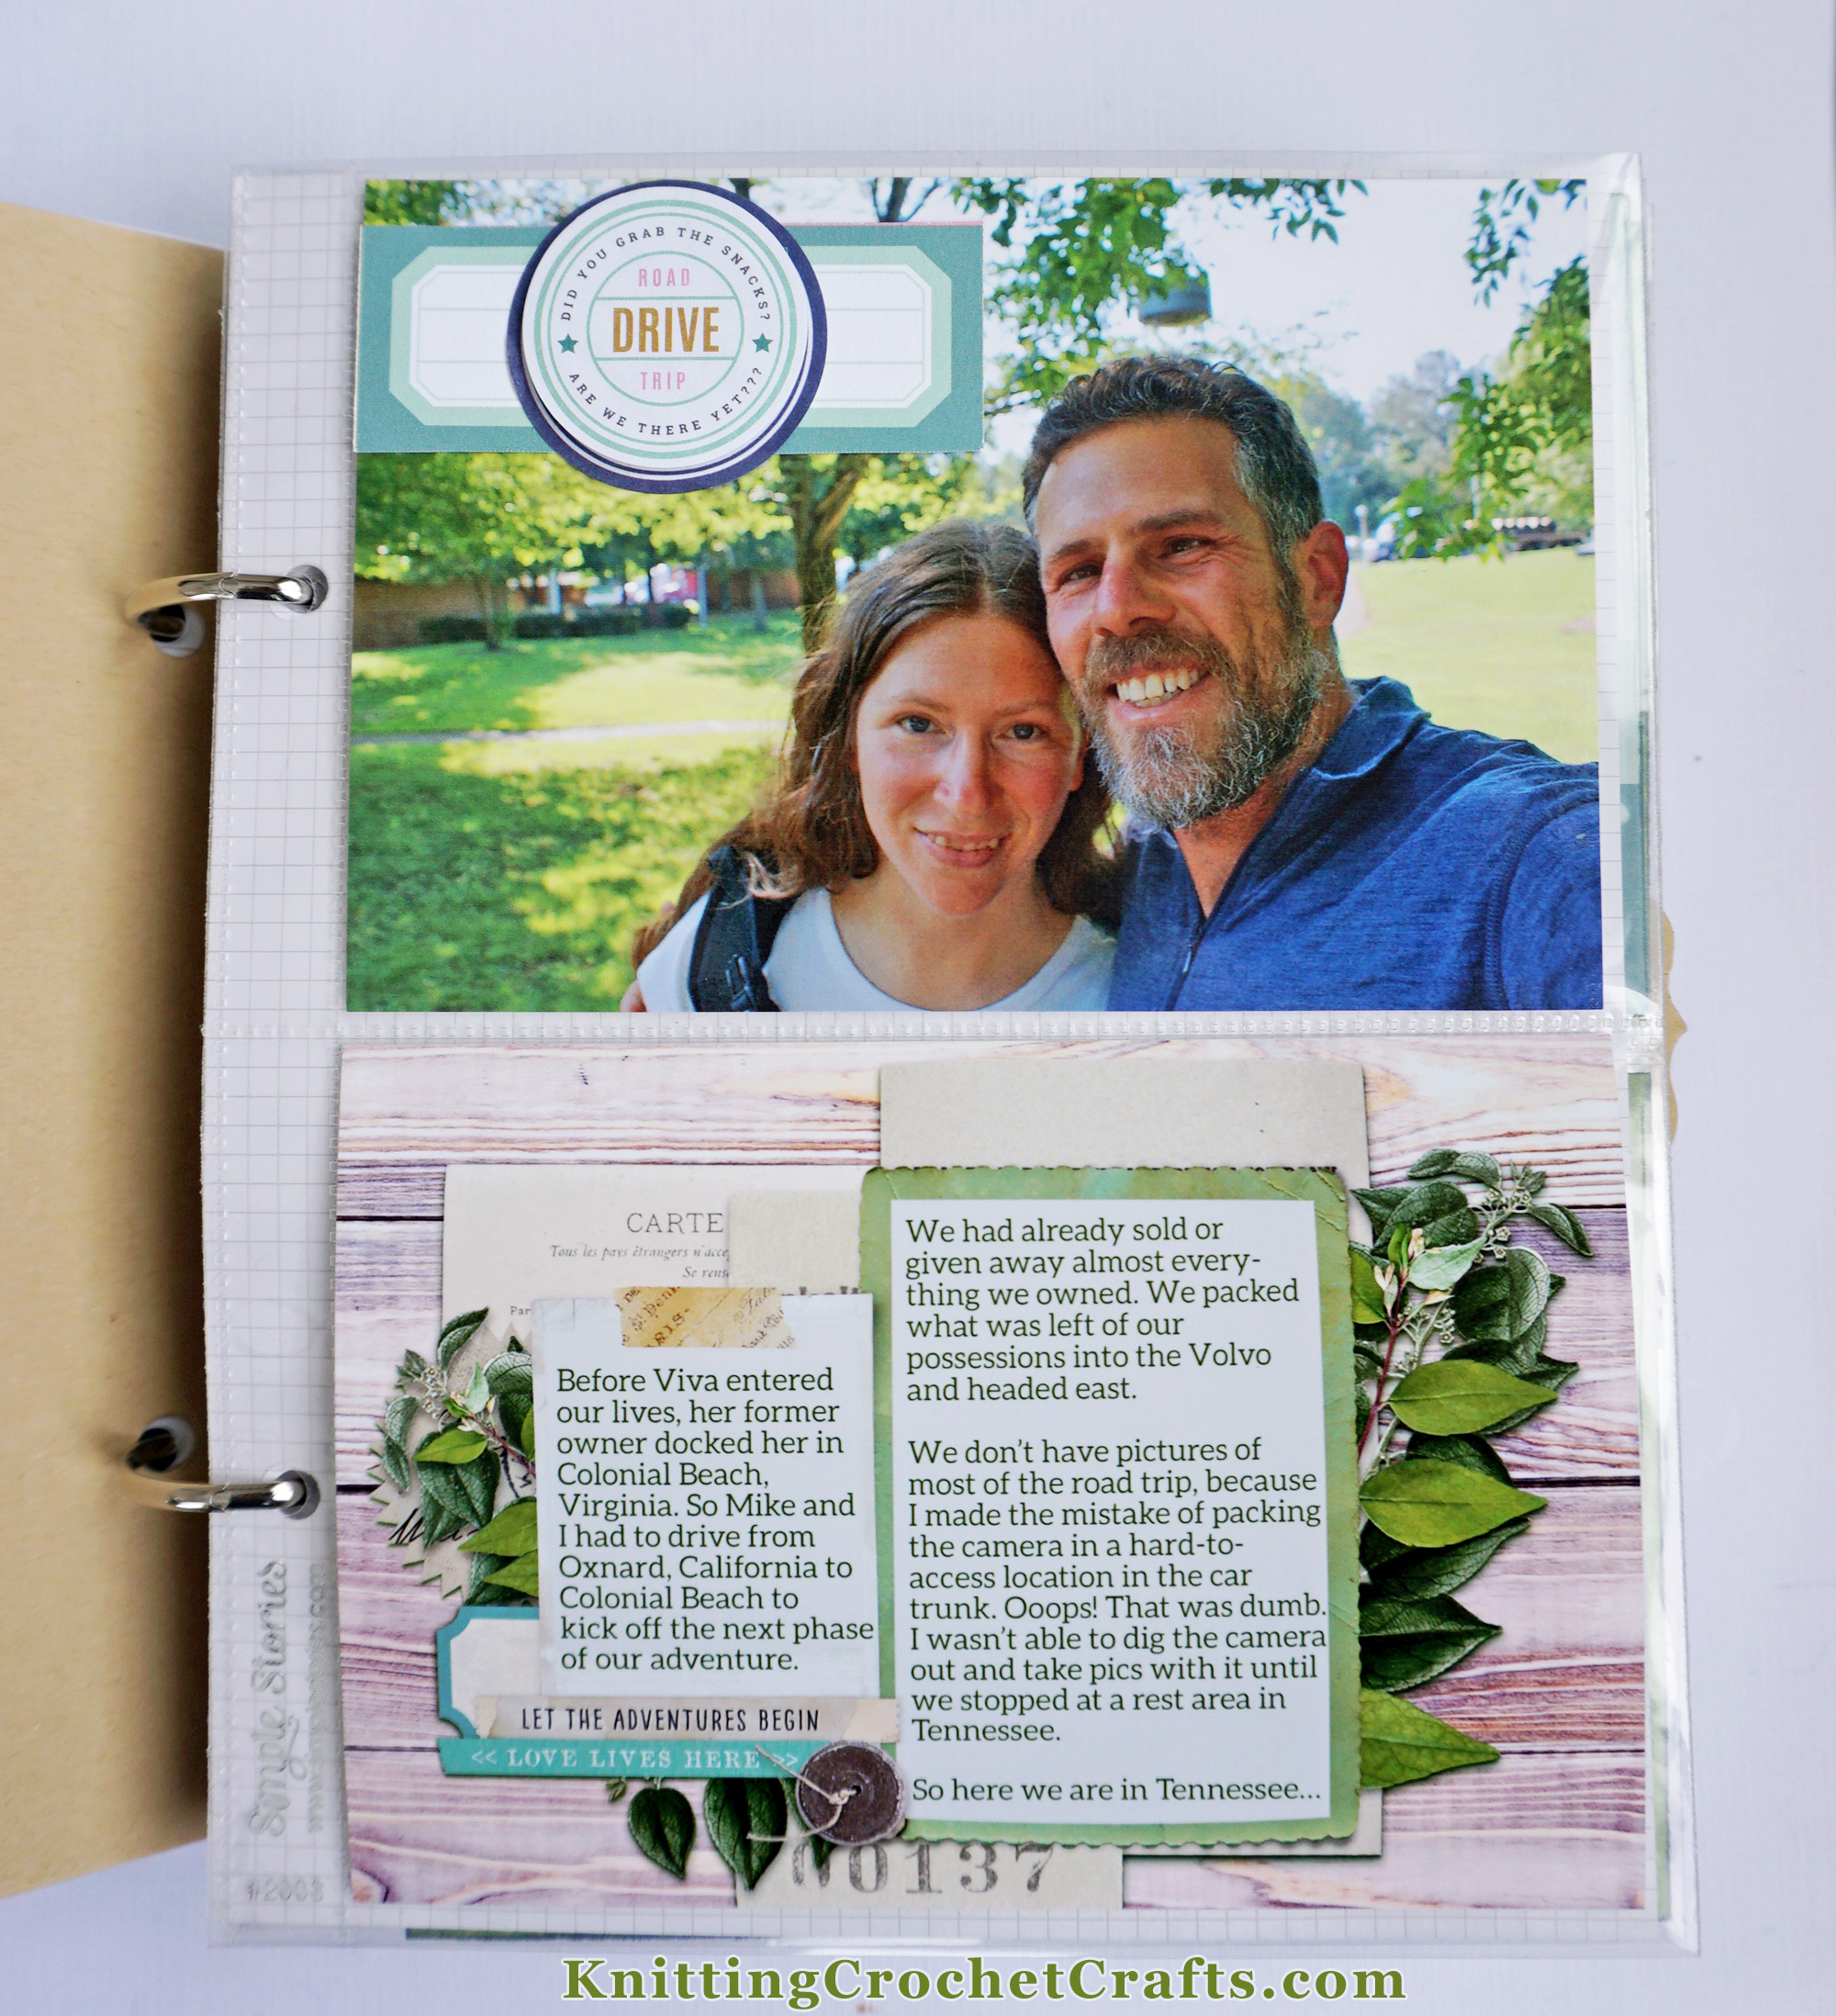
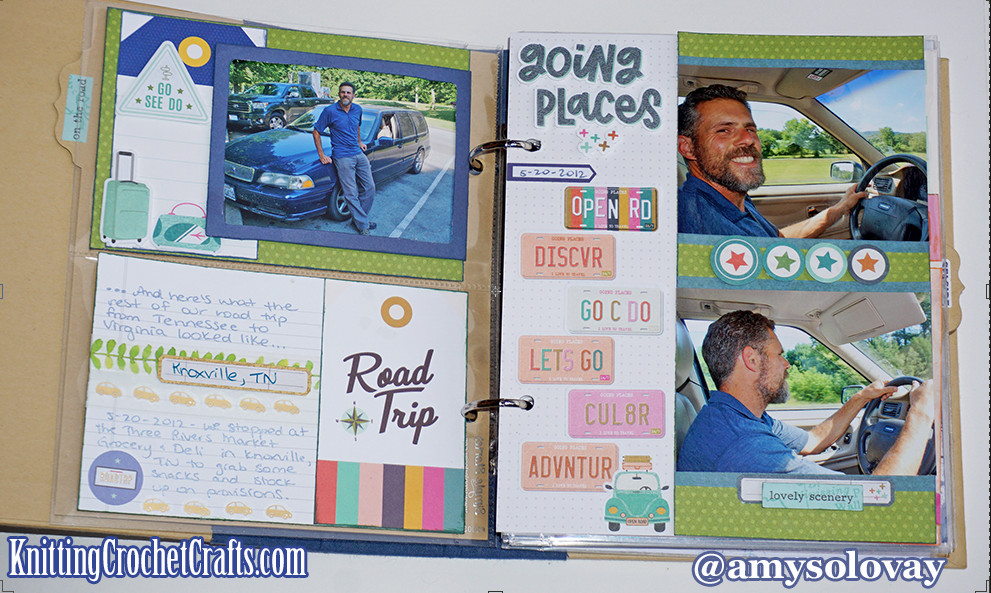
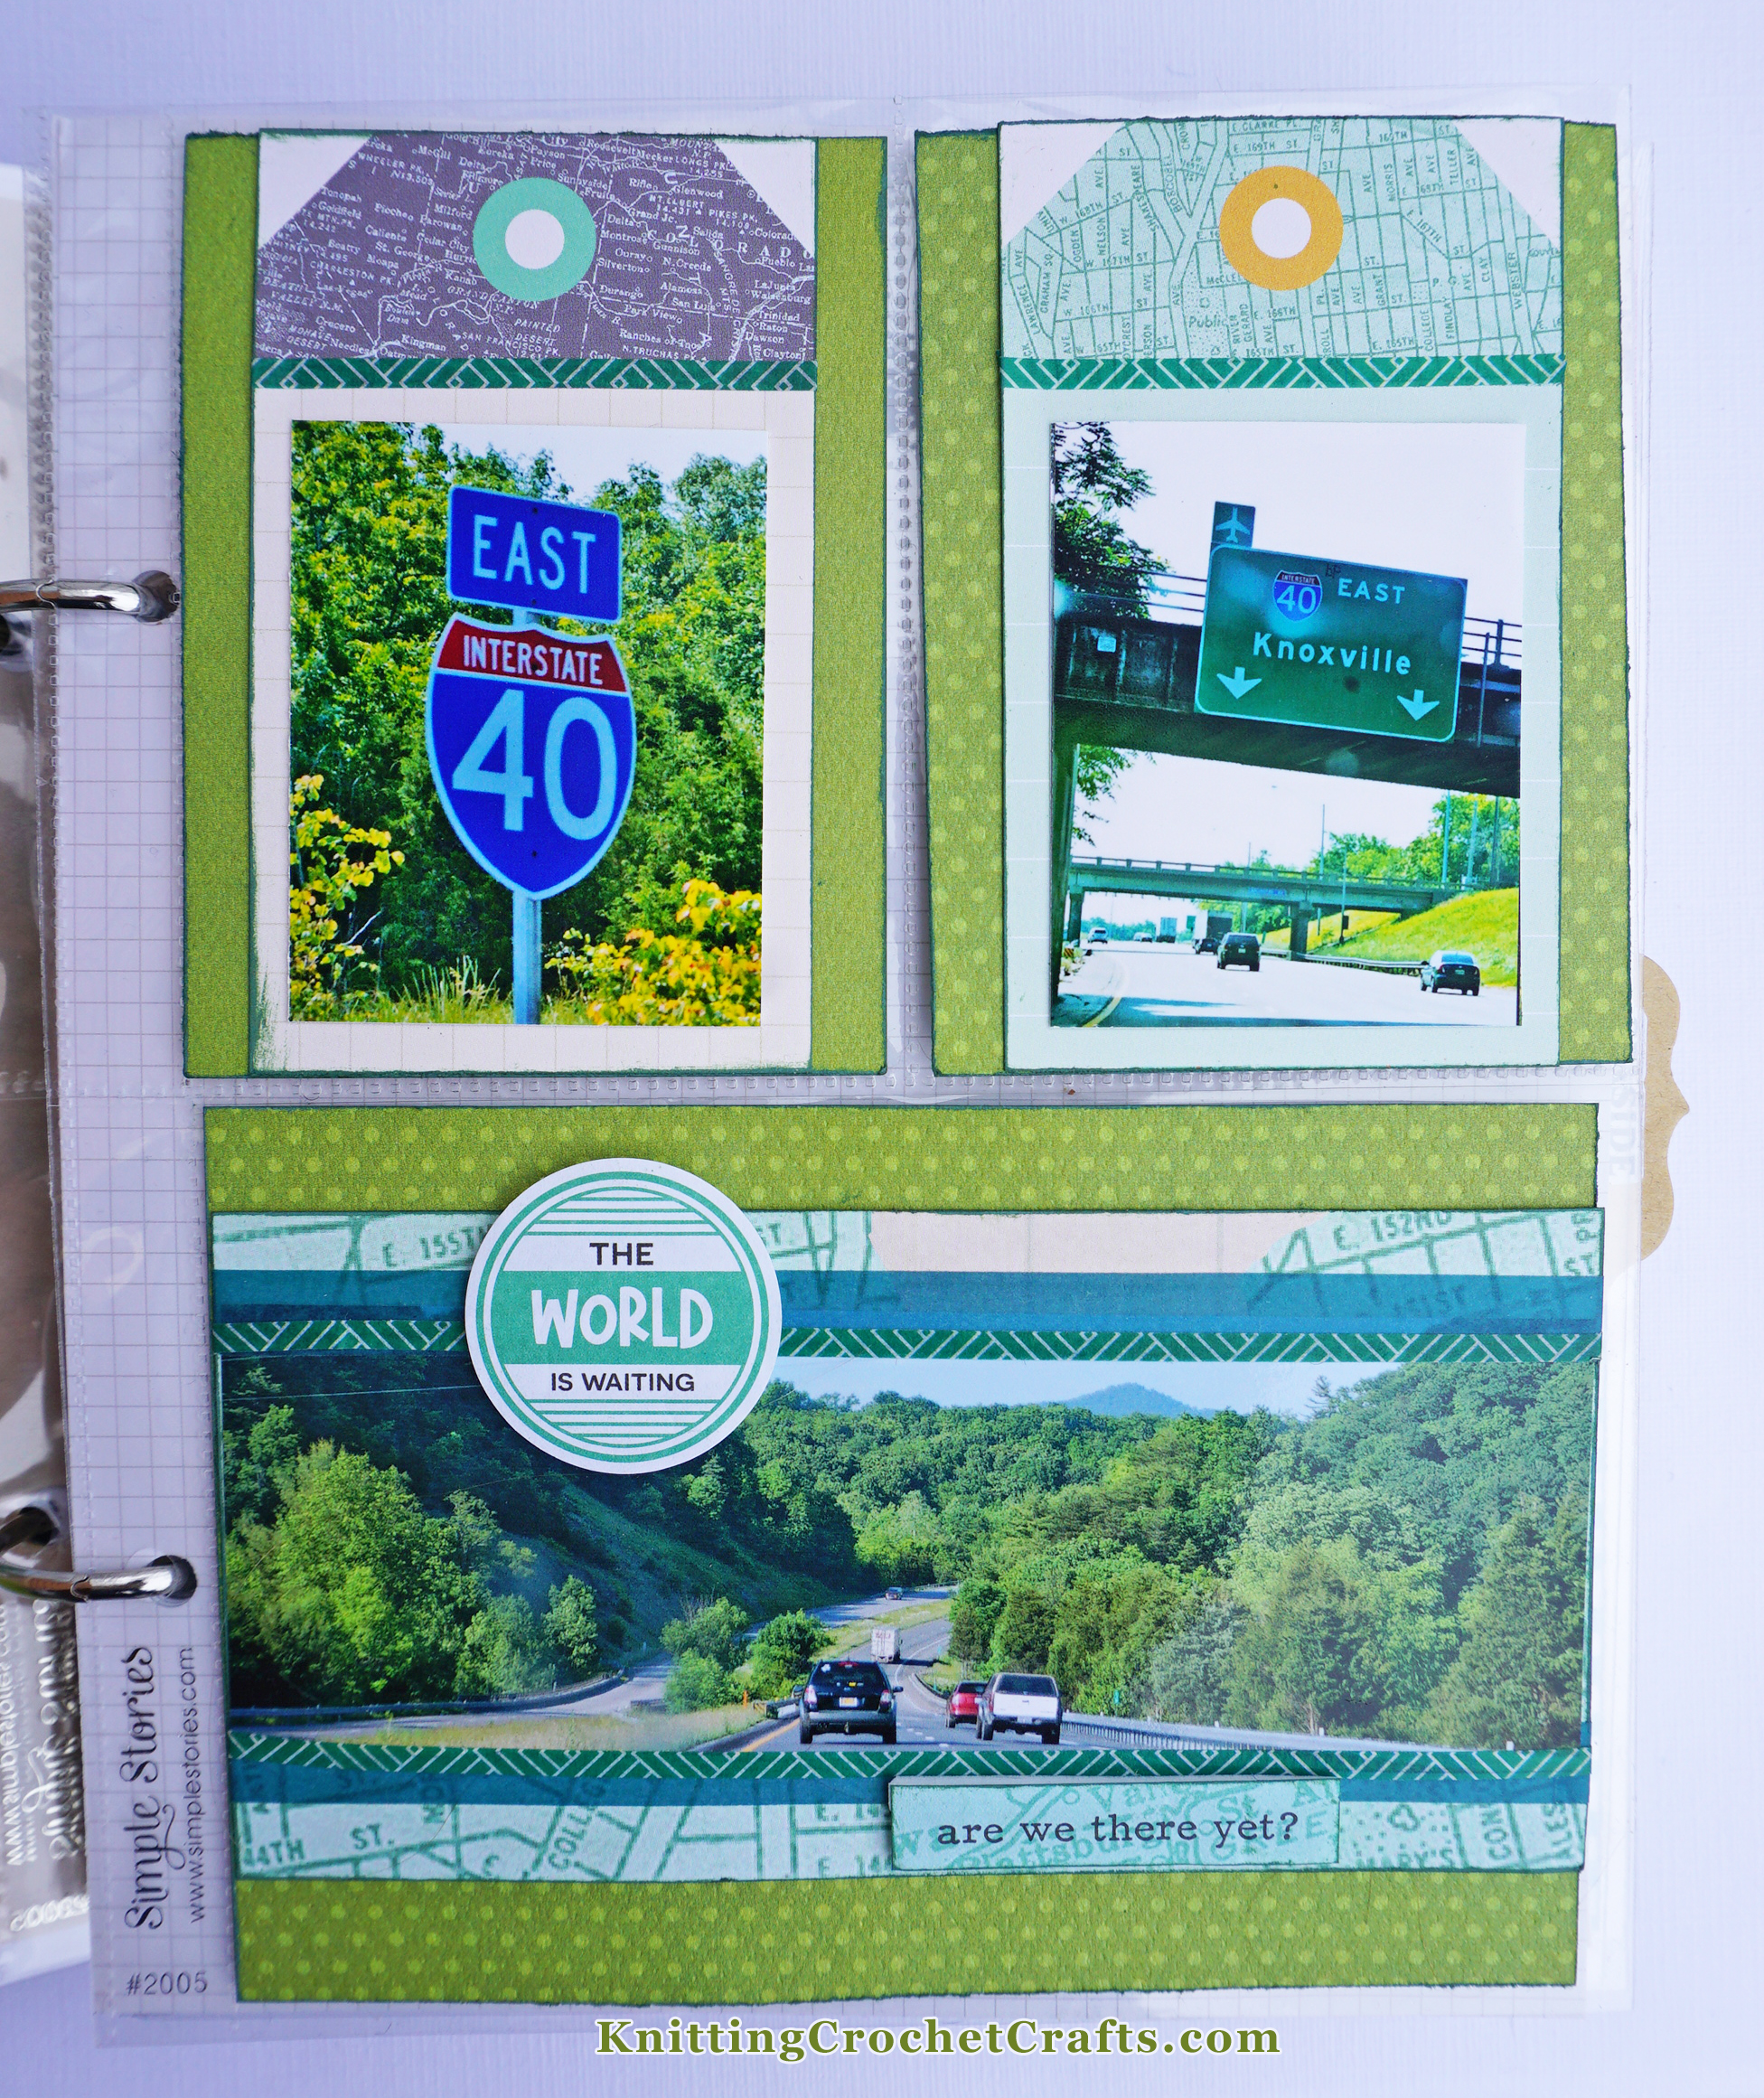
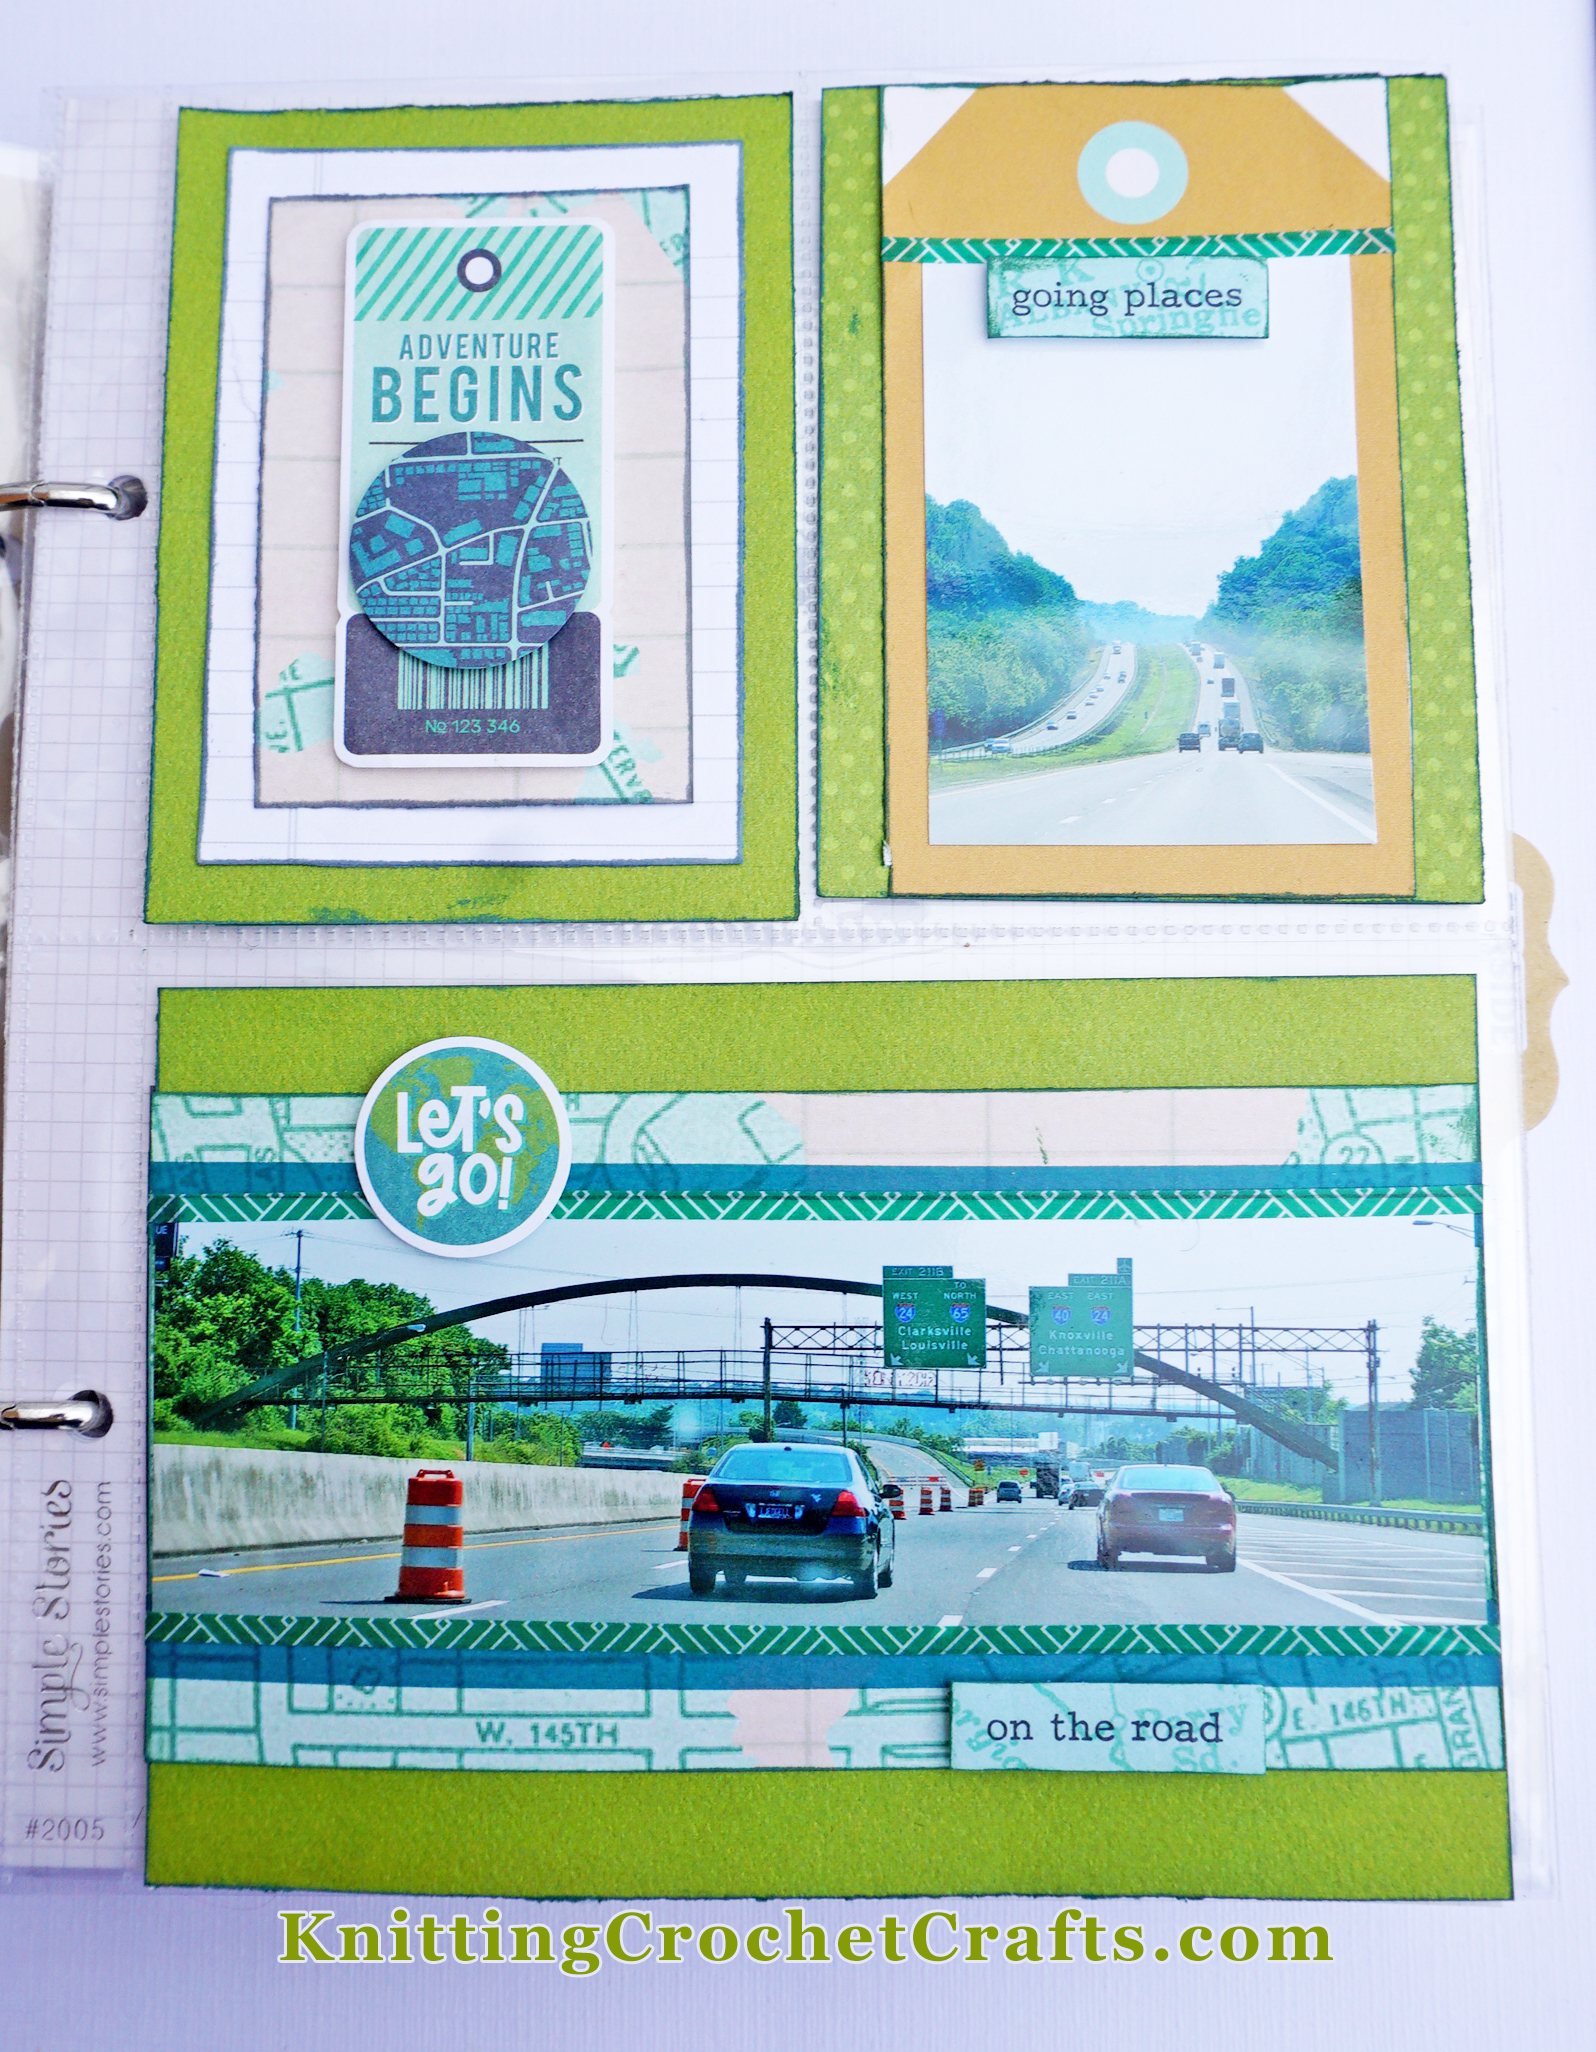
So far, this album has 50 pages — some of which are finished and some of which are still in progress. Here are pictures of some of the completed pages:

Craft Supplies You’ll Need to Create a Similar 6×8 Travel Scrapbook Album
6″x8″ Scrapbooking Binder and Extra Page Protectors to go inside it
If you want your travel scrapbook to look similar to the example project shown here, you’ll need a 6″x8″ binder-style scrapbooking album that can hold pocket protectors in a variety of styles. I highly recommend using a Sn@p Binder by Simple Stories for this project — but there are many 6″x8″ albums that will work for this.
I used a Navy Sn@p! Binder so I could take advantage of all the lovely navy-blue and white colored Snap pages in the album. These pages made the ideal backgrounds for many of the nautical-themed scrapbooking layouts I included in this album.
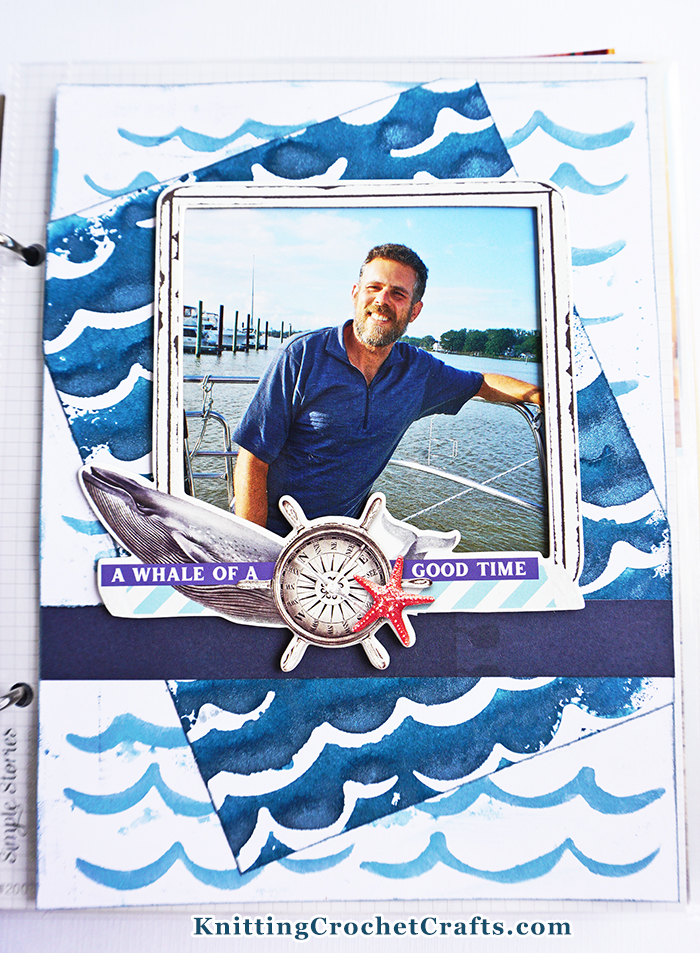
The Waves Stencil from the Simple Vintage Seas Collection by Simple Stories, Plus Other Stenciling Supplies
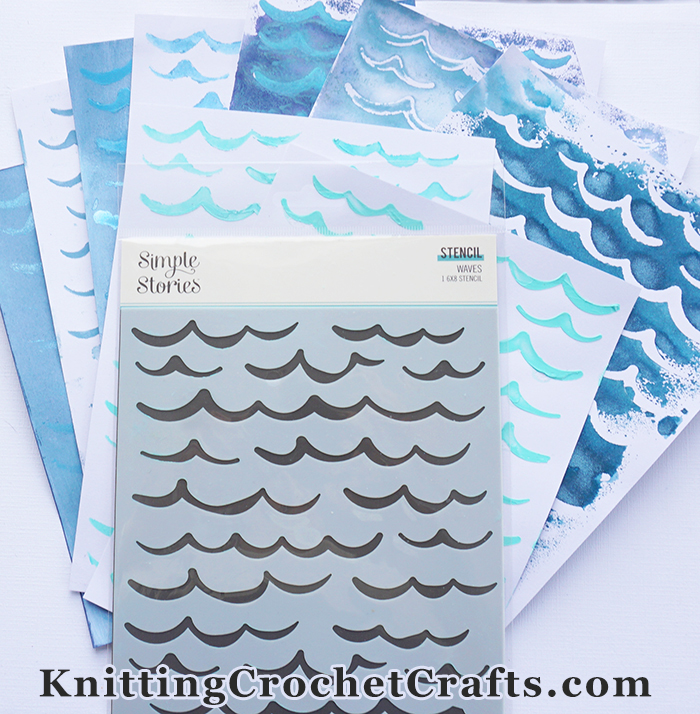
I used the Simple Stories Waves stencil to create bunches of the papers featured in this album. If you want to use stenciled papers in your own album, I suggest grabbing every blue ink, spray, paint, or stencil-able media in your stash, along with tools like palette knives, foam brushes, ink blending tools and spatulas. You don’t have to use exactly the supplies I used to get good results with your stenciling — but here’s a list of the supplies I used in case you need some inspiration for supplies you might want to use for this purpose:
- 6″x8″ pad of white cardstock
- Scrapbook.com Ink Blending Tools
- Stormy Sky Distress Oxide Ink
- Weathered Wood Distress Ink
- Chipped Sapphire Distress Oxide Ink
- Speckled Egg Distress Oxide Ink
- Pearlescent Sky Blue Brilliance Ink
- Distress Mica Stain Spray by Tim Holtz — I used the blue color, which is known as “Winter Frost”, from the 3-piece Christmas-themed set.
- Salvaged Patina Distress Oxide ink
- Scrapbook.com Pops of Color in the Sky Blue Gloss Color — The color on this is almost exactly the same as Salvaged Patina Distress Oxide ink. However, the Pops of Color behave differently than the ink does. The colored areas from the Pops of Color dry to a hard, plastic-like consistency on your paper — and this media can act like a resist when you do ink blending along with it.
Important Note: When ink blending with stencils, I prefer using the reinkers and applying the ink directly to whichever ink blending tool or spatula I am using to do my stenciling. However, if you have ink pads in your stash, it is possible to ink your tools using the ink pads instead of the reinkers.
If you don’t have any inks, pads or similar media in your stash, and you need to buy new supplies just for this project, you’ll probably get the best bang for your buck by buying cheap-o acrylic paints, which are typically far less expensive than ink pads or reinkers are.
However, it can be more challenging to use paints than inks for stenciling — so if you are not that experienced with stenciling, you might enjoy working with inks. In that case, I recommend skipping the ink pads and just buying reinkers to work with for this.
Prior to making these layouts, I spent a few hours just making stenciled papers to use in this album. Then I let them all dry overnight so they were ready to go when I wanted to start scrapping. I recommend doing the same if you’re hoping to maximize the time you spend on this project; you will waste a lot of time waiting for media to dry if you stencil your papers individually as you need them.
Not Pictured:
- Alphabet Sticker Book in the “Winter” Colorway from the “Color Vibe” collection by Simple Stories — I used these stickers to create the text on the album cover.
- Simple Vintage Seas Sticker Book by Simple Stories
- Let’s Go! Sticker Book by Simple Stories
- Color Vibe Woods 6×8 Paper Pad by Simple Stories
- Textured Green Cardstock from the Color Vibe Collection by Simple Stories
- 12″x12″ Tags Patterned Paper from the “Homegrown” Collection by Simple Stories — I bought multiples of this design; each sheet has a green tag that matches the textured green Color Vibe cardstock and a blue tag that coordinates well with the blue papers from the Simple Vintage Seas collection.
- 12″x12″ Tags Patterned Paper from the “Let’s Go!” Collection by Simple Stories — I bought one sheet of these, but I should have bought bunches more; I used every tag on the page and would have used others if I’d had them available.
- “Destination Unknown” 12″x12″ Patterned Paper from the “Let’s Go!” Collection by Simple Stories
- Journal Elements 12″x12″ Patterned Paper from the “Let’s Go!” Collection by Simple Stories
- Marine Blue 12″x12″ Patterned Paper from the “Simple Vintage Seas” Collection by Simple Stories
- Sea Glass 12″x12″ Patterned Paper from the “Simple Vintage Seas” Collection by Simple Stories
- “By the Sea” 12″x12″ Patterned Paper from the “Simple Vintage Seas” collection by Simple Stories (I used this paper on the front cover of the album).
- “Sail Away” 12×12 Patterned Paper from the “Simple Vintage Seas” collection by Simple Stories
- “Surf, Sea and Sand” 12″X12″ Patterned Paper from the “Simple Vintage Seas” collection by Simple Stories
- Washi Tape — If you already have washi tape in your craft supplies stash, look through your stash to see if you have some you can use for this project. If you don’t already have a stash of Washi tape available to use, you might want to grab the Washi tapes from the Let’s Go! or Simple Vintage Seas collections to use on your layouts. I already have a zillion washi tapes in my stash, so I used styles that I already had available. I used some ultra-narrow green washi tape by the Happy Planner / Me & My Big Ideas, plus some solid-colored washi tape by Jen Hadfield for American Crafts.
- Dark Navy Blue Cardstock — I would have liked to buy a stack of the 12″x12″ Marine Blue patterned paper by Simple Stories to use in this project. However, I already had a bunch of dark navy blue textured cardstock in my paper stash, so I used bits of what I had for making some of the pages in this album. In particular, I used the dark navy blue cardstock for making some of the frames and photo mats used throughout this album. In some cases, I sprayed them with the Tim Holtz Mica Spray to make them match the stenciled images and other papers.
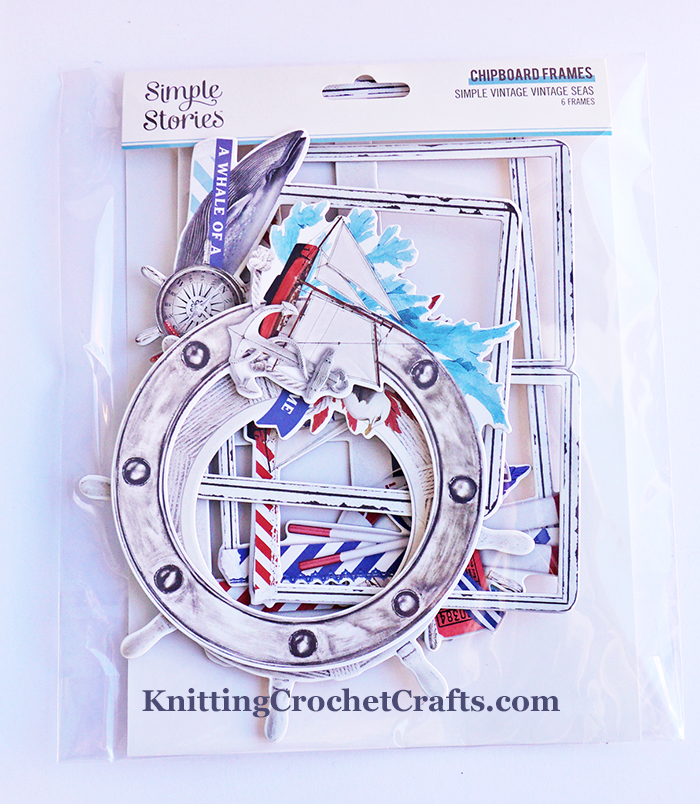
- Frame Punch Board by We R Memory Keepers: I needed more photo frames than the 6 that were included in the pack of chipboard frames from the Simple Vintage Seas collection by Simple Stories. The easiest thing to do is to buy premade frames – so if you are buying new supplies for a project like this, you might want to grab several packs of frames and skip the step of making your own frames. But if you don’t mind making your own frames, the We R Memory Keepers Frame Punch Board is a useful tool that can make the process a lot faster than it would be if you were to just use an old-fashioned X-Acto knife to do all your cutting. I love my Frame Punch Board and highly recommend it to other crafters.
To Be Continued!
This page is a work in progress! I’ll be sharing more of the pages from this album as I complete them. Thanks so much for your interest!
Check Out More Travel Scrapbooking Albums and Layouts:
- Venice Beach Pier: A 12″x12″ Digital Scrapbooking Layout
- Travel Scrapbooking Ideas: How to Make a Travel Journal With Pictures
- Travel Bucket List Planner Layout Idea
- Snowflake-Shaped Ski Vacation Scrapbook Mini Album
Find More Paper Craft Ideas:
Posted By: Amy Solovay
This page was last updated on 2-8-2024.