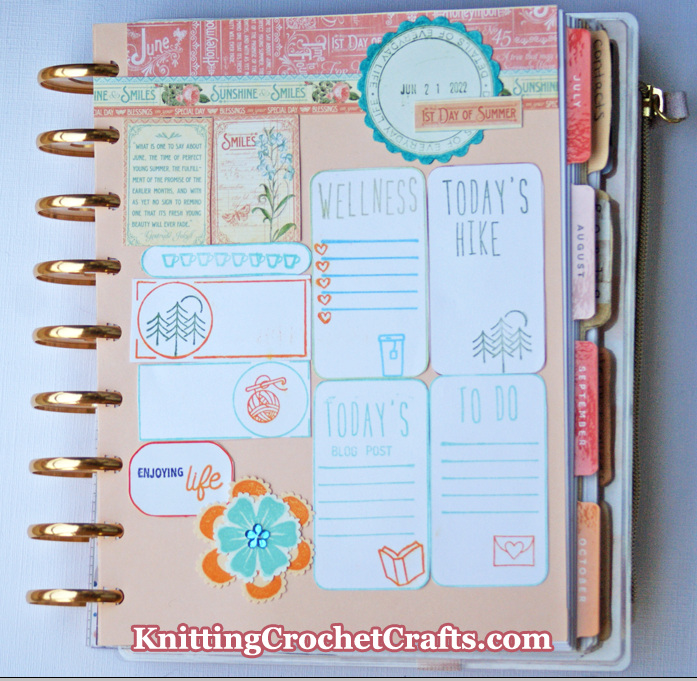
There are zillions of ready-made planners you can buy at your local big-box stores. Problem is, the vast majority of these planners are one-size-fits-all solutions that aren’t quite right for you, and are not tailored to your specific needs.
That’s the main reason you might want to consider creating your own calendar or planner from scratch. When you make your own planner or calendar, you can give it exactly the features you need for maximizing your productivity.
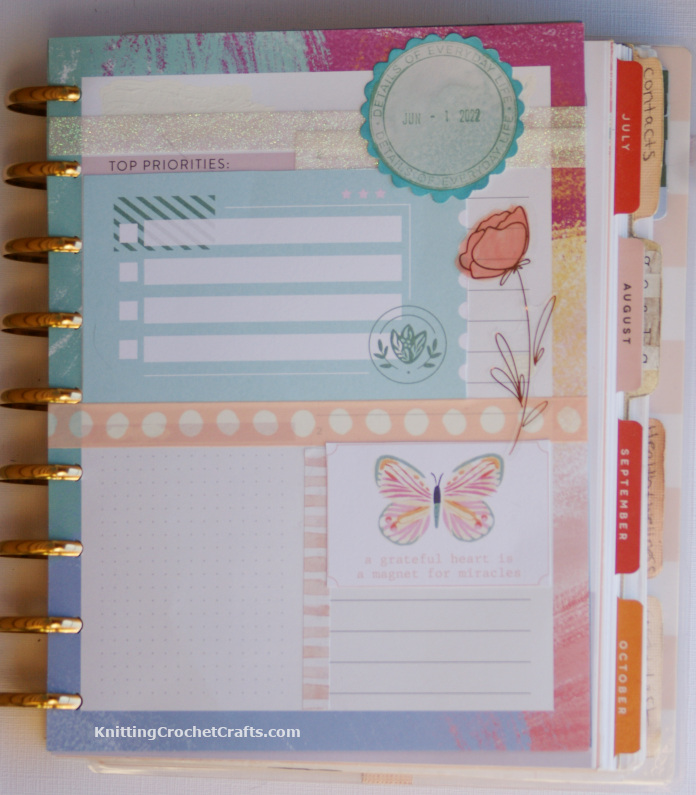
It’s also worth keeping in mind that you do not need to start entirely from scratch when you design out a planner. It’s heaps easier to buy ready-made components, stickers and inserts (or download existing insert page designs) and work with those. The end result is the same as if you’d built your own planner from scratch: You end up with exactly the planner you need.
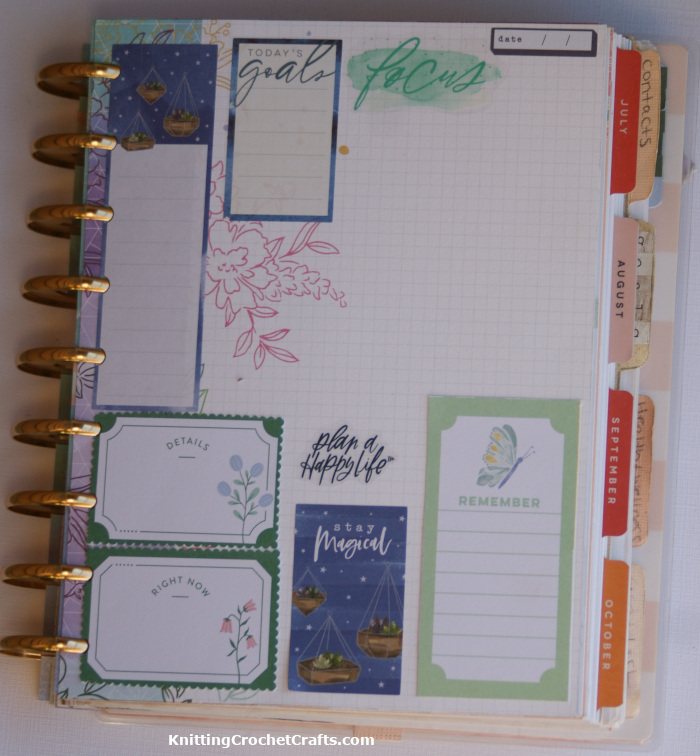
Let’s go through the steps you’ll want to consider when you design your own planner.
Choose a Binding for Your Planner:
There are multiple types of bindings you could choose for your DIY planner or calendar:
- Discbound
- Binder-style binding with rings
- Hand-sewn / hand stitched binding
- Spiral binding
- You can also buy a ready-made bullet journal, hardcover journal, perfect bound journal, traveler’s journal or other notebook / journal to use as the basis for creating your planner.
- Other types of bindings are also possible.
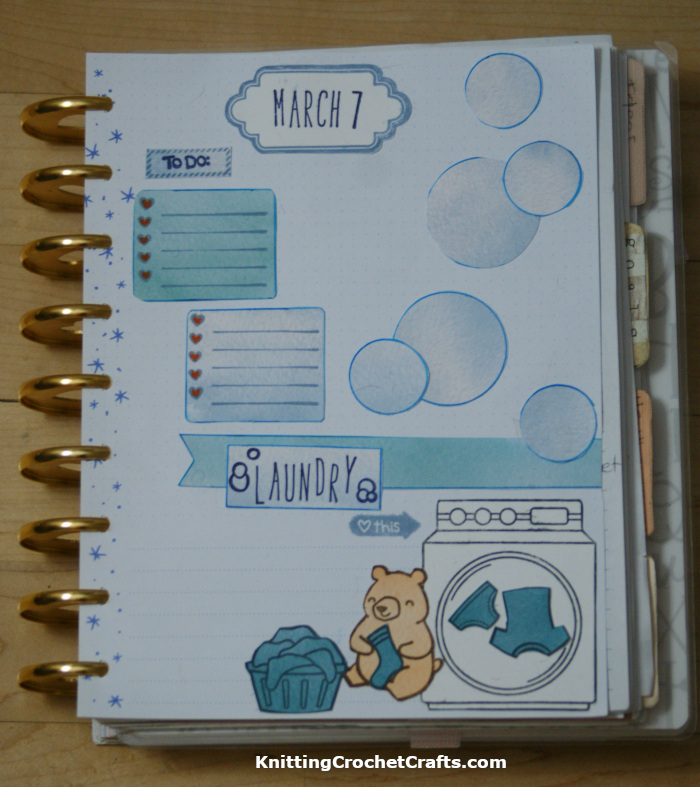
There are various ways to create planners and calendars using these bindings.
If you aren’t already committed to one particular style of binding, I encourage you to consider getting set up to make and use discbound planners. I make this recommendation for several reasons:
- First and foremost, I think discbound planners offer you absolutely THE BEST options for maximizing your productivity — because you can easily add pages to them, remove pages from them, and move the pages around as needed. So, for example, you can write out a grocery list, remove it from your planner and take that page to the store, and then re-insert the page in the meal planning section of your planner, or the budgeting section — wherever you happen to need it to facilitate your planning and organization style.
- Discbound planners are really easy to make and use.
- There are multiple major office supply stores and brands involved with making discbound planners and their calendar extensions, page refills, inserts, covers, stickers and related supplies — so you have many choices for planner supplies that are likely to appeal to you. The best part is that most of these planner supplies are more or less compatible with each other, so you can select whichever supplies appeal to you from each brand.
- There’s lots of information available about how to use and customize your discbound planners. Our website offers you bunches of help with this, but beyond that, discbound planners have many other enthusiasts — so you’ll find that information is broadly available from a wide range of perspectives.
If you’d rather have a spiral-bound planner, you can check out binding tools like The Cinch for creating your planners.
A Cinch has been on my wishlist for years. I don’t personally have enough available crafting space to even consider buying any new tools right now, but if I could justify buying this, I would do it. Maybe your situation is different. If you have the space, the funds and an ongoing need to make your own books / planners / calendars / journals, this would be a really fun tool to add to your collection.
Consider the Available Selection of Planner Punches
Many manufacturers of planners and related supplies make planner punches available. Planner punches are useful to have, because they allow you to add unbranded downloadable planner inserts into your planner. You just print out the insert you need, punch the edge with the planner punch, and add the page to your planner in the spot you need it.
You can also use the planner punch for adding other types of papers to your planner. For example, I have stacks of scrapbooking paper that I will never use for scrapbooking, but I am excited to use it in my planner. I can simply cut the paper down to the right size with my paper trimmer, punch the edge using the planner punch, and add the scrapbooking paper to my planner.
The planner punches I’m familiar with punch either a discbound edge or a ring-binder style edge (usually they punch either 6 holes or 3 holes).
There are also punch boards that give you the option for punching multiple different kinds of edges. This is useful if you don’t always stick to using one kind of planner; it gives you the option to customize different types of planners without investing in bunches of different punches.
Crop-A-Dile Disc Punch
Happy Planner Discbound Punches
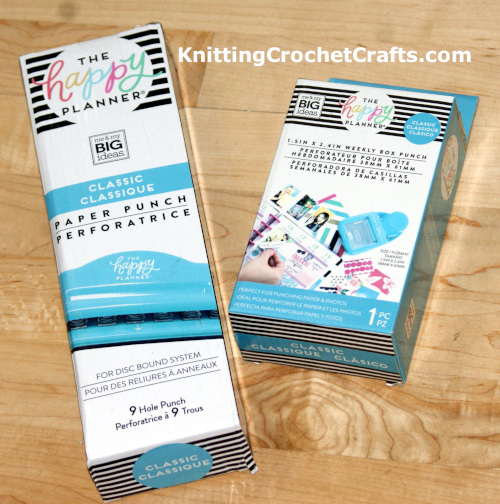
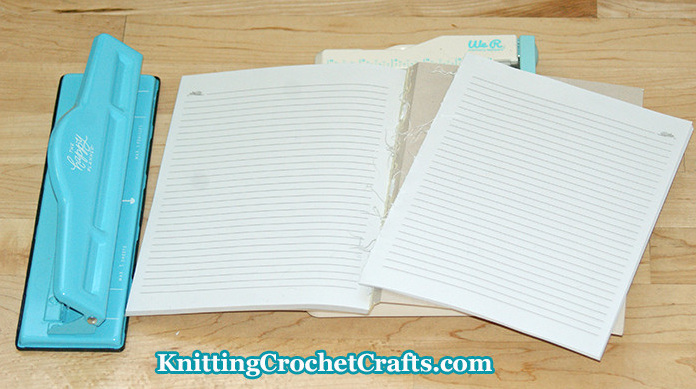
TUL Punch
Maggie Holmes Punch Board
We R Memory Keepers Punch Board
DIY Binding Systems
The Cinch
Zutter Bind-It-All
Calendar Clear Stamp Sets
Bunches of planner manufacturers and scrapbooking supply manufacturers are making calendar-themed clear stamp sets available. You’ll find bunches of options for stamp sets you can use to stamp the months, days of the week, numbers, various calendar frames, to-do lists, trackers, and whatever else you might need for customizing your planner layouts and calendar pages.
If you prefer to buy undated planners or undated calendar extension packs, this is one solution I highly recommend — because it can save you a fortune as compared against buying stickers. It also gives you a lot of flexibility, because you can buy whatever colors and types of ink pads that appeal to you. Then you can use any ink color you like for stamping your calendar dates.
Calendar Stickers and Seasonal Stickers
Over to You: Your Thoughts on Creating Your Own Planners and Calendars
So are you excited to try making your own planner or calendar? Or does it sound like wayyyyyy too much work to you? Let’s talk about your ideas for DIY planners and calendars in the comments section below.
Find More Inspiration for Creating Your Own Planner Layouts, Journaling and Scrapbook Pages:
- Planners, Calendars, Journals and Organizers
- Travel Scrapbooking Ideas: How to Make a Travel Journal With Pictures
- Classic Happy Planner Review
- Do I Have to Buy a New Happy Planner Every Year?
- Clear Stamps: A Complete Guide With Ideas and Instructions for How to Use Them
- Stamping
- Collage Art
- Painting
- Drawing
- Illustration
- Paper Crafts
- Find our main directory of craft techniques and project ideas HERE.
Posted By: Amy Solovay
This page was last updated on 5-1-2025