Gardening is hard! But there are shortcuts you can take to make the process easier on yourself.
If you’re an avid gardener, keeping a garden journal is one of the best shortcuts you can take for maximizing your successful harvests and learning from the mistakes you made with your unsuccessful ones. It’s especially helpful to keep a garden journal if your memory isn’t so good, and you don’t remember exactly what you did yesterday, let alone do you remember what you did last year. A garden journal can help you track the important details of what you did in your garden:
- Jot down what you planted and where you planted it;
- Track what your weather was like on any given day;
- Keep a record of which pests you found devouring your plants, the steps you took to mitigate the problems, and whether your actions seemed to be effective
- Make notes about what you want to do differently next season so you can hit the ground running when you get started next time
and all the other little details that can help you to improve your chances of a better harvest for the next garden.
Once you start tracking your weather, you’ll see that certain patterns emerge.
For example, you might find that, for three years in a row, you’ve had your first frost a week earlier than the USDA’s Plant Hardiness Zone Map suggests it should be. Or you might find that your region is prone to getting sporadic cold fronts earlier than expected. Having this info will help you adjust your harvest dates and your seed starting dates so you take the best possible advantage of every possible day in your growing season.
Your garden journal doesn’t have to be beautiful. Most of my garden journals are written on notebook paper in pencil or pen, and they are not that interesting to look at.
But, since I keep these pages from year to year and refer back to them often, I decided that, next time I plant a garden, I will work on making my garden journal pages as lovely to look at as possible. Why not? That way, I’ll be likelier to keep and use my pages the next year.
If you’d like to beautify your garden record-keeping, too, I invite you to check out the following Garden Journal Pages for Happy Planner or Other Discbound Planners:
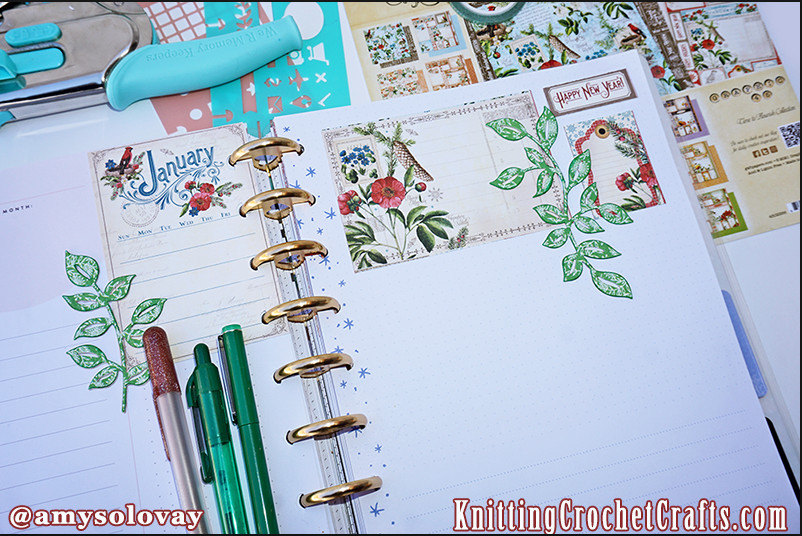
Winter-Themed Garden Journal Pages for the Month of January:
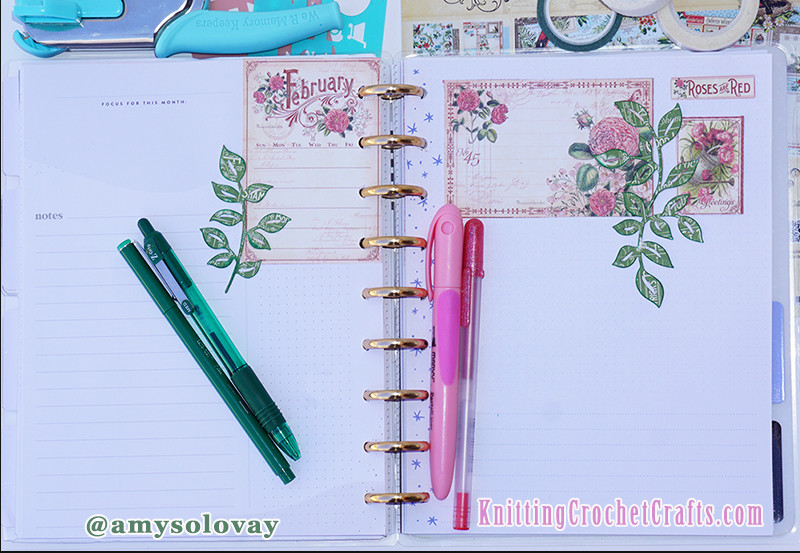
Garden Journal Pages for the Month of February:
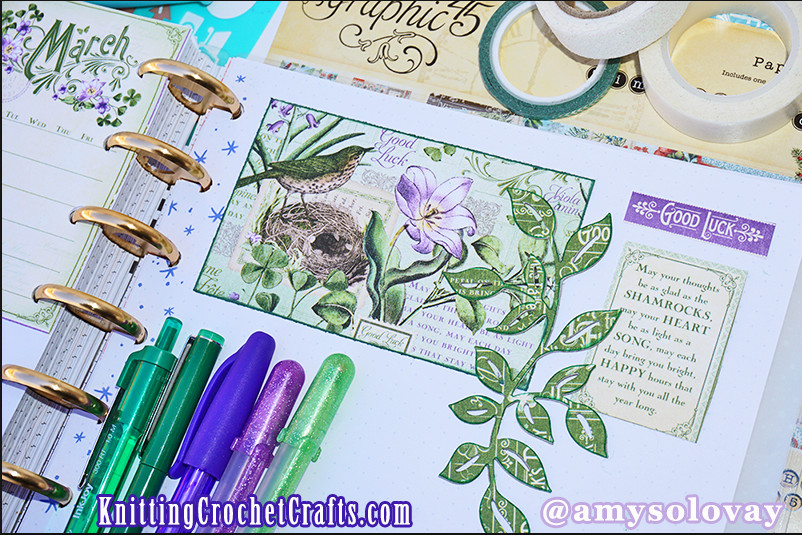
March’s Garden Journal Layout:
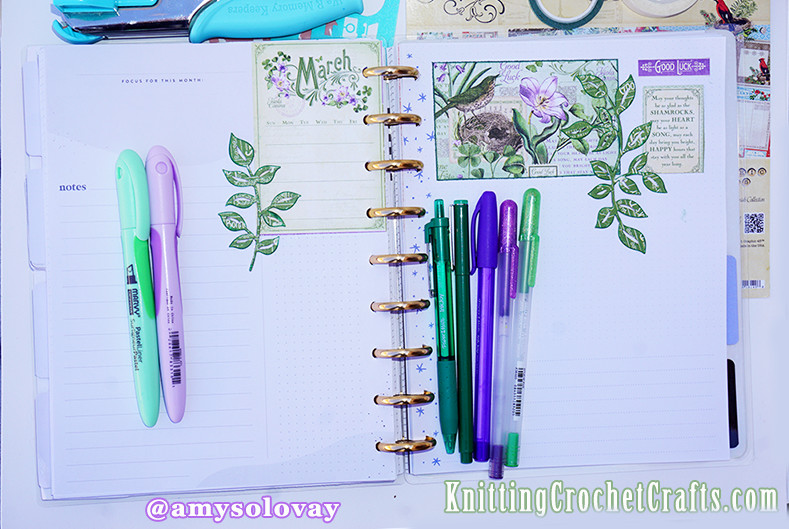
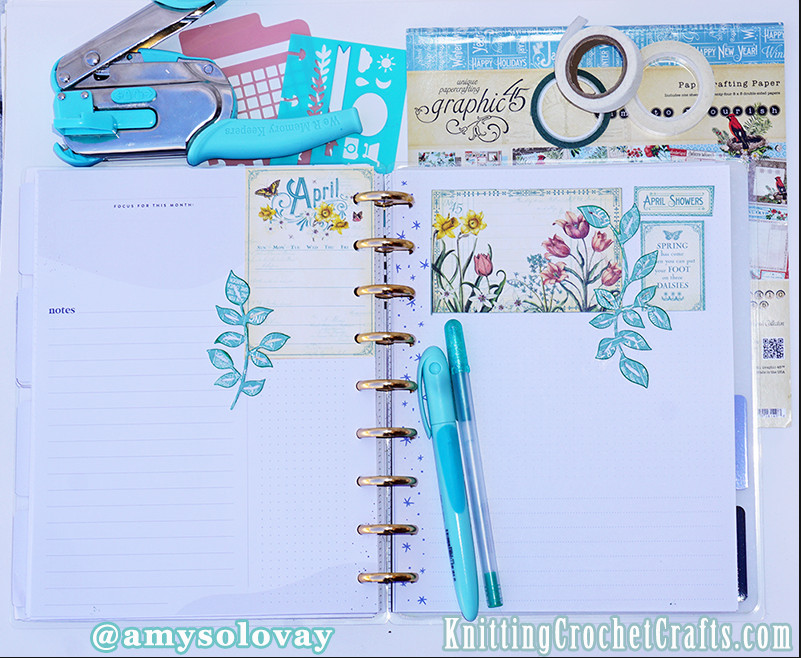
Spring Floral Themed Garden Journaling Spread for the Month of April:
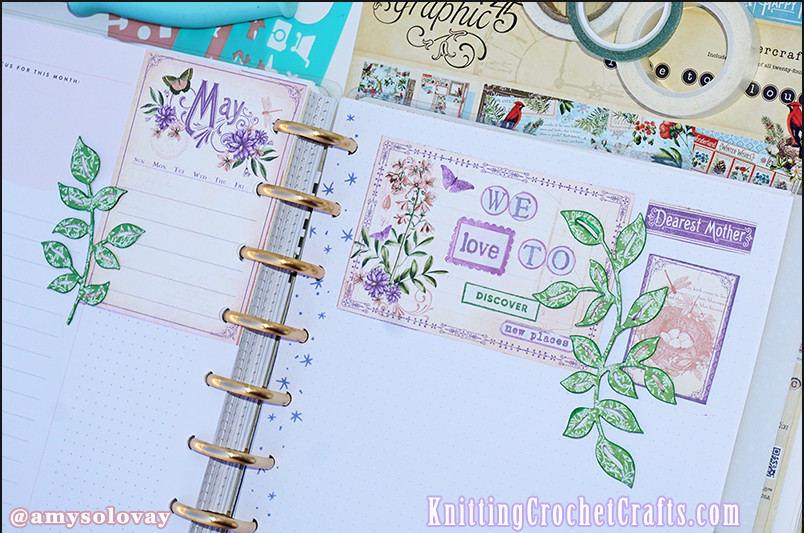
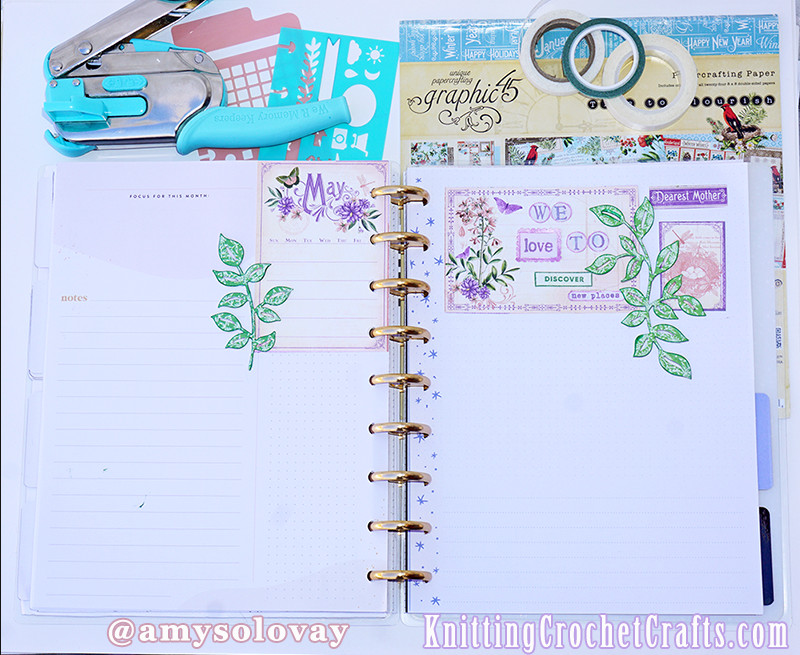
Garden Planner Pages for the Month of May:
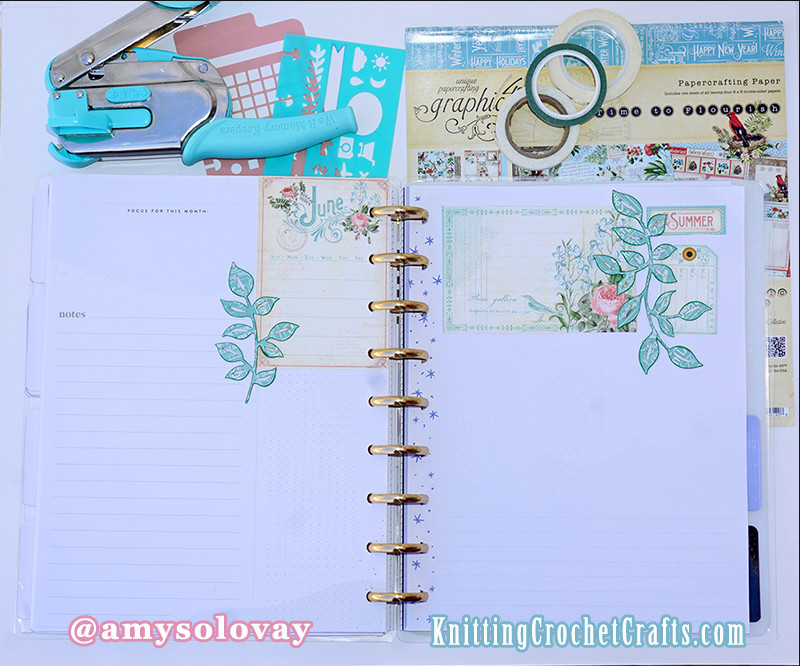
June Garden Journal Layout:
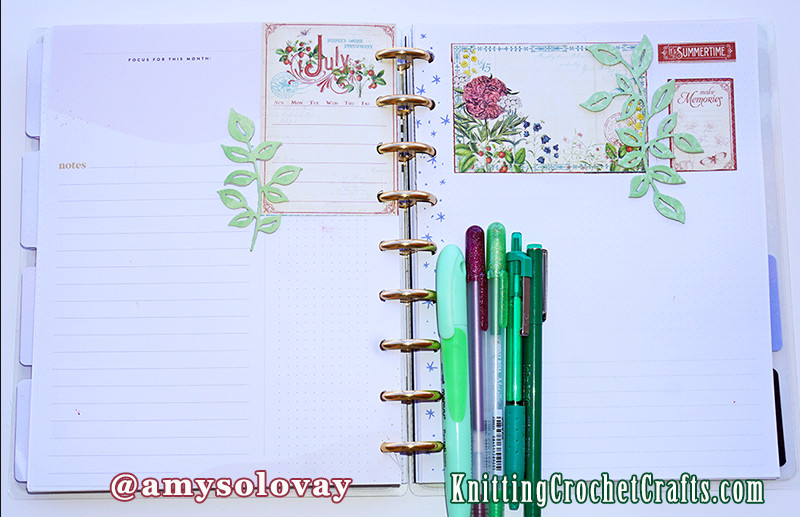
Summer Garden Journal Pages for the Month of July:
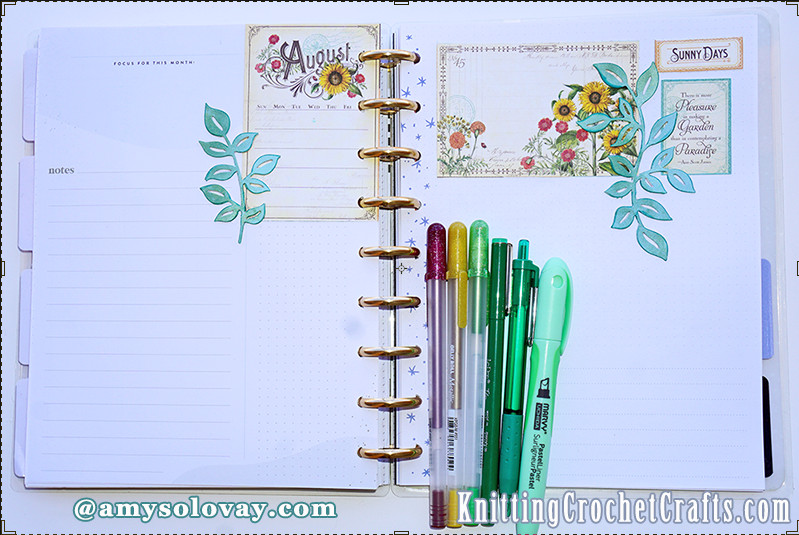
Garden Journal Layout for the Month of August
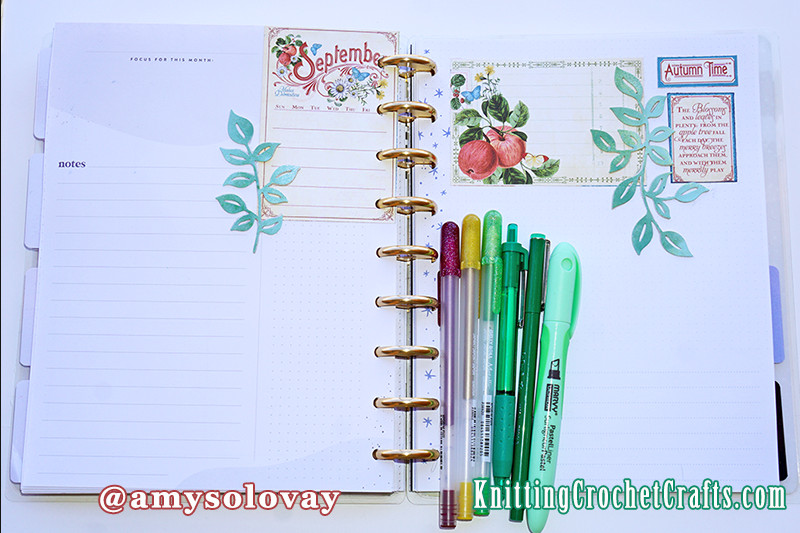
September Garden Journal Pages
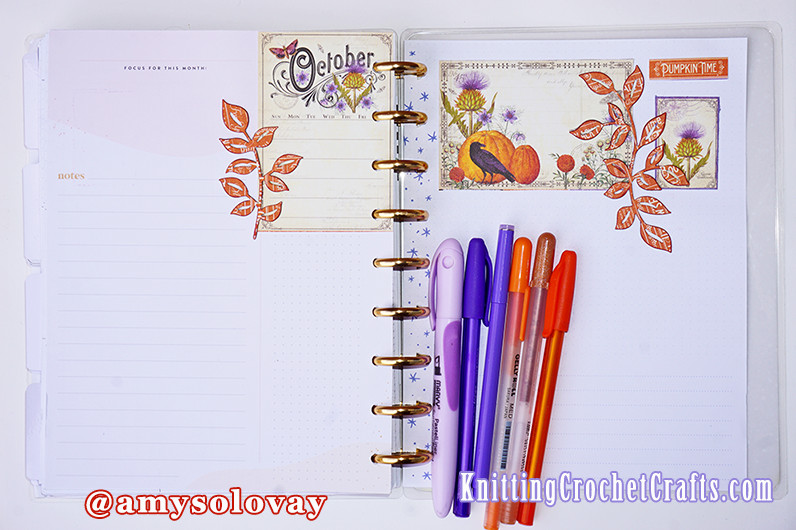
Fall Garden Journal Pages for the Month of October
November Garden Journaling Pages
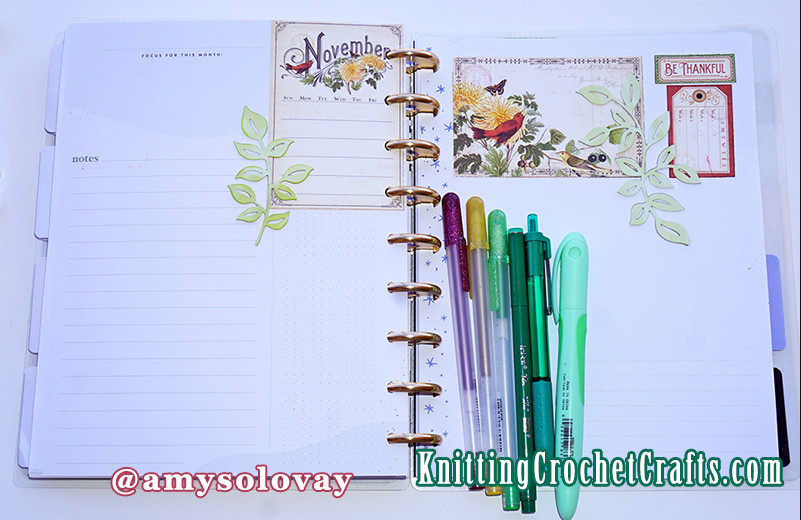
I usually don’t get any gardening done during the month of December, so I didn’t post any December garden journal pages yet. However, this year, I am in a location where it might be possible to garden in December. We’ll see about that. So if I get around to making December pages to add, I will update this page to add pictures when they become available.
Supplies You Will Need for Crafting a Similar Garden Journal:
It’s easiest if you can use a ready-made, dated planner to make your garden journal. That way, you will not waste time dating your planner pages.
Doing it that way has its downsides; if your location has a short growing season, you might only need 4 or 5 months’ worth of those pages. Your planner pages for colder months like December, January and February are likely to go to waste.
Another issue is that you will probably need more space in the months you’re actively gardening than your planner allows for. This is why I recommend designing your garden journal in a discbound planner or notebook. The discbound format allows you to add as many pages as you need to.
To solve both these problems, I suggest getting a dated discbound planner AND an additional pack of filler paper, and modifying the planner as needed to create a garden journal that’s precisely tailored to your exact microclimate. None of your extra planner pages need to go to waste if you also get another set of planner discs for holding the overflow pages.
So if you’re actively gardening in March through October, take the pages for January, February, November and December out of your garden journal and put them on your extra set of planner discs. Then you can add extra pages from extension packs in the middle where the missing months are to create a completed planner that you can use for planning your work, workouts, meals, social calendar, or whatever else you like to keep on top of.
When you need more pages than your planner offers, just grab extra sheets from the extra pack of filler paper, and add the extra pages at the spots where you need them in the planner.
If you want to embellish your garden journal, you’ll also need some extra supplies like patterned papers, stamps, inks, washi tape, dies, stickers, or whatever else you’d enjoy using to do your embellishing. I used the following supplies to create the garden journal pages pictured above:
- Adhesives: I used Nuvo Deluxe Adhesive and Cherry Tape to create this project, but you can use any paper-friendly adhesives you happen to have on hand.
- Patterned Papers by Graphic 45: I used Graphic 45’s 8″x8″ patterned papers from the “Time to Flourish” collection to create the date labels and other embellishments for these pages. This is an older collection that is getting hard to find now, but there is a newer, updated version of the collection called “Season to Celebrate” that is readily available. I’m hoping to grab it to make my next garden journal. If you like the look of these journal pages, I suggest grabbing the papers from the and Calendar Cards from the Season to Celebrate collection — but that isn’t a necessity. You can use any patterned papers you like when you when you create your garden journal.
- Curvy Leaves Die Set by Pinkfresh Studio
- Lightweight Chipboard: To give my journal pages a little bit of extra dimension under the die-cut foliage, I die-cut extra layers of lightweight chipboard and layered them underneath the patterned paper. I upcycled lightweight chipboard from whatever other packaging I had on hand — a fettucine box, some tea boxes, and a couple of other boxes that my trash bags and dishwashing scouring pads came packaged in. You can buy chipboard if you don’t have any workable packaging on hand, but why spend money on it if you already have packaging that you’re going to throw away? So if you want to try this, too, just look around in your cabinets to see if you have any chipboard packaging you can upcycle.
- Metal planner discs — If you are going to have your garden journal actually out in the garden with you while you’re working, and if you are planning to keep it for years, you might want to consider replacing the junky plastic discs your planner comes with; the plastic discs break easily, and the metal discs are a lot sturdier. Plus, they’re prettier.
So there you have it: That’s one possible way to make garden journal pages for your discbound planner such as a Happy Planner, Tul or Arc. Of course, there are zillions of other possible ways to make a garden journal, so if these ideas don’t work for you, you can change whatever isn’t working for you to make this project your own.
Happy planning! And happy gardening.
More Journal Pages and Ideas
Discover a Ready-Made, Flower-Themed Garden and Nature Journal to Try


Posted By: Amy Solovay
This page was last updated on 4-6-2024.