Stamping is a versatile paper craft technique that can enhance many different types of craft projects:
You can stamp on…
- handmade cards
- scrapbooking layouts and albums
- collages
- art journal pages, junk journal pages and ordinary journal pages
- pages from your planner
- and many other surfaces besides these.
- Paper Crafts
- Scrapbooking
- Scrapbooking Layouts
- Scrapbook Mini Album Ideas
- Travel Scrapbooking Ideas
- Hawaii Scrapbook Ideas
- Card Making
- DIY Valentine Cards
- Mother’s Day Cards to Make
- Holiday Crafts
- Illustration
- Fine Art
- Paper for Art and Crafts
- Adhesive
- Learn how to cut paper shapes, even if you don’t have a die cutter
- Check out scoring tools for paper.
Stamping With Clear Stamps vs Rubber Stamps
People used to refer to this craft technique as “rubber stamping” because the stamps were made from rubber — typically red rubber.
There are still lots of rubber stamps around, but these days, clear photopolymer stamps have become more popular, and rubber stamps aren’t as common as they used to be.
There are also clear acrylic stamps, too.
Some manufacturers sold their rubber stamps attached to wooden blocks. These were called “Wood-mounted stamps.”
Wood-mounted stamps were lovely and very easy to use, but they had significant downsides. Namely, they were expensive to buy, and they were bulky and cumbersome to store.
Other manufacturers sold unmounted rubber stamps.
Unmounted rubber stamps were easier to store, and less expensive; but then you had the disadvantage of figuring out how to make the stamps usable.
Different manufacturers had different approaches to how you could use their stamps. Some of them made stamps that were sticky, and you could stick the stamps to a clear acrylic stamping block to use them and then un-stick them when you were finished and wanted to put them away.
I only used one manufacturer’s unmounted stamps; I still have some of them, and still use them, but their disadvantage was that they lost their stickiness with time. So nowadays, when I want to use any of my stamps made by that manufacturer, I have to stick them onto my stamping blocks with double-sided tape. That’s a little annoying, but it’s doable.
Clear stamps don’t have these problems. But the down side is that rubber stamps are able to stamp images that are more crisp, detailed and intricate than what you can stamp with clear photopolymer.
But since photopolymer stamps tend to be a lot more affordable and easier to deal with than red rubber stamps, a lot of crafters are willing to put up with the slightly less crisp images you get from the photopolymer stamps.
How to Use Clear Stamps
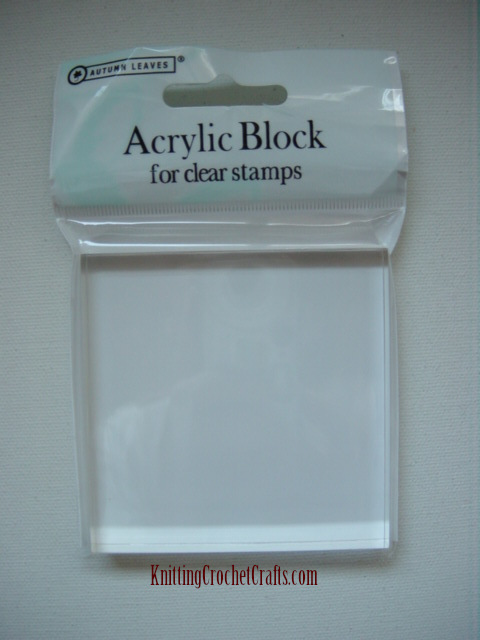
Clear photopolymer stamps are typically sold unmounted.
To use them, the most affordable way to get started is to buy one or more clear acrylic stamping blocks. The stamps will stick to this type of stamping block. So when you want to use a particular stamp, you remove it from its packaging, place it on the stamping block, and press it down firmly enough to make sure that the stamp will stick to the block.
Then you can rub the mounted stamp onto an ink pad to coat its surface with ink, and press the inked-up stamp onto cardstock, paper, or whichever surface it is you want to stamp on.
Why You Might Want to Stamp on a Mat or a Mouse Pad
Before stamping, it’s ideal to place your cardstock or paper on top of a surface that isn’t rigidly hard. You want to use a surface that has a bit of “give” to it, so that when you press down on the stamp, it can sink into the surface just a bit.
Some craft mats work really well for this purpose, and others aren’t ideal. If you don’t happen to have a craft mat that’s a bit flexible, in a pinch, you can use a mouse pad instead.
Stamp Positioning Tools
I don’t have a stamp positioning tool, so I’m not an expert on how they work.
But my understanding is that stamp positioning tools make stamping a lot easier.
Instead of mounting your stamp on a clear acrylic stamping block, you position your stamp on the tool and use it to stamp.
With a clear acrylic stamping block, you waste paper if you don’t ink up your stamp perfectly and then stamp it perfectly. You can end up with imperfect images if you fail to ink every last bit of the stamp’s surface, or if you fail to press every portion of the stamp into the paper.
If you mess up, it’s not a simple matter to fix, because it’s very difficult to correctly realign the stamp with the stamped image and try again.
With a stamp positioning tool, it’s easy to get the stamp back in exactly the same place. So if you make a mistake, you can simply re-ink the stamp and restamp it, and it’s fairly easy to end up with a flawless image despite the mistake.
I think a stamp positioning tool is probably a good investment for crafters who plan to do a lot of stamping and also have the space to store the tool.
I do a massive amount of stamping, but I haven’t yet made the investment in a stamp positioning tool because I do not have much space, and it is far easier to store a couple of stamping blocks than it is to store a sizable stamp positioning tool.
Some of my favorite ways to use rubber stamps are pictured below; be sure to click on each item to get more information.
Hand-Stamping Sentiments for Greeting Cards, Collages, Scrapbook Layouts and Other Paper Craft Projects
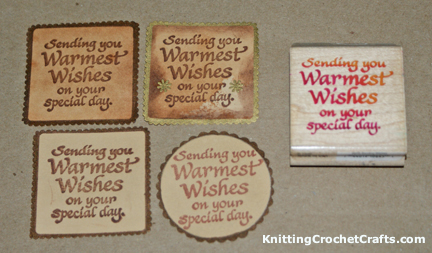
If you want to make some greeting cards, it’s a no-brainer to stamp your text using sentiment stamps. I’ve done this so much that I’ve got a system for it down to a science, and I thought it would be worthwile for me to share some ideas. These ideas could help you to be a more prolific stamper, and they could also figure out how to get your money’s worth out of all your sentiment stamps (or any sentiment stamps you might buy in the future.)
Best Ink Pads for Stamping on Paper
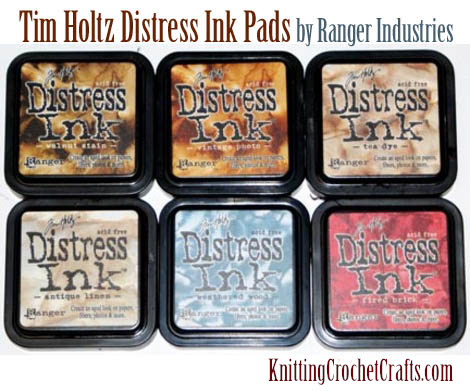
Check out our suggestions for the best ink pads you might want to choose for stamping on paper. Hint: The Distress Ink pads pictured above are one of our top choices on the list. Click here to see more of our top picks.
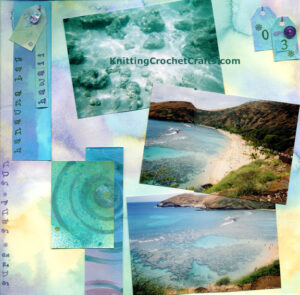
Stamping on Scrapbook Projects
Hand-Stamped Page Title for a Hawaii Vacation Scrapbook Layout
Stamping on a Wedding Scrapbook Layout
Rubber Stamps Storage and Organization Ideas
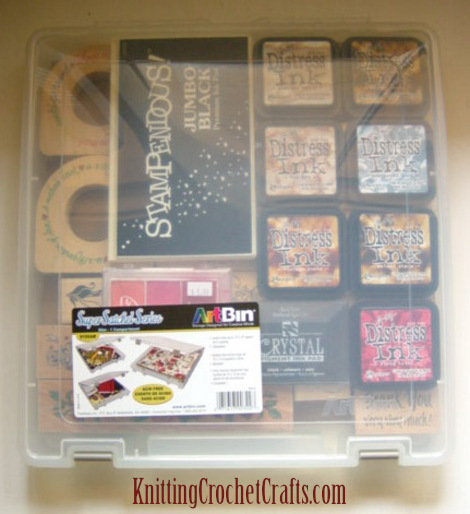
Pictured above, you can see some of my rubber stamps and ink pads organized in an ArtBin Super Satchel craft organizer. This is one possible solution for storing your rubber stamps and ink pads; check out this page to find more rubber stamp storage and organization ideas.
So there you have it: Those are the most important pages on our website covering the topic of stamping. We hope you found this information helpful, informative and inspiring. Happy stamping!
Find More Delightful Craft Pages, Supplies and Ideas:
Find More Craft Project Ideas HERE!
Posted By: Amy Solovay
This page was last updated on 9-23-2021.