
Floral Slimline Congratulations Card for Pinkfresh Studio’s November 2025 Challenge
Pinkfresh Studio Is Having an “Anything Goes” Challenge!
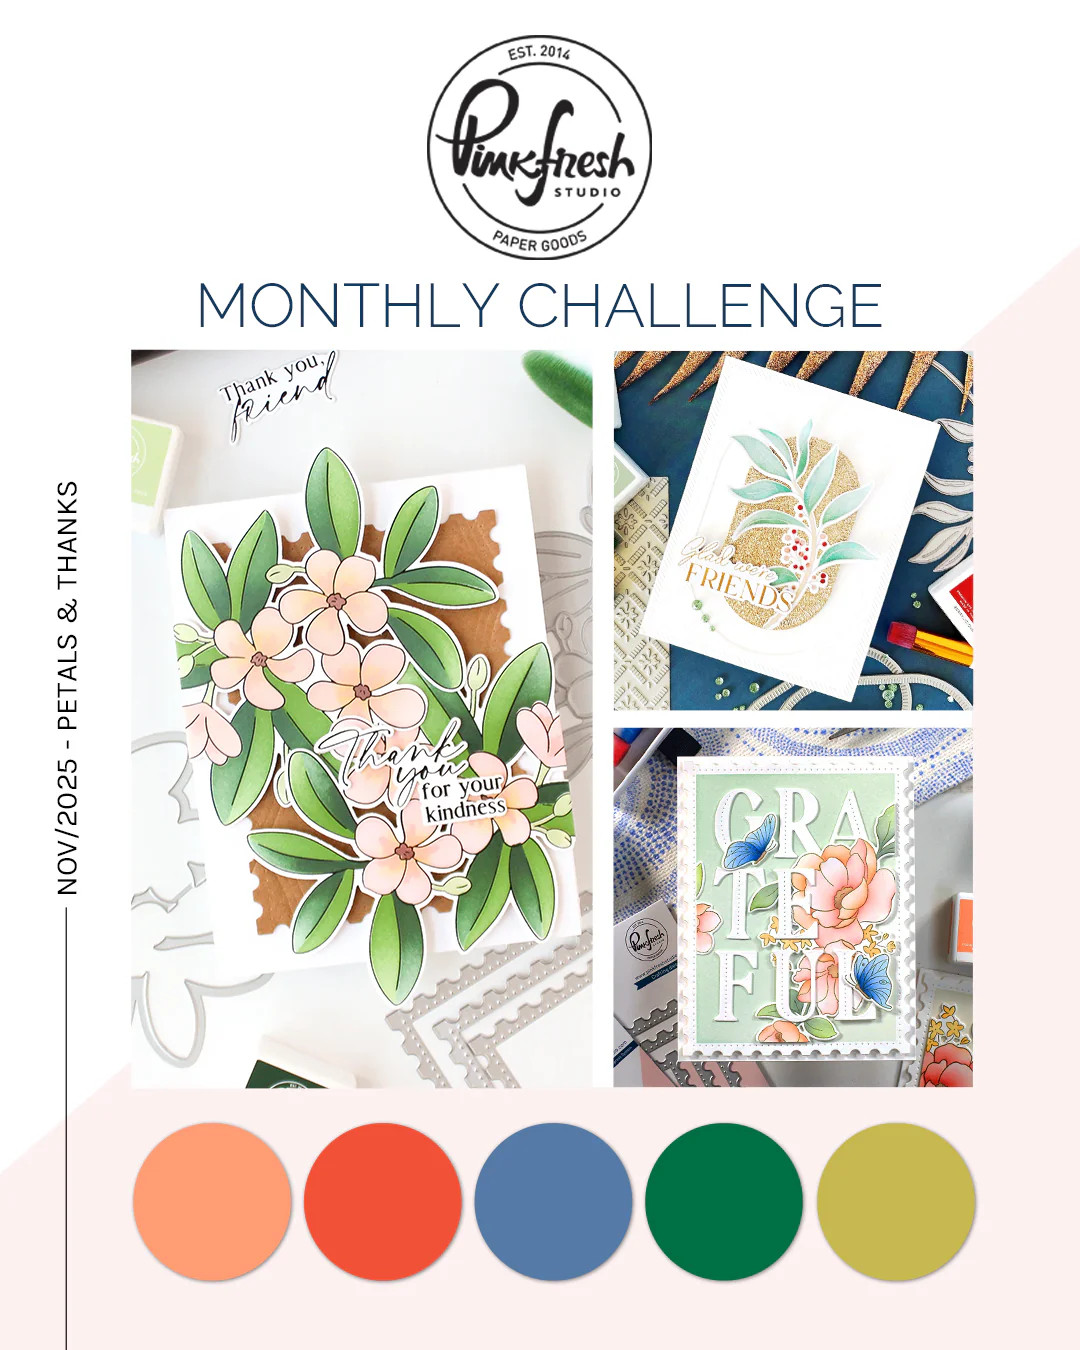
The team at Pinkfresh Studio hosts a monthly challenge for their customers to create any type of paper craft project using their lovely supplies. This month, the theme is “Petals and Thanks.”
In case you need inspiration for figuring out what colors to use, the design team has suggested a color palette you’re free to experiment with, but you don’t have to strictly stick to it.
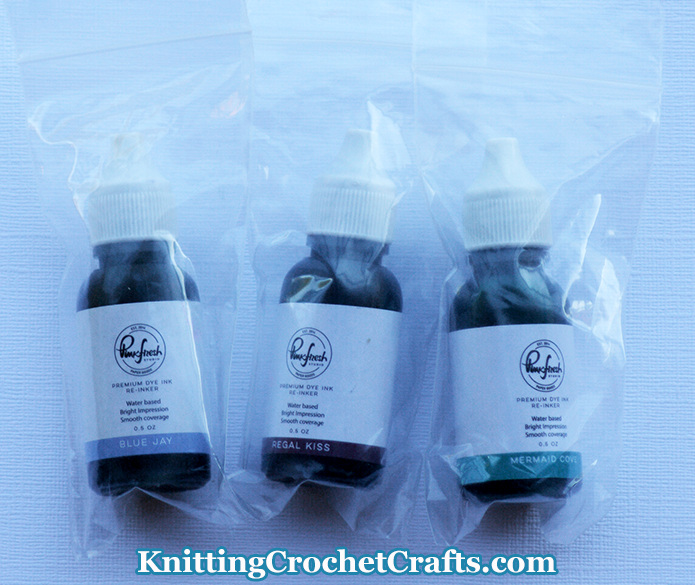
I didn’t stick to the color palette because I don’t happen to have those ink colors in my craft supplies stash — So I used the Pinkfresh Studio ink colors I do happen to have (which are “Regal Kiss,” “Blue Jay” and “Mermaid Cove.”)
Here’s this month’s challenge image:
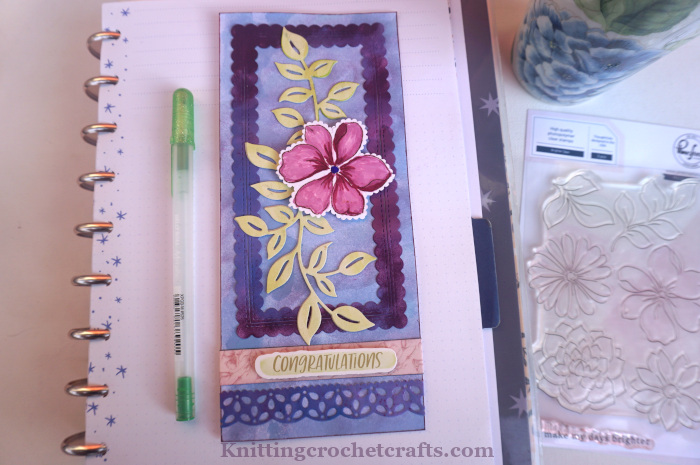
Here’s My Challenge Entry: A Floral Slimline Congratulations Card
Craft Supplies You’ll Need for Making a Similar Greeting Card:
- A Floral Stamp Set: I used the “Brighter Days” stamp set by Pinkfresh Studio to stamp the flower image, which is this card’s focal point. Unfortunately, this stamp set has now been discontinued, but you can use any of Pinkfresh’s other delightful florals in place of this one on your card.
- Scalloped Frame Die: Pinkfresh Studio makes scalloped frame dies in a variety of sizes and shapes. I think the one I used has been discontinued, but the more popular sizes are still available (I use a compact die cutter, and the one I have is the “Mini slimline,” but you can still get the bigger slimline-sized scalloped frame dies and the rectangle scalloped frame dies.)
- Foliage Die: I used Pinkfresh Studio’s “Curvy Leaves” die set to create the foliage on this card. This die set has been discontinued, but you can use any similar leafy die to create foliage for your card front.
- Lacy Border Die: I used Pinkfresh Studio’s “Lacey Edgers” die set to create the pretty lace border pictured on the lower edge of the card front. This exact set has now been discontinued, but there are other similar edger sets that are still available. For example, take a look at this Fancy Edgers die set, which is just as lovely as the set I used.
- Alcohol-Marker-Friendly White Cardstock: I used Neenah Solar White 110 lb. Classic Crest Cover Cardstock
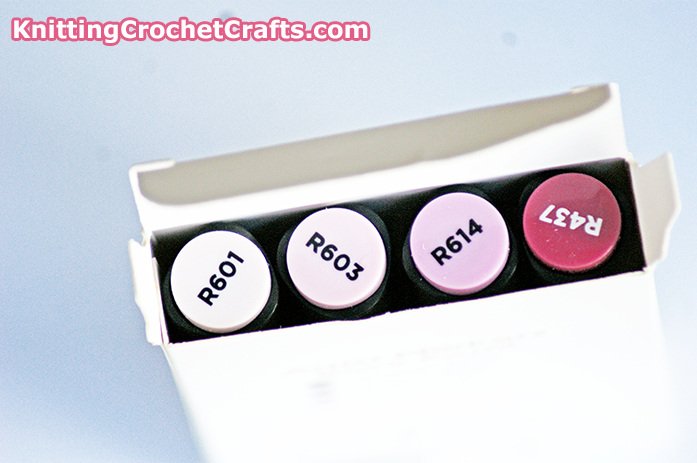
- Alcohol Markers: You can use any markers you have on hand to color your floral image. I used Altenew’s Artist Markers Rose Petal Set, which includes 4 beautifully color coordinated shades of purple, but Copics or other alcohol markers would work just as well.
- Inks: I used Pinkfresh Studio reinkers for ink blending onto the scalloped frame and other areas of the card front. The colors I used are “Regal Kiss” (dark purple); “Blue Jay” (blue); and “Mermaid Cove” (teal). I also used some random unknown greens for ink blending on the foliage bits.
You can use any ink colors you like for ink blending on your card; if these colors don’t inspire you, I suggest experimenting with the challenge colors pictured at the top of this post, which are quite lovely! And if you haven’t ever tried ink blending, I invite you to check out this page of ink blending techniques, tutorials and ideas. - Chipboard: To make the foliage stand out a bit, I ran the “Curvy Leaves” foliage dies through my die cutter twice: Once with plain brown chipboard that used to be a pasta box, and once with ink-blended pale green cardstock. I layered these together, attaching them with Nuvo Deluxe Adhesive and letting them dry thoroughly before using them on the card front. Adding chipboard in this way results in a lovely, three-dimensional effect that adds quite a bit of interest to the card.
This is a workable idea if you plan to give the card to its recipient in person, but I don’t recommend it if you are going to mail the card — because adding three-dimensional elements like chipboard can make the card more cumbersome and expensive to mail. - Adhesives: I used three kinds of adhesive to make this card. For attaching the large pieces to each other, I used Cherry Tape. For attaching the delicate little stems and leaves on the foliage bits, I used Nuvo’s Deluxe Adhesive. And to attach the stamped floral image, I used Foam Tape Strips, which make the flower pop up off the page and stand out visually.
Again, I recommend the foam tape strips if you plan to give your cards to your loved ones in person — but if you plan to mail them, it is safer to skip the foam tape, because you don’t want it to get squished and mangled if the postal workers send it through their machines (and perhaps you also don’t want to spend a fortune mailing your cards, and the postal workers sometimes charge extra for three-dimensional cards that don’t lie flat.) - Washi Tape or a Similar Border Design: You have many options for materials to use for making border strips to embellish the area of your card front that falls below the frame. Washi tape works well for this, but you could also use paper scraps or a die-cut border. You know the marketing strips you cut off from the edge of your 12″x12″ patterned papers? Often, these are patterned on one side, and I like using them on card fronts like this.
- Sentiment: There are zillions of possible ways you could create the sentiment you’ll include on your card front. I chose this “Congratulations” sticker because I couldn’t remember which ink colors I blended to get the greens on my foliage, and the sticker color just happened to be the same color green as my leaves. This is a silly method for choosing a sentiment, and I’m sure you can improve on this methodology when you choose yours.
- A Scoring Tool: If you want the fold on your card to be really crisp and professional-looking, it’s ideal to use a scoring tool such as a bone folder or Scor-Pal scoring board. However, this is optional; it’s also totally okay to just fold the card the best you can, and not worry about whether it turns out perfect.

So that’s my first challenge entry for Pinkfresh Studio’s November 2025 Challenge!
You are encouraged to enter up to three projects in this challenge if you like.
This is the only challenge project I’ve made so far, but I am hoping to make a couple more entries besides this one. However, it’s a little iffy whether I will be able to do it because I am overcommitted this month, and there are never enough hours in the day to do all the crafting I’m hoping to do.
( I’m sure you know how that goes.)
Over to You:
Did you enter the Pinkfresh Studio November 2025 Challenge?
If so, how did your project(s) turn out?
If not, you still have a little time to enter, so you’re invited to join in the fun!
Thanks for checking out my Pinkfresh Studio Challenge Entry for November 2025. I appreciate your interest!
I invite you to return to this site often for more card making ideas, paper craft tutorials and project inspiration! You can make sure you keep this site on your radar by signing up for my newsletter and community at Substack. .
Basic subscriptions are free; I send out regular newsletters to let my subscribers know about new craft articles and tutorials as they are posted. I also share details about the craft projects I’m working on, and invite my readers to share their projects, too. So there is no need to feel like it’s just you, crafting all alone at home. I’d love to have you join us! You’re invited!!
By Amy Solovay
Please Visit My Ko-Fi Shop HERE to Find My Sample Sale, Destash Sale and Digital PDF Pattern Downloads for Sale.
Please Visit My Ravelry Store HERE to Find Digital PDF Pattern Downloads for Sale.
About the Author:

Amy Solovay is a real, live, human content creator and educator who holds an Associate of Arts degree in Textile Design from FIDM LA (The Fashion Institute of Design and Merchandising, Los Angeles) and a Bachelor of Arts degree in mathematics from Sweet Briar College. She is NOT a robot and does not use artificial intelligence (AI) to write book reviews or articles for this website.
Amy learned to crochet as a small child, and she still enjoys crocheting all these years later.

As an educator, Amy Solovay used to teach in-person college courses in trend forecasting, marketing and surface design at California Design College in Los Angeles. Nowadays she uses online platforms for sharing her knowledge about textiles, crafts, current color trends and current design trends.
This page was last updated on 11-23-2025.
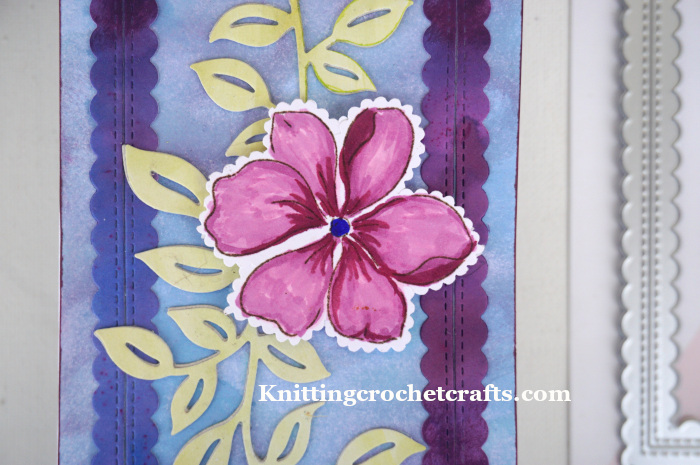
This card design is so pretty, Amy! Can you please tell me how you got the scalloped edge around the flower image? Is that how the dies for this set cut? I just looked for this stamp set at Pinkfresh Studio’s website and couldn’t find it. I know they made dies for this, and they are famous for dies that have scalloped edge designs, but I’ve never seen them make dies with scalloped edges around any of their flower designs. This is a very cool effect.
Thanks in advance for your response.
Hi Sharon! Whoops! I am so sorry I didn’t include those details in the original post. That was an oversight. Thanks for bringing it to my attention! I appreciate your comment very much.
The dies that coordinate with the Brighter Days stamp set DO NOT cut that scalloped edge. To achieve that look, you fussy cut around the flower with decorative scissors. I used Fiskars Mini Scallop paper edgers, which were discontinued, but there are many similar decorative scissors that would work as well.
Again, thanks so much for the comment. I really appreciate it.