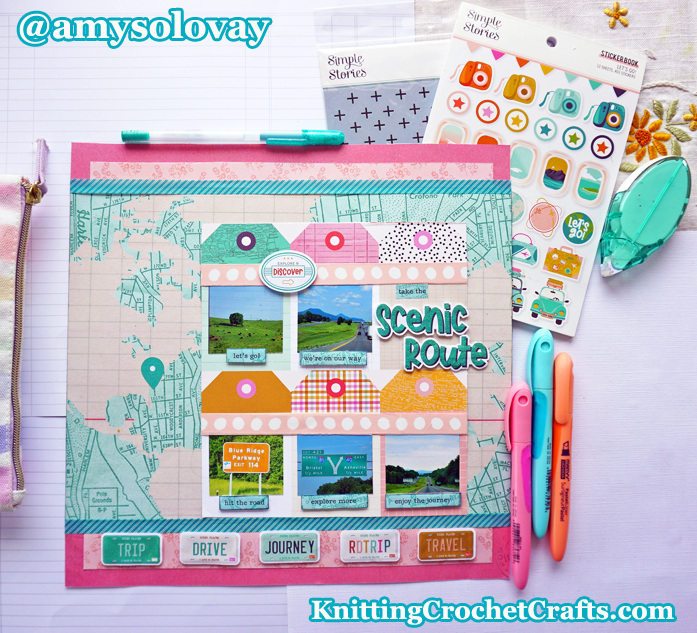
Do You Have Travel Photos or Vacation Photos to Scrap? Need some Travel Scrapbooking Ideas? You’re invited to check out this layout titled “Take the Scenic Route” featuring pics of a cross-country road trip that started in Oxnard, California and Ended in Colonial Beach, Virginia.


Craft Supplies You’ll Need for Creating a Similar Travel Scrapbooking Layout:
- 1 12×12 Sheet of Rise and Shine Patterned Paper from the Homegrown Collection by Simple Stories
- 1 12×12 Sheet of Dogwood Patterned Paper from the Indigo Garden Collection by Simple Stories
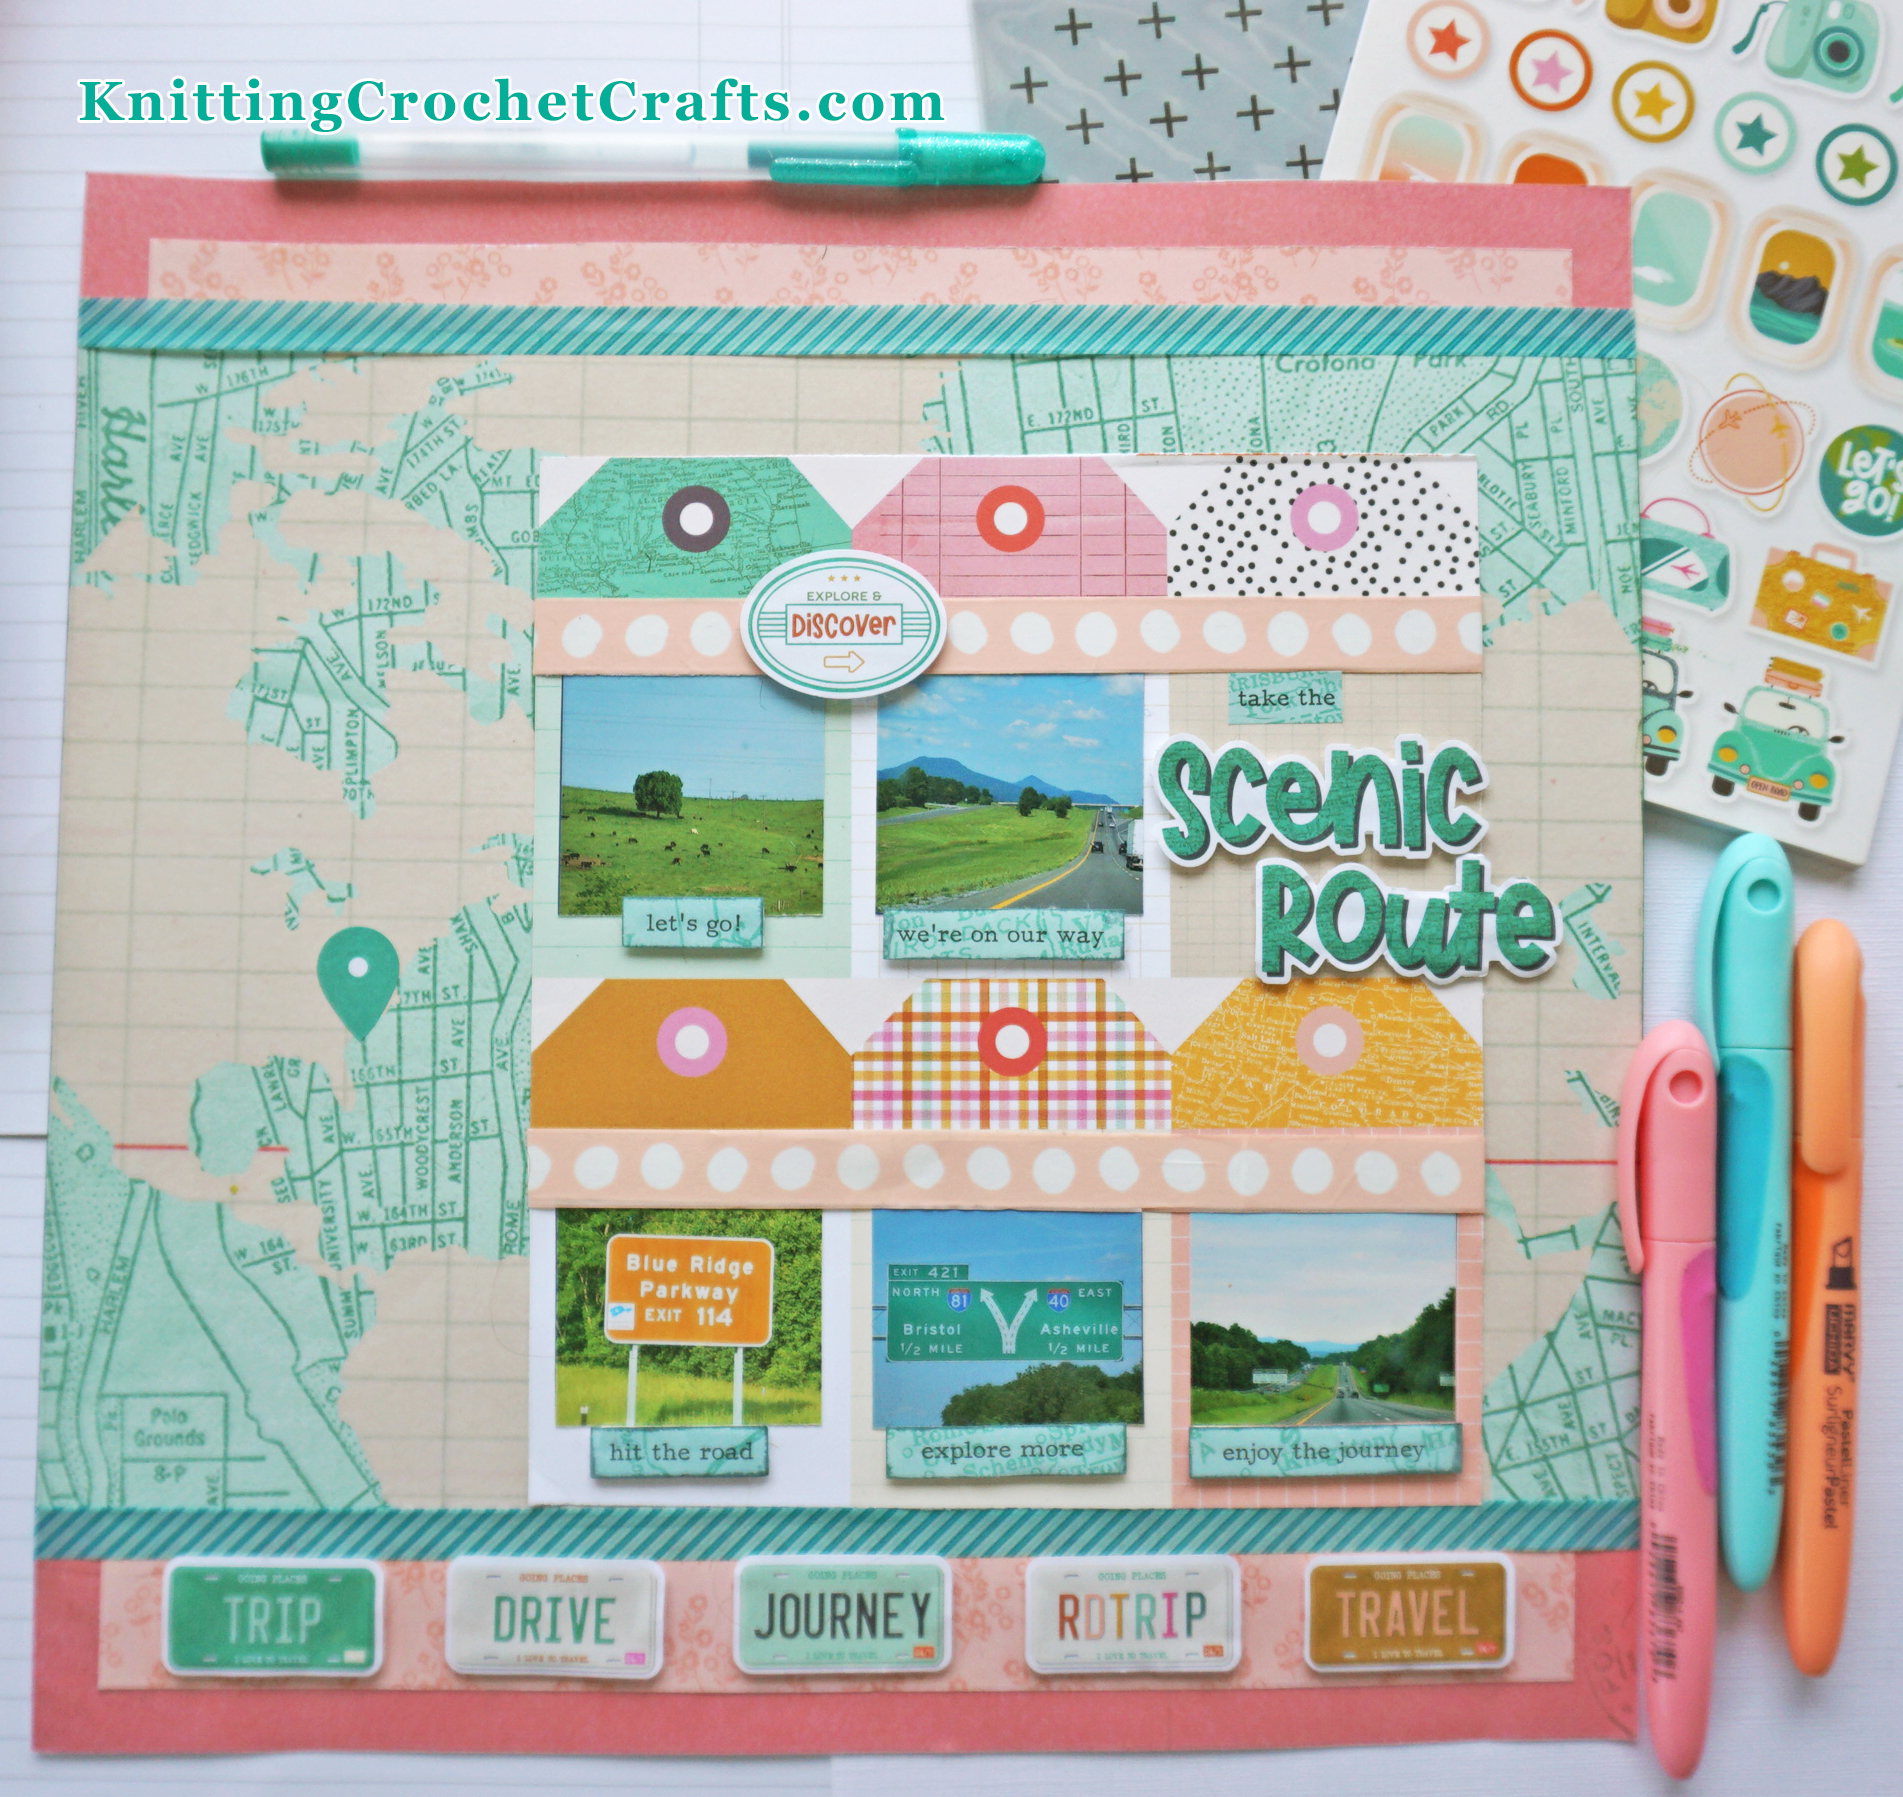
- 1 12×12 Sheet of Tags Patterned Paper from the Let’s Go! Collection by Simple Stories
- 1 12×12 Sheet of “Destination Unknown” Patterned Paper from the Let’s Go! Collection by Simple Stories
- Washi Tape: I used 2 different washi tape designs to create this page. The teal striped design is from Recollections, and the pink and white polka dotted design is by Studio Calico. I used those because I happened to have them in my stash; if you have a washi tape collection, it’s possible that you could have washi tapes that work for the project you have in mind. If you plan to buy new washi tapes to make your page, you might want to check out the ones from the Let’s Go! Collection by Simple Stories; they match these papers and elements perfectly.
- Stickers from the Let’s Go! Sticker Book by Simple Stories
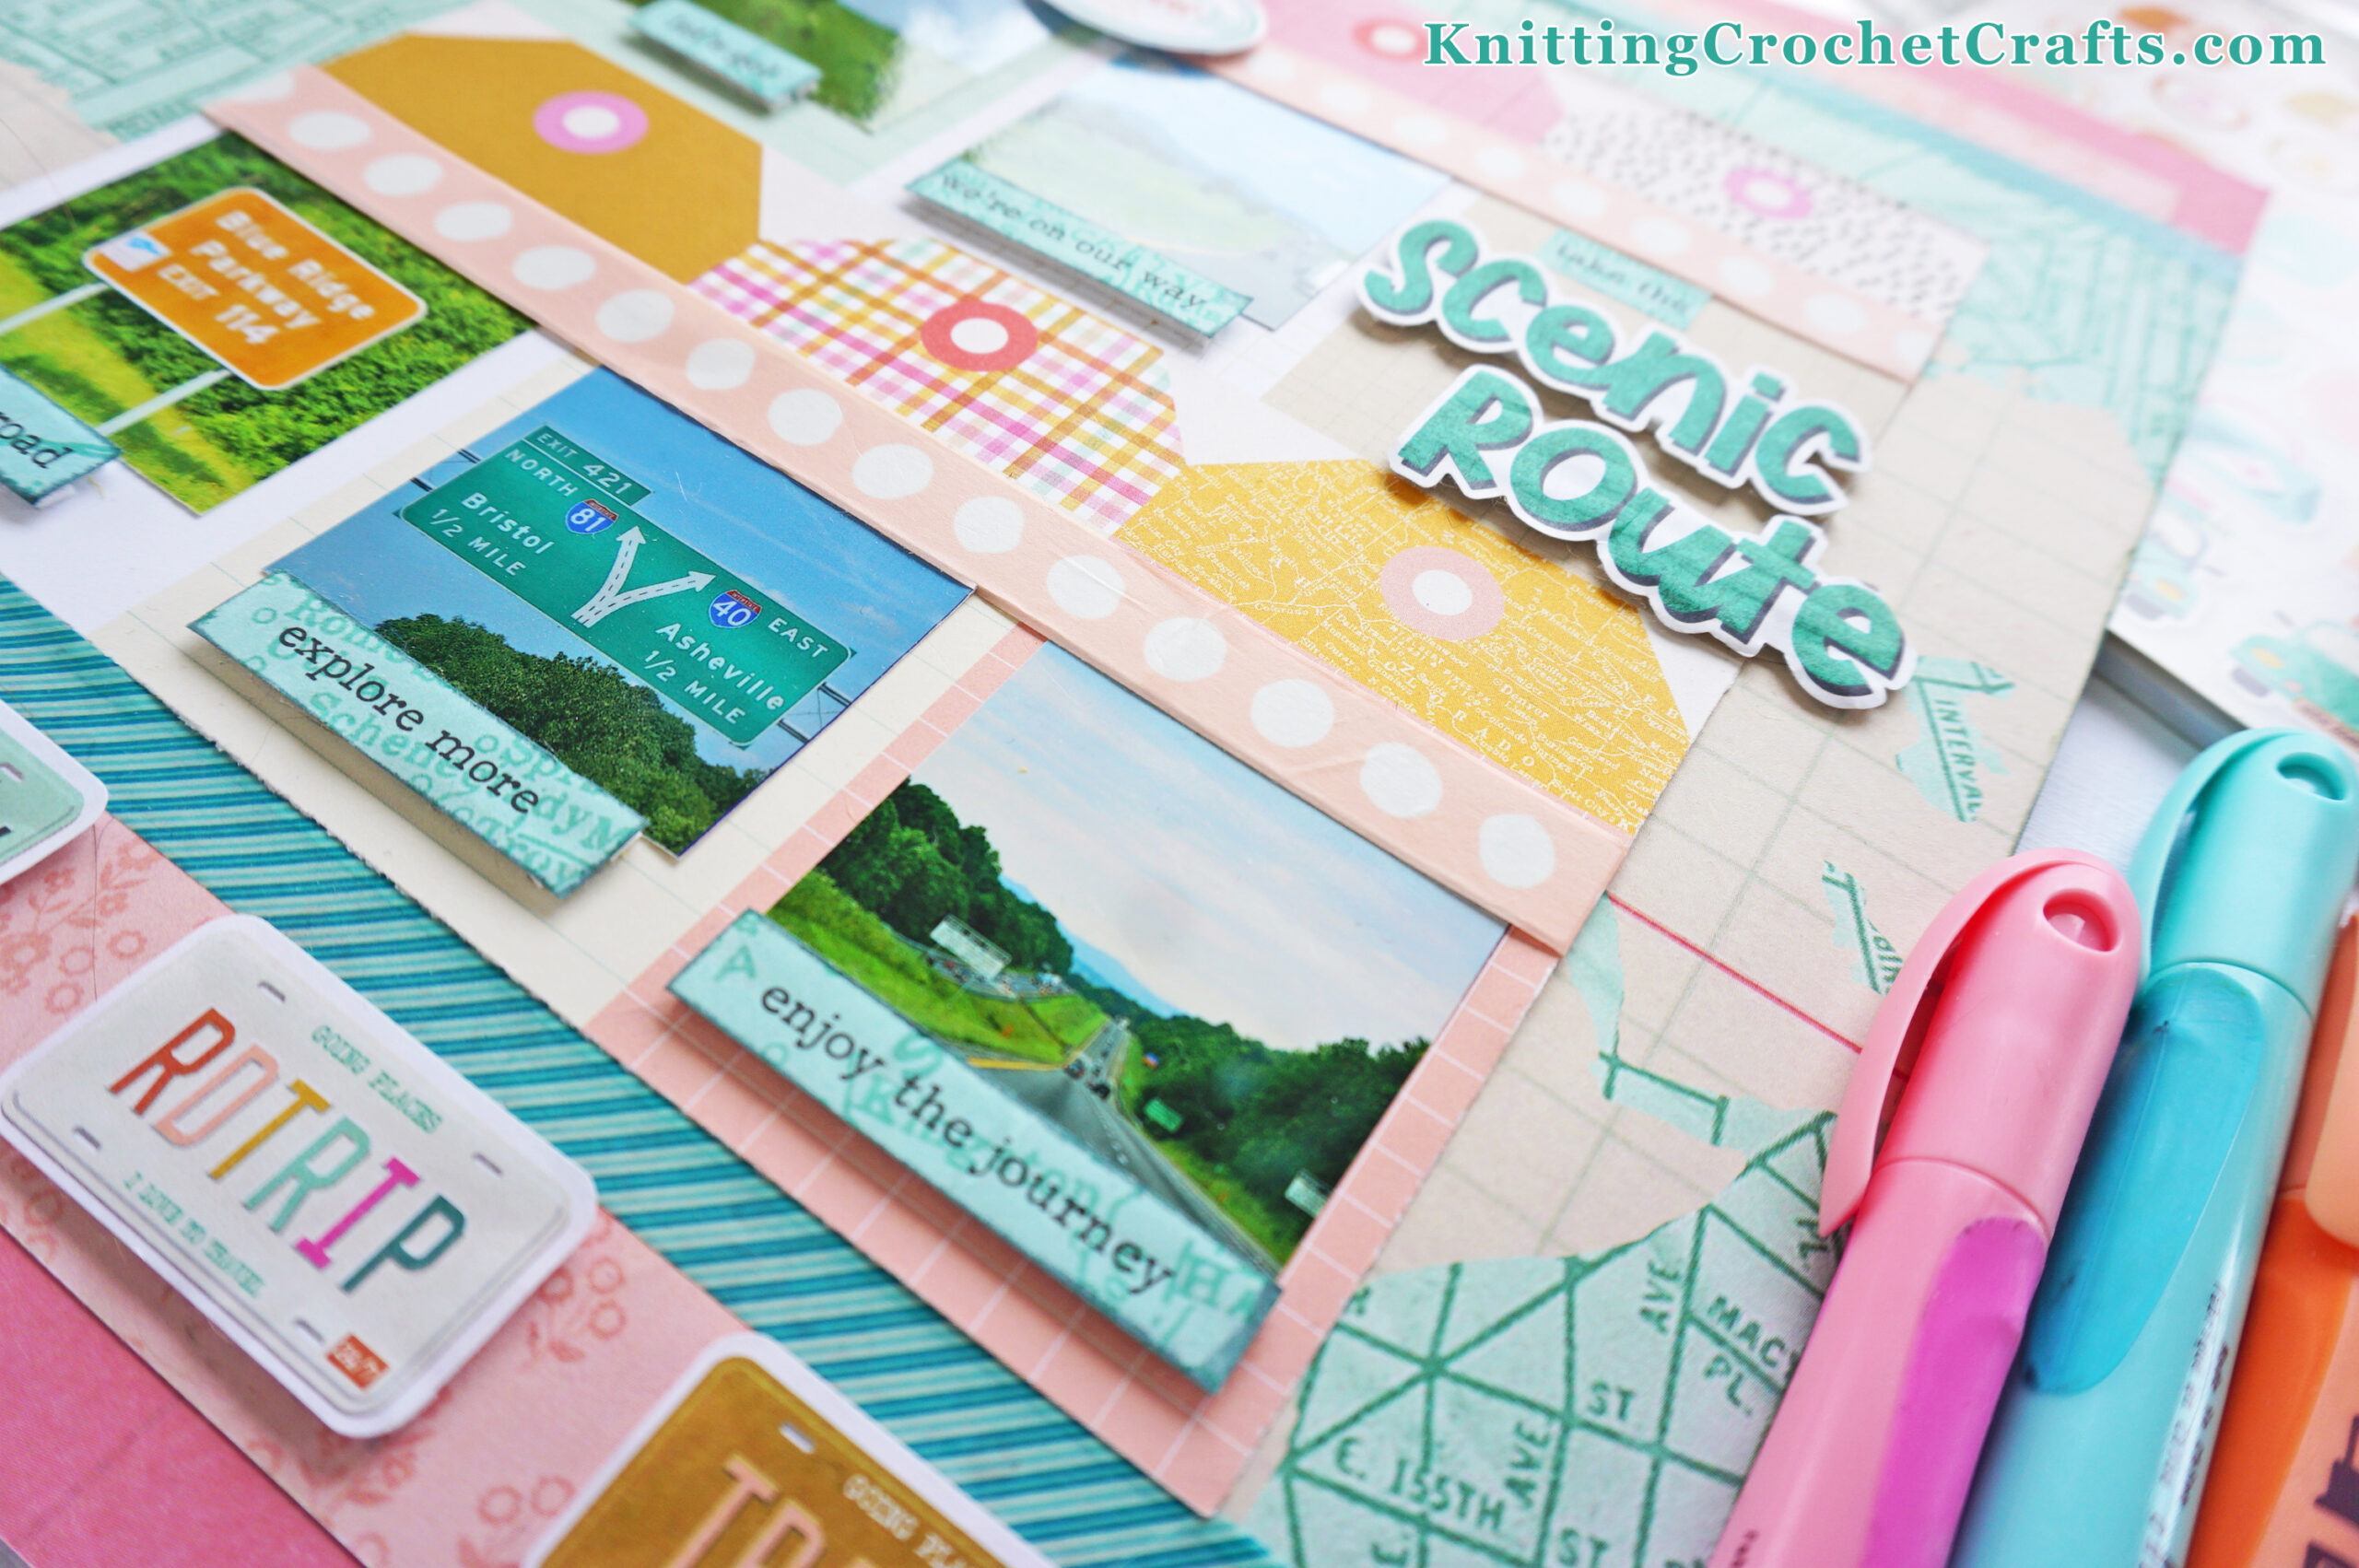
- Adhesives: You’ll need a flat, paper-friendly adhesive plus a three-dimensional adhesive to create pages like these. I used Scrapbook.com’s Foam Adhesive Strips for adhering to some of the stickers to give the page extra dimension. I used these foam strips to attach the page title stickers, the license plate stickers, the oval sticker and 5 of the smaller sentiment stickers.
- Ink Pads — I didn’t do any stamping on this layout, but I used ink pads for inking around the edges of the small sentiment stickers. This gives the stickers a bit more emphasis, and it helps them to stand out a bit more from the other elements on the page. I used “Weathered Wood” Distress Ink plus a deep green Distress Oxide ink color called “Rustic Wilderness” by Tim Holtz for Ranger Industries. If you don’t already have these colors stashed, there’s no need to seek them out specifically. You can get fantastic results by grabbing and using whatever ink colors you happen to have on hand that will match the papers and embellishments you’ve selected for your layout.
- Pens and Markers for Journaling — I ended up putting the journaling for this story on a page that will follow this one in my scrapbook album. If you want to journal on your page, be sure to grab a few markers and pens that complement the papers and other elements you’ve selected to work with.
Similar Travel-Themed Scrapbooking Pages and Ideas
I love 12″x12″ layouts, but they aren’t for everyone. If you would rather document your adventures on smaller pages, there’s a similar project you might want to take a look at: It’s a 6″x8″ travel scrapbook featuring a road trip that ends at the beach, so it includes travel photos, beach photos and nautical-themed sailing photos. Tap here to check it out.
More Paper Craft Projects Featuring Simple Stories Papers and Supplies
- Travel Scrapbooking Ideas: Farmer’s Market Visit in Ashkelon, Israel
- Thanks a Bunch Floral Slimline Thank-You Card Featuring Supplies by Simple Stories
Thanks for visiting! We appreciate your interest in our projects.
Posted by: Amy Solovay
This page was last updated on 9-15-2024.