Daily Planner Layout Idea Featuring Washi Tape and Stamped Images


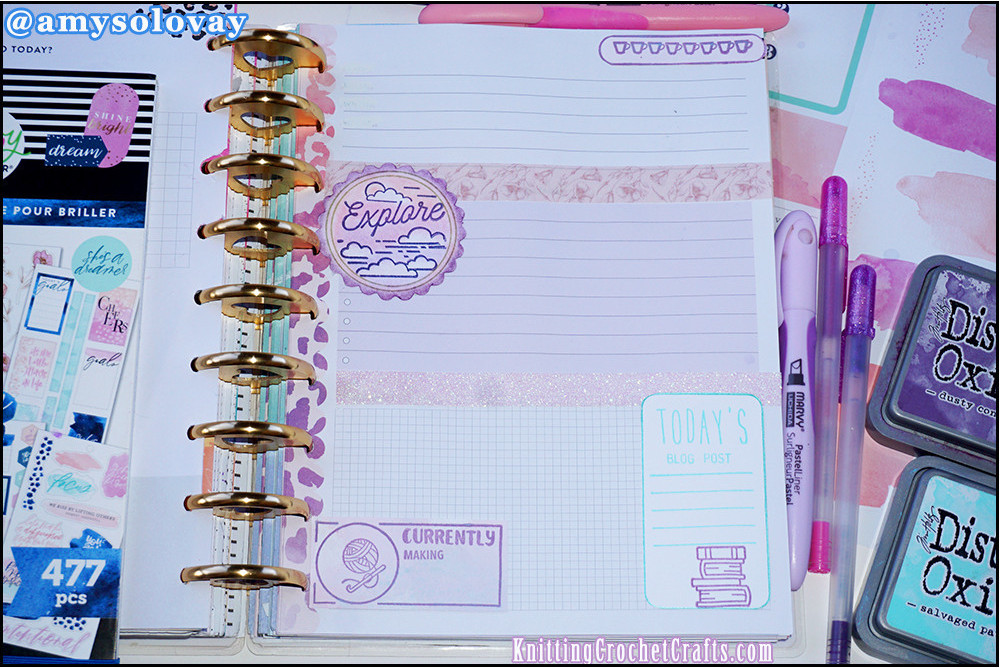
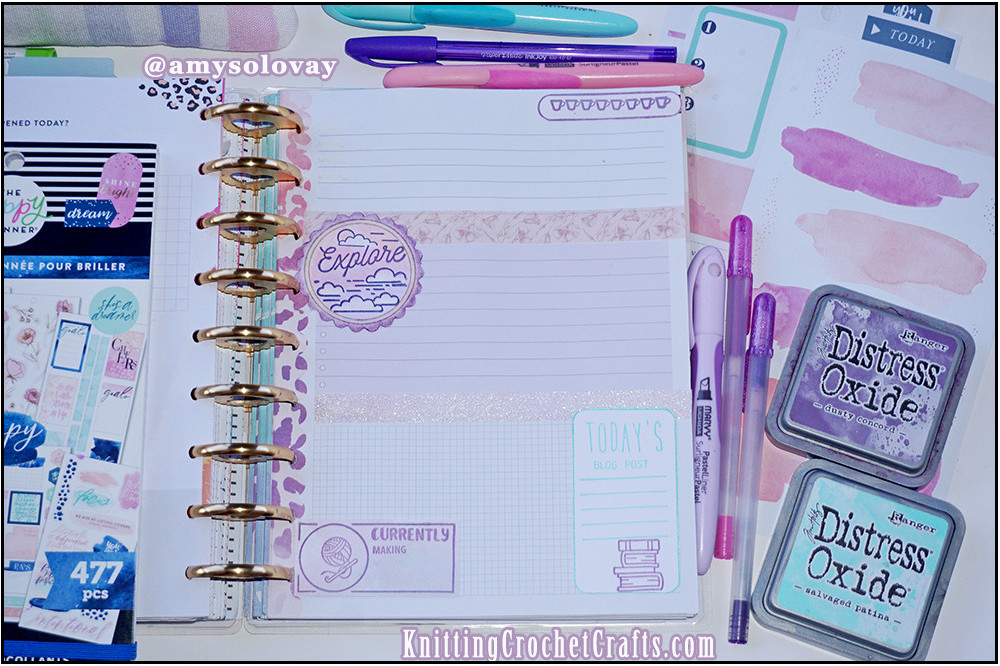
As pictured, this daily planner layout is intended for use in discbound planners like the Happy Planner by Me & My Big Ideas or the Arc Planner, Tul Planner, Maggie Holmes Planner, or Martha Stewart Planner. It could be adapted for other types of planners, too.
To make this planner layout, I started with a page from a Happy Planner accessory pack and embellished it with washi tape, stamped images, and decorating chalks.
Craft Supplies You’ll Need for Creating a Similar Daily Planner Layout:
- Filler Paper for Discbound Planners: Filler papers are available in a variety of different colors, designs and layouts. I used a simple lined paper with a leopard print design at the discbound edge. The sections on this paper came labeled, but I placed some of my washi tapes and stamped images over the labels because they weren’t quite right for the page design I had in mind. You can use basically any discbound filler paper as a starting point for your daily planner pages; some will work better than others, depending on what you have planned for your day.
- Washi Tapes: You can use whatever washi tapes you like to decorate a daily planner layout like this one. I used sparkly washi tape by Graphic 45 and butterfly-themed washi tape from the “Papillon” collection by Happy Planner / Me & My Big Ideas.
- Distress Oxide Ink Pads by Tim Holtz for Ranger Industries: I used the Dusty Concord and Salvaged Patina colors to stamp these images.
- Water Tracker Stamp: I used a stamp from the P13 Journal Stamp Set to stamp the water tracker (You can shop for it HERE; I highly recommend it this stamp set!)
- Alphabet Stamps: I used a stamp set called “Milo’s ABCs by Lawn Fawn to stamp the word “Today’s” that appears in this planner layout. However, you don’t need this exact alphabet stamp set; you could use any alphabet stamp you happen to have on hand for this purpose. If you do happen to need a new alphabet stamp set, this one is a fantastic set to have in your stash; I use mine almost daily. I find it to be really versatile and useful.
- Stack of Books Stamp: This stamp is from the “Den Sweet Den” stamp set by Lawn Fawn.
- Crochet Hook Stamp: This stamp is from the “Hand Crafted With Love” stamp set by Simon Says Stamp.
- Frame Stamp: See the frame image around the crochet hook and ball of yarn? The stamp I used for adding that image is by Citrus Twist Kits.
- Journaling Spot Stamp: This stamp is from the “Plan on It” stamp set by Lawn Fawn.
- “Explore” and Cloud Stamps: This stamp is by Citrus Twist Kits; last I checked, this stamp set had been discontinued.
- “Currently” Stamp: This stamp is from a set by Waffle Flower Crafts that is now discontinued.
- “Making” and “Blog Post” Stamps: These stamps are both from a set by My Favorite Things Stamps that is now discontinued.
- Scalloped Scissors: I still love and use decorative scissors in many of my paper crafts projects because I find it easier to grab scissors than it is to dig for a scalloped circle die that’s exactly the right size for cutting out each image. But that’s me; if you’d prefer to die cut this, you could substitute a scalloped circle die in place of the scalloped scissors. If you want to check out the scalloped scissors I used, they are made by EK Success. I highly recommend them; I’ve used them to make, literally, hundreds of projects!
- Decorating Chalks: These are optional; if you don’t already have them in your stash, you could use inks, paints, or colored pencils to create the same sort of sunset effect I used behind the “Explore” and cloud stamps.
Thanks so much for taking a look at my Happy Planner layout. I appreciate your interest!