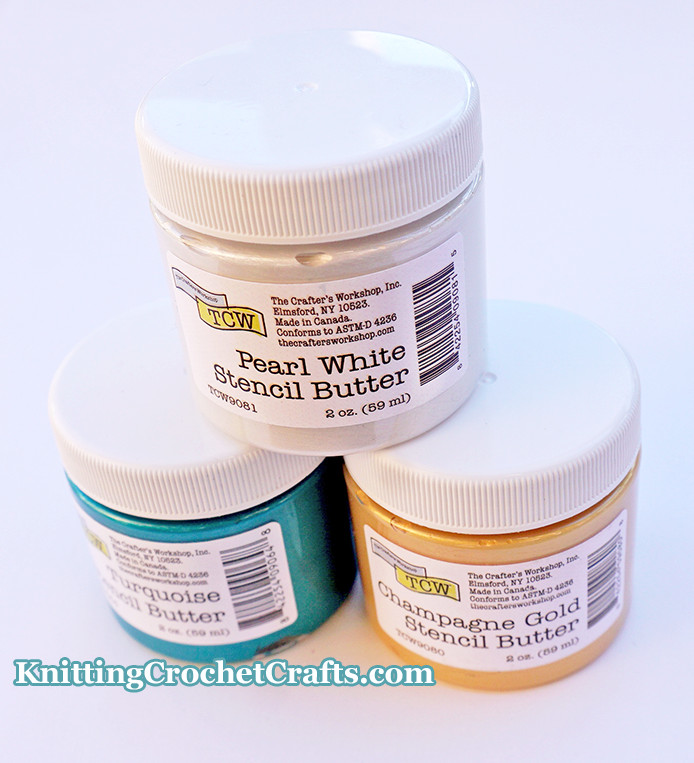
“Stencil Butter” is a lustrous, shimmery stenciling medium that is similar in texture to modeling paste.

The shimmer is not in-your-face, all-out razzly-dazzly or glittery. It is more like a chic, sophisticated hint of shimmer.
This product is intended for use by artists, crafters and DIY enthusiasts who are hoping to incorporate stenciling into their projects.
If you’re making any stenciled project with porous surfaces, including paper, chipboard, watercolor paper, mixed media boards, canvas, and wood, Stencil Butter is a medium you might want to try (assuming your finished item will be used indoors and not subjected to moisture, because stencil butter is not recommended for outdoor projects or for use in excessively humid or wet environments; you don’t want to use this stuff for artwork to hang above your jacuzzi, sauna or swimming pool, for example. But it would be fine for most other indoor uses.)
Stencil Butter is a favorite with paper crafters, who use it for creating unique art journal pages, junk journal pages, scrapbooking layouts, handmade greeting cards, wedding gift tags, party invitations, altered books, and collage art projects.
I stencil often using a variety of media.
Out of all the stenciling media options I’ve tried, The Crafter’s Workshop Stencil Butter is my top favorite.
I love it for its ease of use and its beauty; it is really pretty. It adds lustrous, subtly shiny accents every place you use it on your projects.
How to Apply Stencil Butter to Your Paper Craft Projects or Mixed Media Art Projects

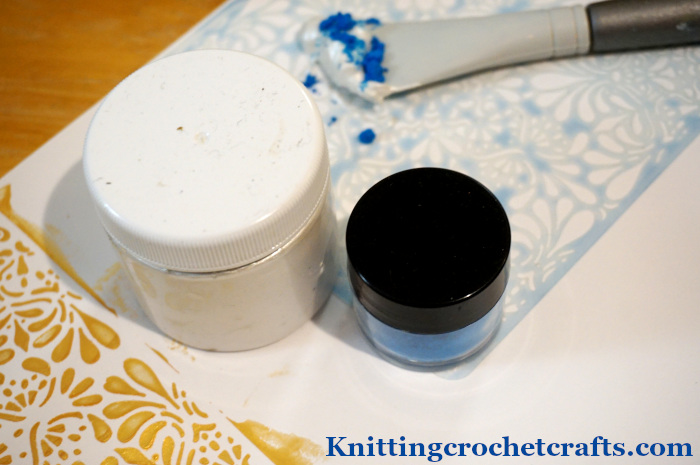
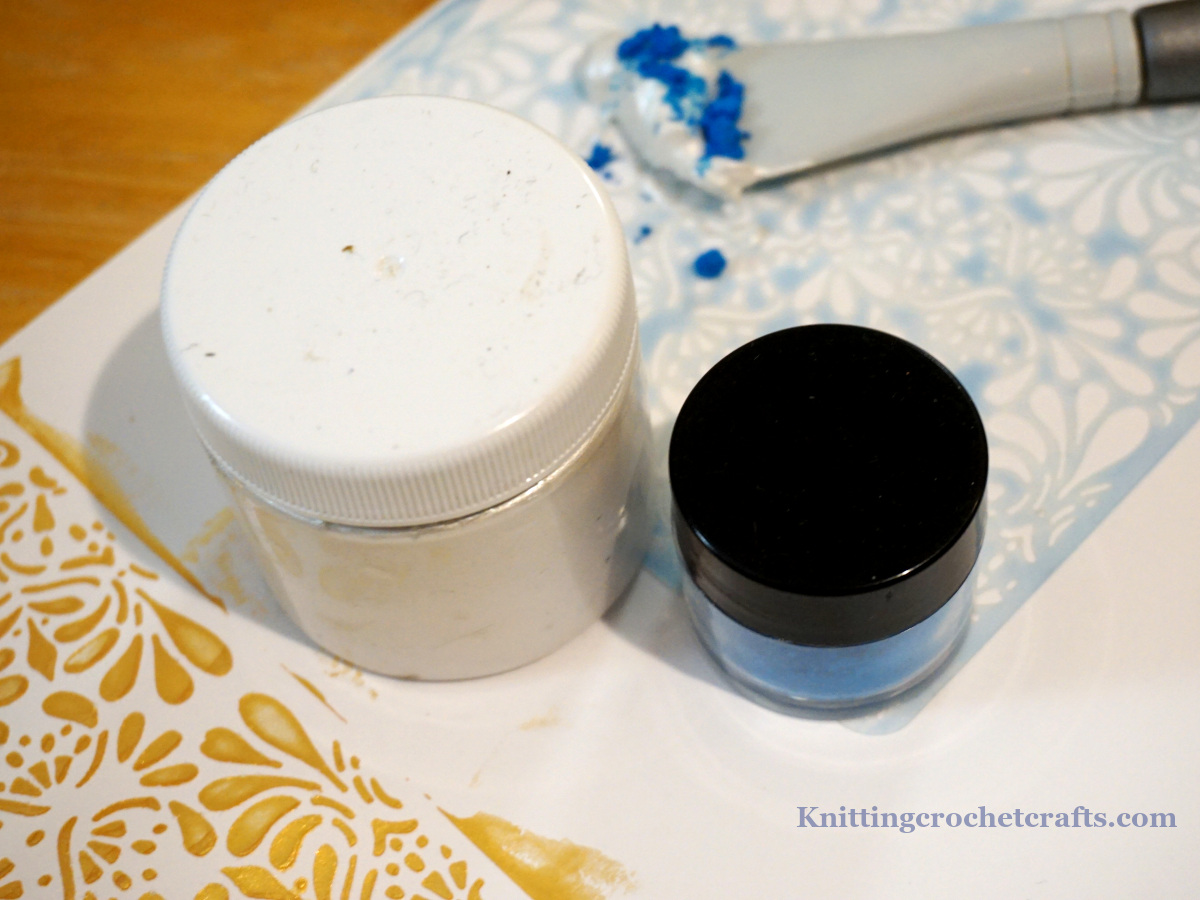
Stencil Butter spreads easily using the usual tools you’d work with when stenciling; you can apply it with a palette knife, spatula, sponge brush or your fingers. I typically use a spatula or sponge brush and recommend these methods for applying it. I haven’t tried applying it using a stipple brush to see how it would turn out, but theoretically, you should also be able to apply it with a stipple brush.
The Stencil Butter Color Palette
I counted 38 different colors of stencil butter, which are sold individually and also packaged in bundles.
Some of the color selections are vibrant and bright, while others are dusty and muted.
There are colors suitable for stenciling just about any type of image you could want to work on with the possible exception of human portraits; there isn’t a wide range of ready-made flesh colors available in this color palette.
However, please note that you can blend colors to create just about any color you might need. If you’re okay with doing some color blending, you’d be able to blend skin tones suitable for rendering the entire range of human skin colors.
How to Clean Up After Using Stencil Butter
Stencil Butter is super easy to clean up after you’ve used it. You only need ordinary soap and water to get it off your hands and stencils. This should be tended to immediately after use because otherwise, like any other media of this ilk, the stencil butter will dry on your stencil and be difficult to remove.
Project Ideas for Using Stencil Butter
I have a bunch of Stencil Butter project ideas to share with you when I get that far, but I don’t have pictures of them posted online yet. I will update this page with more info when it becomes available.
Stencil Butter’s Required Drying Time: In Case You Were Asking, “How Long Does Stencil Butter Take to Dry?”
Stencil Butter typically dries in about 15 to 30 minutes depending on how much of the product you apply to your project. If you apply it thickly, it is likely to take at least a half an hour to dry, and it might take longer in excessively humid environments.
Stencil Butter Pros
The following are some of Stencil Butter’s advantages:
- Broad color range to work with
- Colors can be blended to achieve even more options
- Beautiful, high-quality product with a lustrous, appealing texture
- Cleans up easily with ordinary soap and water
- Made in North America and therefore free of fair trade concerns
- Broadly available from trusted retailers
- Aside from stencils, no special equipment or talent is needed for success with using the product — and, for that matter, you can apply it to your projects without stencils if you are so inclined.
- Stencil butter should not be frozen. However, if you accidentally freeze it, it is likely to still be usable when it thaws out. I discovered this when my jars of stencil butter were accidentally, unintentionally subjected to several nights of freezing and then later re-thawing when they spent longer than intended in a moving van during the course of an interstate move over a long, cold Thanksgiving weekend. This medium is truly durable and forgiving.
Stencil Butter Cons
I’m not honestly aware of any real downsides to stencil butter other than its high cost.
This is a relatively expensive product. Expect to spend anywhere from $7.49 to $11.29 + tax + shipping for a 2-oz jar of this product, and be pleasantly surprised if you can find it on sale for less than these prices. $8.49 is the typical asking price you’ll often find for the latest colors.
I believe Stencil Butter is well worth its asking price.
However, if you are on a tight budget, you might want to consider stenciling with ordinary acrylic paints instead of this Stencil Butter. It is not as easy to do, but if you can master stenciling with paints, your costs for that will be far less than what you’d end up spending to do your stenciling with stencil butter.
If you’re a beginner to stenciling, keep in mind that Stencil Butter is much easier to use for stenciling than ordinary acrylic paints are. When doing cost comparisons, keep in mind that you are likely to produce a lot of unusable projects as you gain expertise at stenciling with acrylic paints. It will most likely take some practice, and you are likely to waste some materials, as you get up to speed. So if you aren’t already really good at stenciling, keep that in mind when you determine which option would provide a better value for the money.
The Verdict: I Highly Recommend The Crafter’s Workshop Stencil Butter to Other Crafters.
I believe you get a lot for your money with this product. Although it is pricey, it is worth spending the money on this if you are hoping to find a stenciling medium that is lustrous, beautiful, easy to spread, and easy to clean up. Stencil Butter is made in Canada and supports North American workers, and it is a top quality product. It gives the prettiest results out of any product I’m currently aware of for stenciling. I’m delighted to recommend it to other artists and crafters.
Where to Buy The Crafter’s Workshop Stencil Butter
There are lots of fantastic places you can buy Stencil Butter. The following are a few of my favorite, recommended Stencil Butter suppliers:
Stencil Butter Alternatives
Stencil butter isn’t the only product of its kind. There are many alternative products you could consider using. I already mentioned that ordinary acrylic paint is a possible alternative. The following are a few others:
- Simon Hurley’s Lunar Paste: Lunar Paste is a similar, competing product by Ranger Industries. It is a lustrous opaque metallic stenciling medium that comes in 19 colors.
- Simon Hurley’s Solar Paste by Ranger Industries: This is another similar stenciling medium that’s a lot like Lunar Paste, except that it has a unique twist: The colors of this product shift when light hits them.
- Scrapbook.com’s Pops of Color: Pops of Color can be stenciled easily using a palette knife, spatula or sponge brush. This product is available in a broad array of colors including shimmery pearl colors and glitters. It is easy to work with and cleans up easily. It has more texture than Stencil Butter and dries harder and is inflexible upon drying. I like Stencil Butter better than this product for the purpose of Stenciling, but I do use and recommend both products.
Posted By: Amy Solovay
This page was last updated on 1-12-2026.
